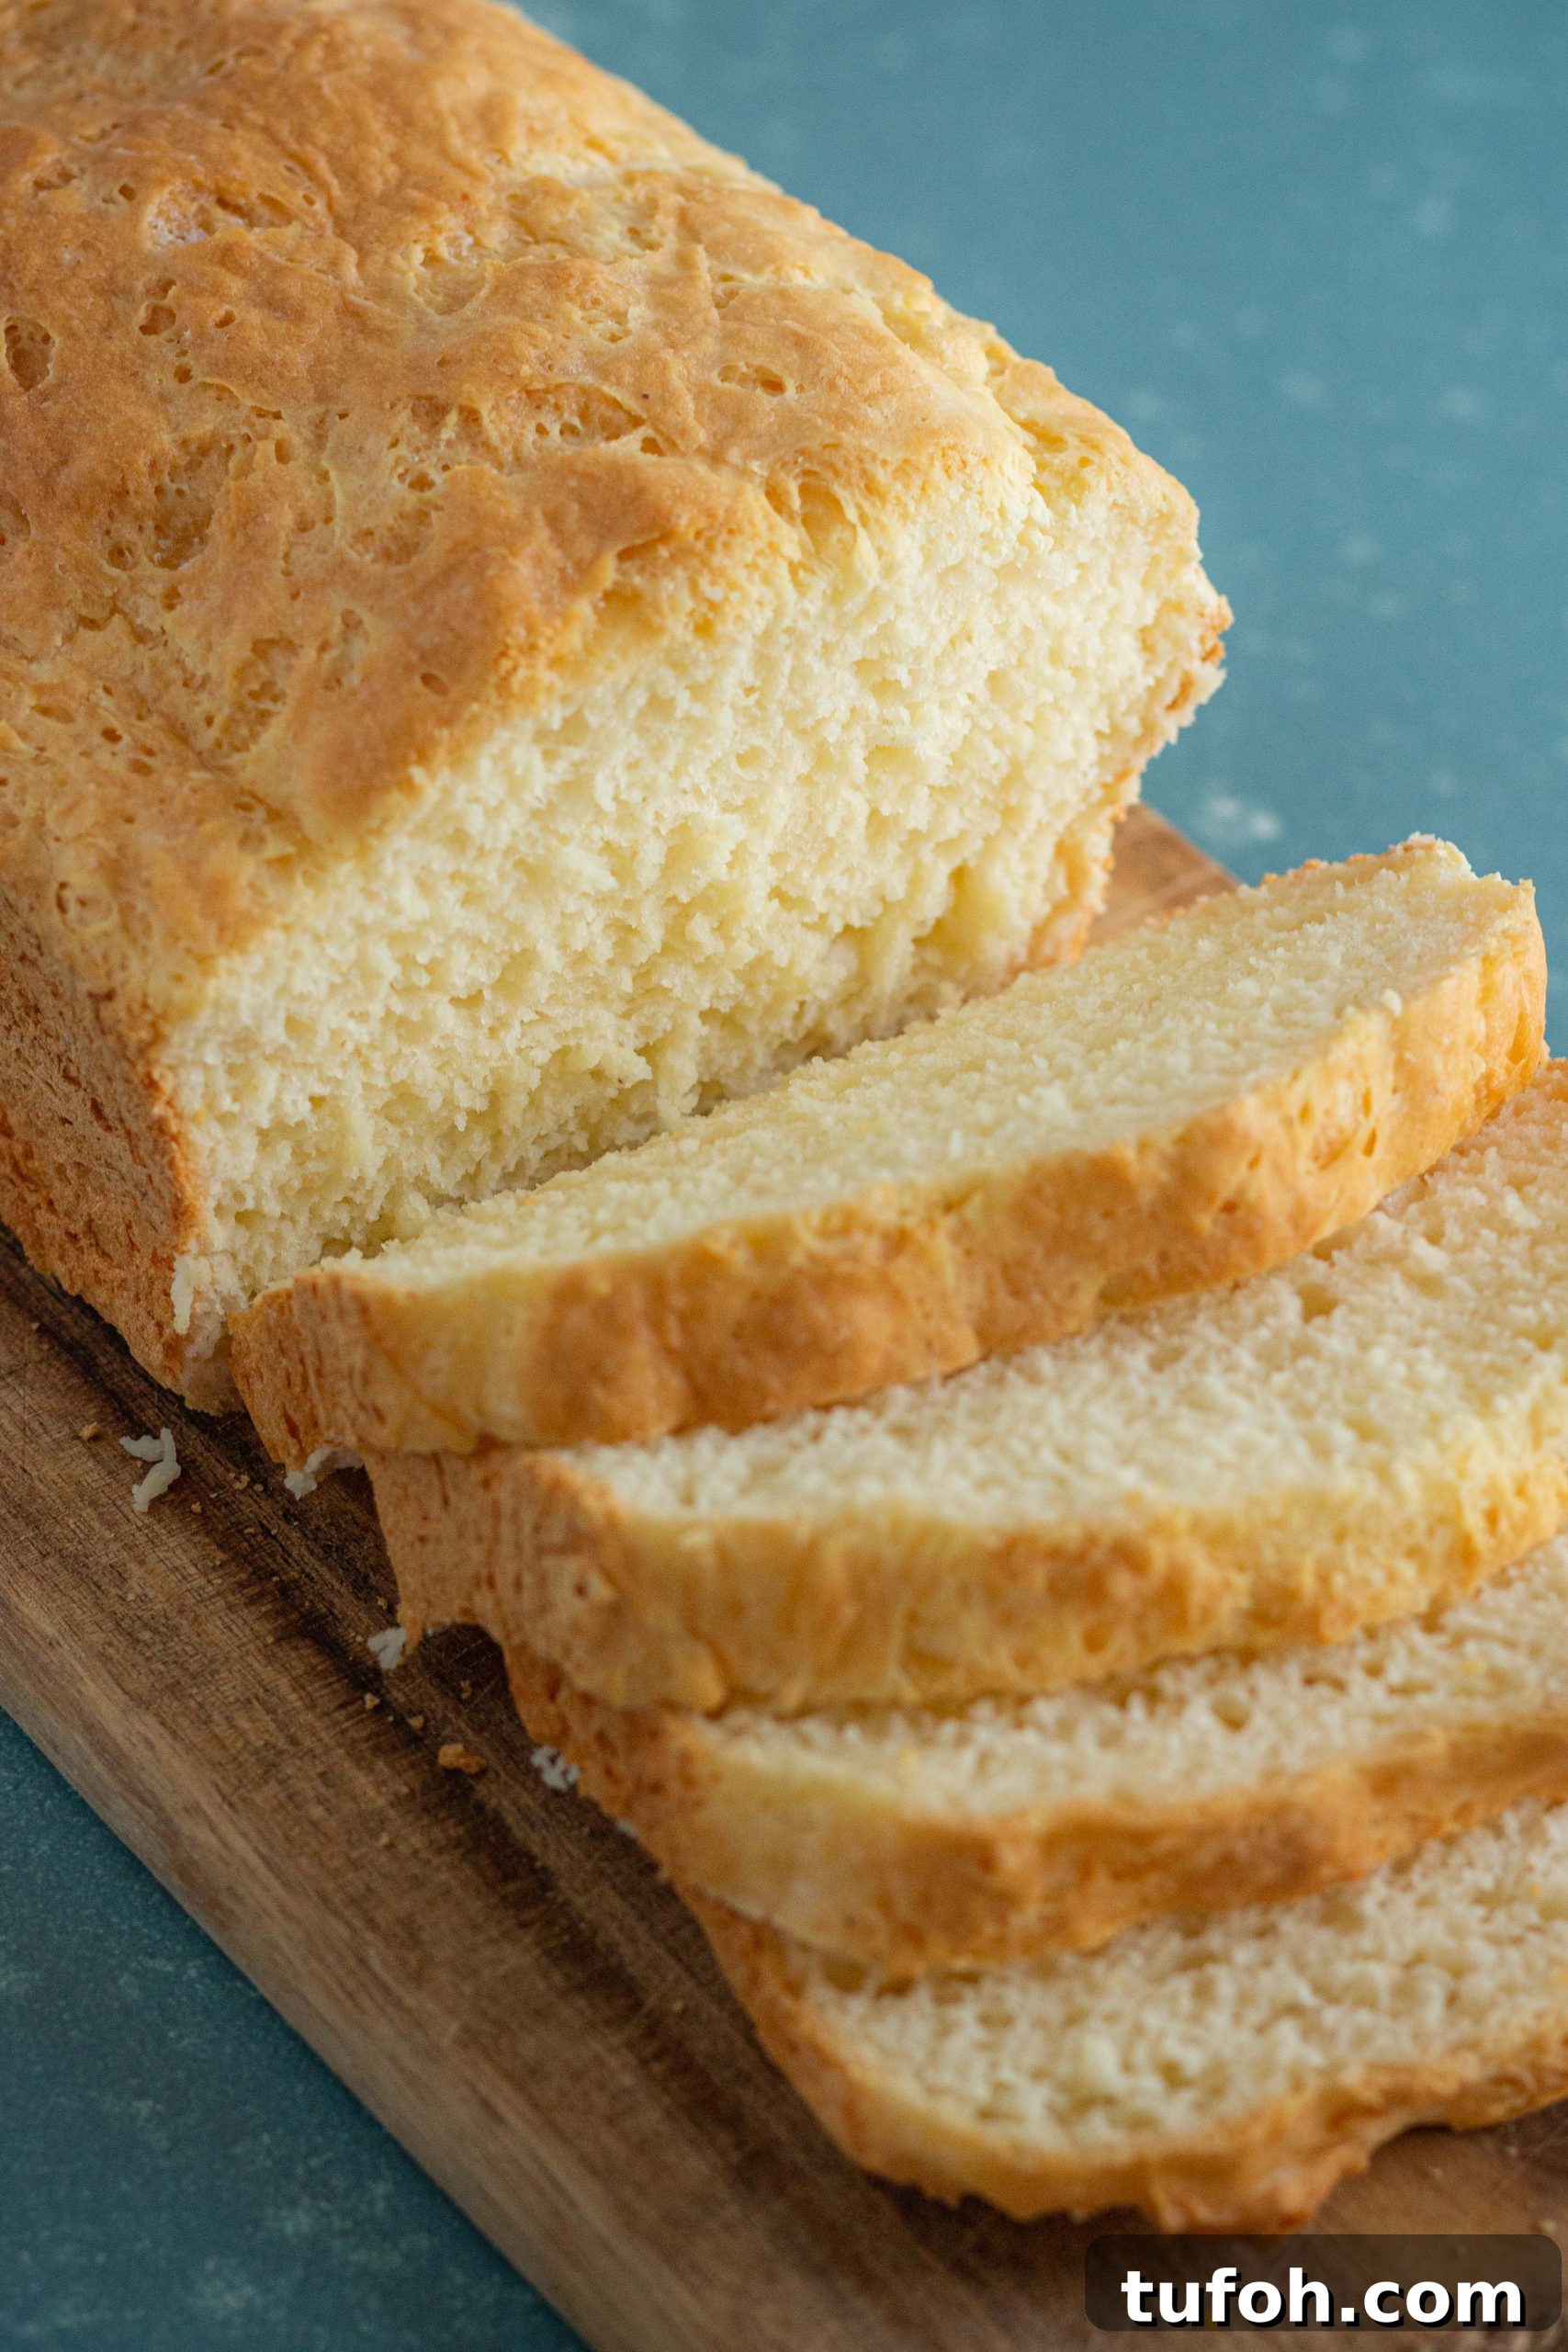
Nothing beats soft, fluffy gluten-free bread fresh from the oven. Stop settling for crumbly, flavorless loaves —this easy recipe requires no kneading and only one rise.
Updated 1.30.2024 — same recipe, clearer instructions.
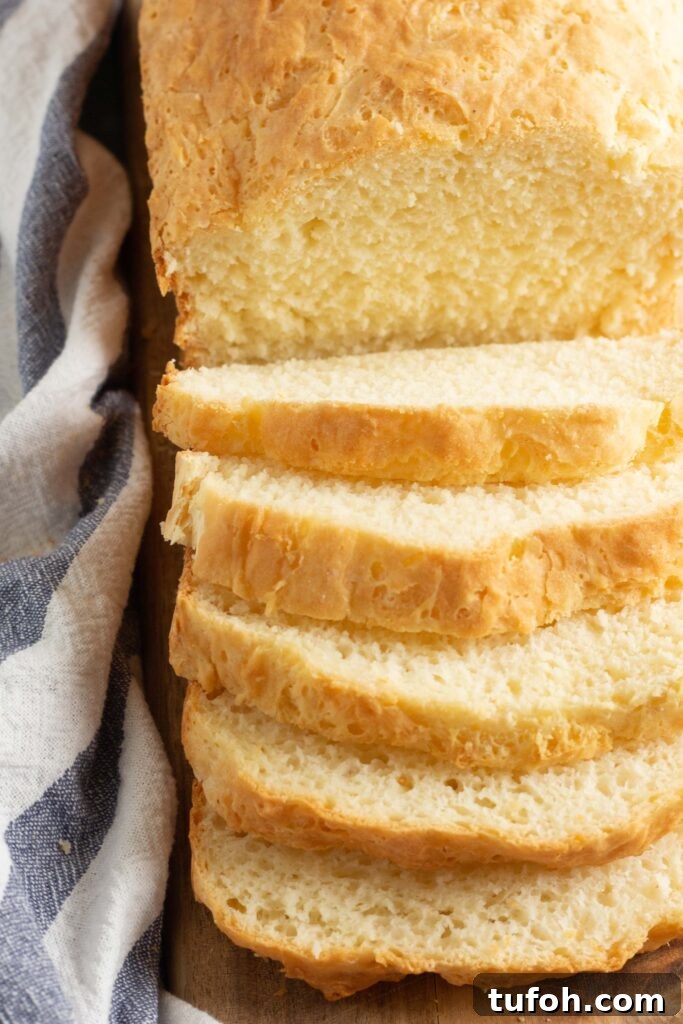
If you miss full-sized slices of soft, flexible bread, this gluten-free sandwich loaf is for you. It delivers a tender crumb and a familiar homemade flavor that’s perfect for sandwiches, grilled cheese, or French toast.
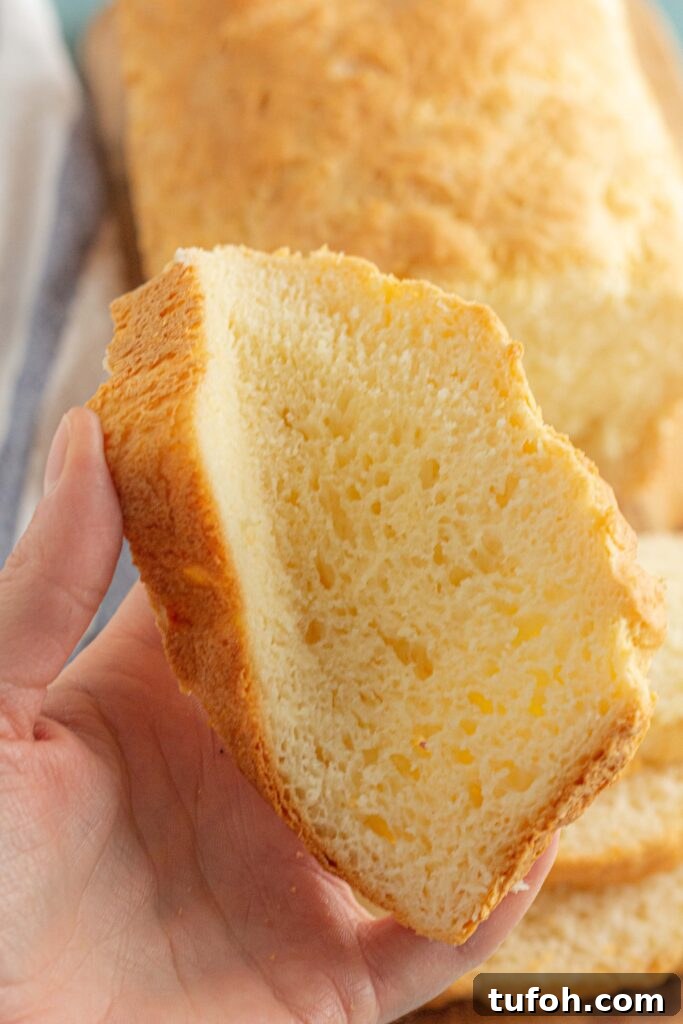
WHAT MAKES THIS THE BEST GLUTEN FREE BREAD RECIPE?
This sandwich loaf is neither grainy nor crumbly. It’s soft, light, and pleasantly aromatic when baked. The texture is close to a traditional homemade loaf thanks to a balanced combination of gluten-free flours and starches plus a little binder. It’s also simpler than most yeast breads: no kneading and only one rise, so you can have a fresh loaf with minimal effort.
The recipe was refined over years of testing to produce a loaf that holds together, slices well, and tastes like the homemade breads many of us remember. It’s versatile—use it for sandwiches, toast, or any recipe that calls for sliced bread.
MY FAVORITE BREAD PAN FOR BAKING HOMEMADE GLUTEN-FREE BREAD
A standard 1-pound loaf pan works best to give even rise and shape. Nonstick or well-greased metal pans yield the most consistent results. If you prefer taller slices, choose a deeper loaf pan; for thinner slices, a wider pan will do.
WHICH GLUTEN FREE FLOUR WORKS WELL FOR BREAD?
A well-balanced blend of gluten-free flours and starches, combined with a binder such as xanthan gum, produces the best results. Blends formulated for bread tend to yield lighter, fluffier loaves and better rise.
If you prefer to mix your own flour blend, include rice flour, a neutral whole-grain flour (such as sorghum), potato starch, tapioca starch, and xanthan gum in proportions that provide structure without heaviness. Using the right flour and measuring carefully will make a big difference.
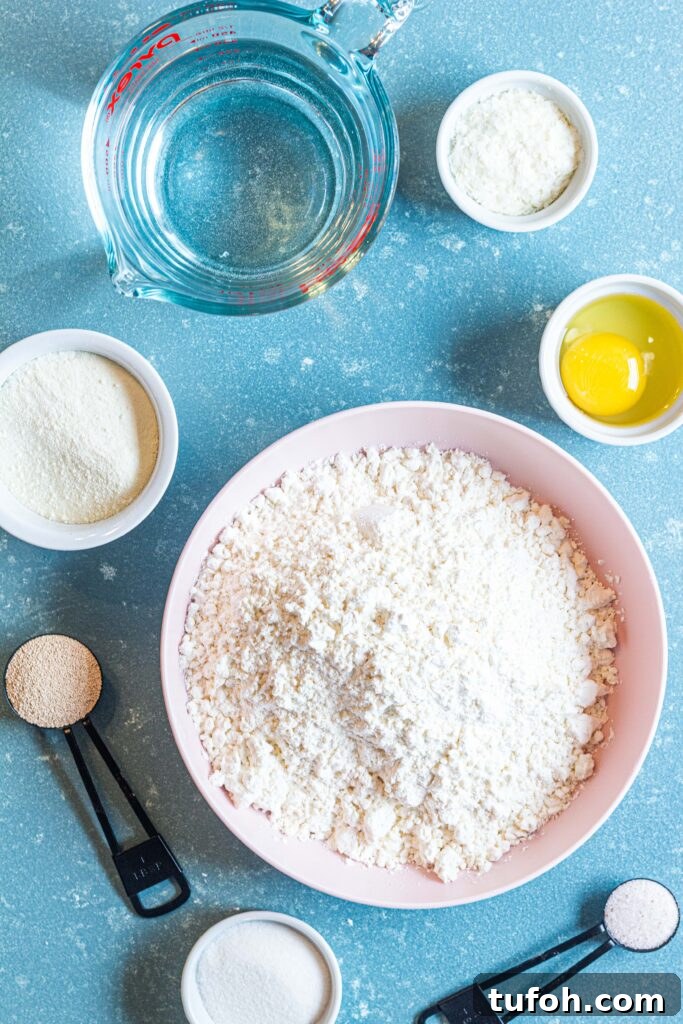
INGREDIENTS YOU’LL NEED TO MAKE GLUTEN FREE BREAD
High-Quality Gluten-Free Flour
The flour blend is the foundation. Use a blend formulated for yeast breads or a reliable homemade mix that includes rice flours, starches, and xanthan gum. Accurate measuring (stir, scoop, level) helps prevent dry bread.
Yeast
Use instant or active dry yeast. Check packaging to ensure it is gluten-free.
Sugar
Yeast needs sugar to activate. You can use granulated sugar or substitute honey for a slightly different flavor.
Salt
Salt balances flavor. If you are on a low-sodium diet, reduce it by up to half.
Potato Flakes (Optional)
Instant potato flakes improve texture and moisture. Omit if you have an allergy to potatoes.
Powdered Milk (Optional)
Instant powdered milk enhances flavor and browning. Substitute a dairy-free powdered milk or omit for a dairy-free version.
Egg
One egg adds structure and tenderness. Use a commercial egg replacer if you need an egg-free option.
Butter
Room-temperature butter or a dairy-free butter substitute will enrich the dough. You can also use olive oil if preferred.
Warm Water
Water should be warm but not hot—around 110°F (43°C) is ideal. Too-hot water kills yeast, while too-cool water slows activation.
See the recipe card below for exact amounts and complete instructions.
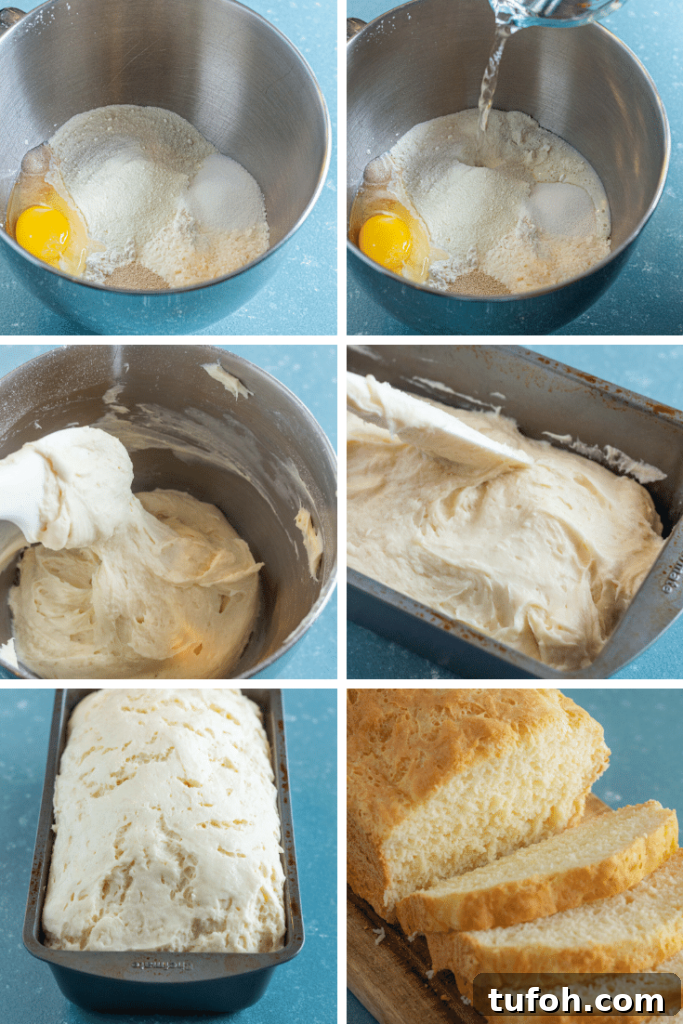
HOW TO MAKE GLUTEN FREE BREAD
Gluten-free yeast bread behaves differently from wheat-based bread. The dough will be more like a thick batter than a traditional, elastic dough. For best results, follow these principles:
- Only one rise is necessary.
- No kneading is required.
- The “dough” should be a sticky, batter-like consistency—similar to a thick banana bread batter.
Measure dry ingredients into the bowl of a stand mixer (a hand mixer works too). Add wet ingredients and mix with the paddle attachment on medium speed for a few minutes. If the mixture is too thick, add water a tablespoon at a time; if too thin, add flour a tablespoon at a time.
Grease your loaf pan well—gluten-free baked goods are prone to sticking. Spread the batter into the pan and peak the top slightly lengthwise. Cover lightly with oiled plastic wrap and let it rise in a warm spot until the loaf has nearly doubled.
Preheat the oven and bake until the crust is deep golden brown and the loaf feels firm. Undercooked bread will collapse as it cools, so bake thoroughly—typically about 45–50 minutes. Brush the top with butter after baking for flavor and a soft crust.
HOW TO STORE GLUTEN FREE BREAD
Fresh-baked gluten-free bread is best the day it’s made. Store at room temperature in a sealed bag for 1–2 days. For longer storage, slice the loaf, place slices in a freezer bag (remove as much air as possible), and freeze. Toast or microwave slices straight from frozen.
FREQUENTLY ASKED QUESTIONS
Why is gluten-free bread so dry?
Common causes: too much flour, the wrong flour blend, or expecting a firm wheat-like dough. Measure flour properly (stir, scoop, level) and use a blend suited for yeast breads. The batter should be sticky rather than dense.
Does gluten-free bread dough need to rise twice?
No. This recipe only requires a single rise before baking.
What should the consistency be?
A thick, sticky batter—similar to over-stiff banana bread. It won’t be hand-kneadable.
My gluten-free bread rises, then falls after baking—why?
Usually because it was underbaked or the batter was too loose. Bake until the crust is deep golden and the interior temperature reaches about 210°F (99°C).
How can I tell when it’s done?
The loaf should be golden brown and sound hollow when tapped. An internal temperature of around 210°F is a reliable indicator.
Can you knead gluten-free dough?
No—gluten-free doughs lack gluten and won’t develop the same elasticity. Mixing is sufficient.
My gluten-free bread didn’t rise—what went wrong?
Check the yeast—test it with warm water and a pinch of sugar. If it doesn’t become bubbly in 10 minutes, the yeast is dead. Also ensure the batter isn’t too thick; a batter-like consistency rises best. Proof in a warm, draft-free spot.
Can I use a bread machine?
This specific recipe performs better in a conventional oven. Bread machines can work with dedicated gluten-free cycles but may produce different texture and rise.
Is gluten-free bread actually healthier?
If you require a gluten-free diet for medical reasons, homemade gluten-free bread is the safer choice. For those without medical need, gluten-free bread is not inherently healthier and can be higher in simple starches and lower in some nutrients compared to whole-grain wheat bread.
We’d love to see your results! Snap a photo and tag @LifeAfterWheat on social media.
THE BEST GLUTEN-FREE BREAD RECIPE
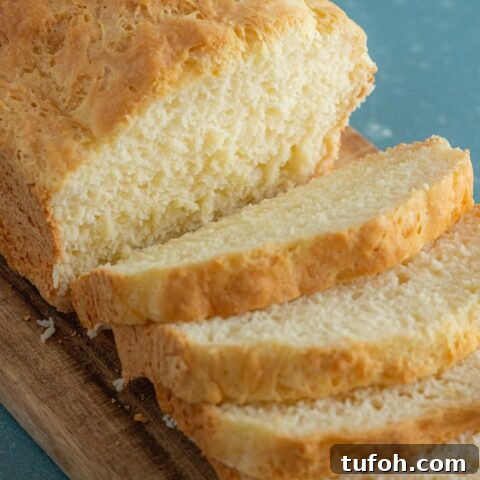
Gluten Free Bread
Soft, homemade gluten-free bread with a fluffy crumb and great flavor. Easy method with no kneading and only one rise.
Ingredients
- 3 cups high-quality gluten-free flour blend
- 1 tablespoon gluten-free instant yeast
- 2 tablespoons sugar
- 1 teaspoon salt
- 1/2 cup instant milk powder (or omit for dairy-free)
- 2 tablespoons instant potato flakes (optional)
- 1 egg (or egg replacer)
- 1 3/4 cups warm water (slightly warmer than room temp)
- 1 tablespoon softened butter or oil
- 1 1/2 teaspoons psyllium husk powder (optional)
Method
- Measure flour using the stir, scoop, and level method. Add all ingredients to the bowl of a stand mixer in the order listed (a hand mixer works too).
- Mix on medium speed for 3 minutes. The mixture should resemble a thick, sticky batter—similar to a dense banana bread batter. Adjust by adding water or flour 1 tablespoon at a time if needed.
- Grease the bottom and corners of a loaf pan.
- Spread the batter into the loaf pan, shaping it slightly higher in the center lengthwise.
- Cover lightly with oiled plastic wrap and let the loaf rise in a warm place until almost doubled—about 20–30 minutes in a rapid proof environment.
- Preheat the oven to 350°F (175°C).
- Bake for 45–50 minutes until the top is deep golden brown and the loaf feels firm. Undercooked bread will collapse as it cools.
- Brush the top with butter after baking for a tender crust.
- Cool in the pan for 10 minutes, then invert onto a rack and cool completely before slicing.
- For storage, slice the loaf and freeze slices in a sealed bag; toast or microwave from frozen as needed. Avoid refrigeration, which can dry the bread.
Notes
- Use a gluten-free flour blend designed for breads or a reliable homemade mix for best results.
- Psyllium husk powder is optional but helps with texture and elasticity.
- Substitute dairy-free butter and powdered coconut milk for a dairy-free version.
- For egg-free, use a commercial egg replacer following package directions.
- If omitting potato flakes, the loaf will still work but may be slightly less tender.
1/2 cup white rice flour; 1 cup brown rice or sorghum flour (or a mix); 2/3 cup potato starch (not potato flour); 2/3 cup tapioca starch; 1 tablespoon xanthan gum. Whisk together thoroughly.