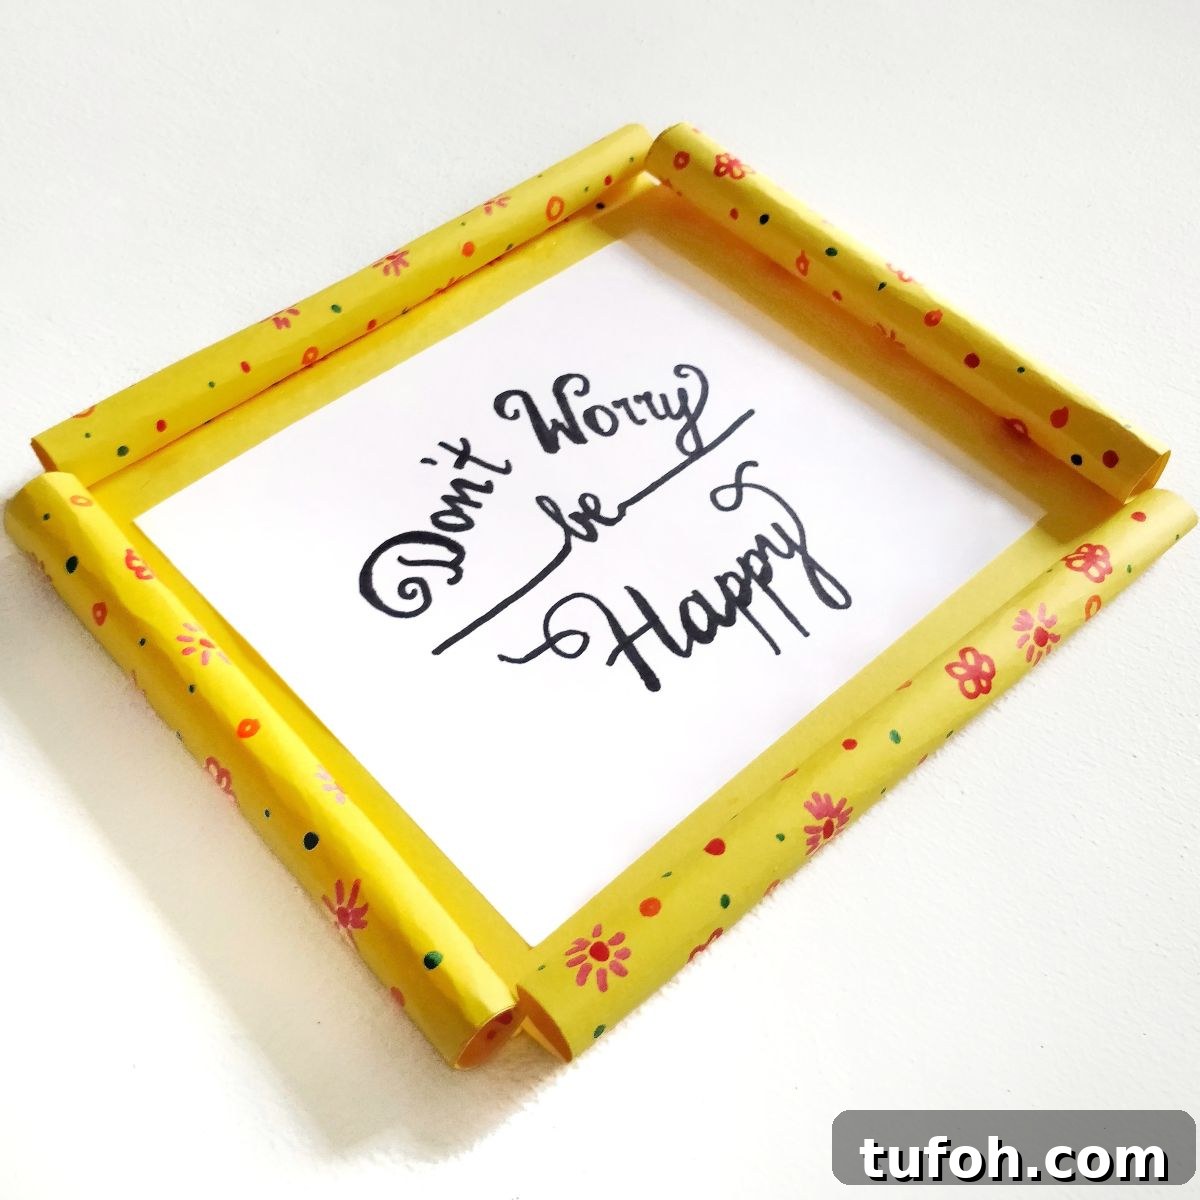
Have a few sheets of paper and some spare time? Make these charming paper picture frames with kids. They work beautifully as home decorations or thoughtful handmade gifts.
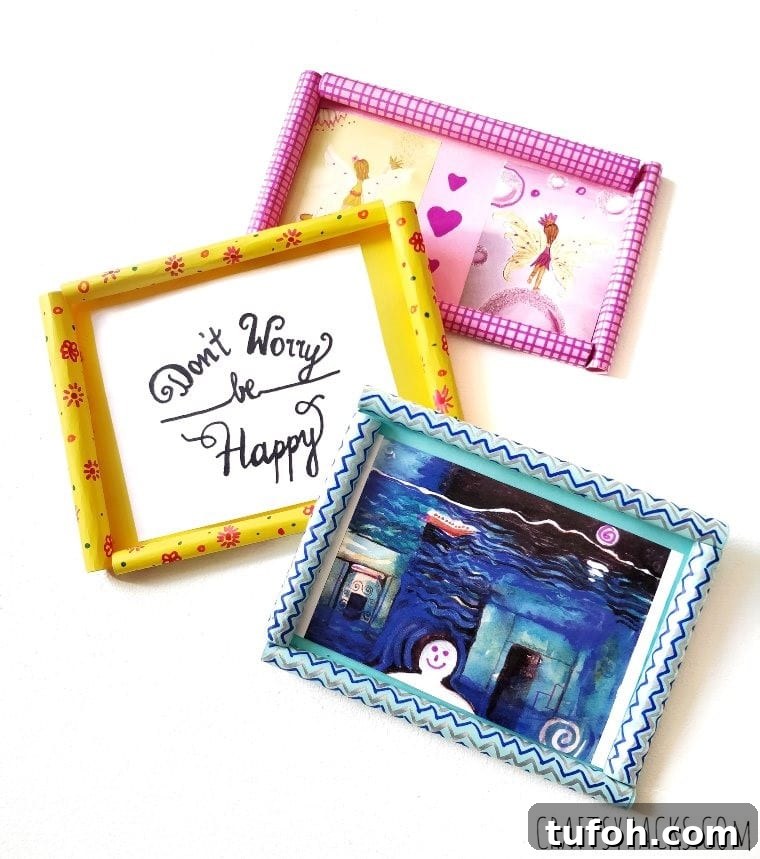
If you want to display a child’s artwork, a favorite photo from a recent trip, or a special memento, these simple DIY paper picture frames are a quick and attractive solution. They require minimal materials and can be personalized in countless ways to match your home décor or the season.
These frames are fast to make, child-friendly, and flexible in use: stick them on the fridge, pin them to a bulletin board, hang them on a wall, or use them as rotating door greetings that you change with the seasons. They also make sweet, low-cost gifts that carry a personal touch.
Best of all, this craft is easy enough that kids can take the lead while adults supervise—perfect for encouraging creativity and boosting confidence.
What You’ll Need to Make Picture Frames
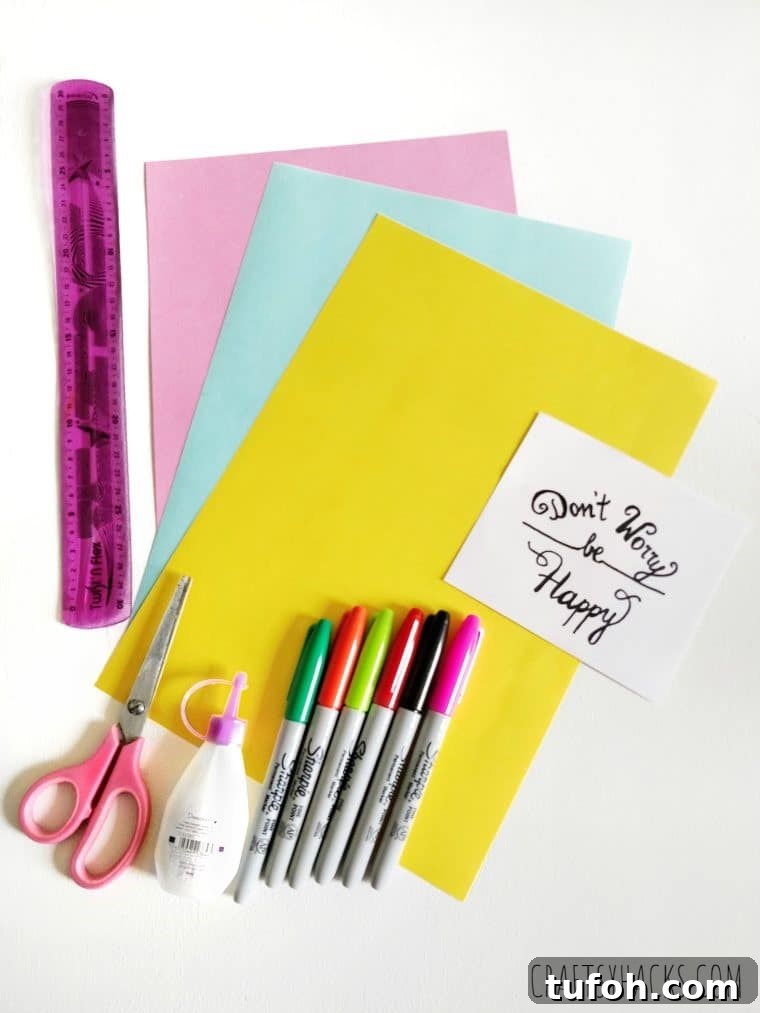
These materials are common household items, and you likely already have most of them on hand:
- Ruler
- Permanent markers, crayons, or colored pencils
- A4 paper sheets (or any sturdy paper or lightweight cardstock)
- Glue (PVA glue, glue stick, or craft glue)
- Scissors
How to Make a Homemade Paper Picture Frame
Follow these simple steps to create a neat, three-dimensional paper frame. The whole project takes only a few minutes once you’re set up, and it’s easy to adapt for different picture sizes and design preferences.
Design tip: When decorating, avoid large, continuous patterns that span the entire flap; these can distort when you roll the paper. Small, repeating motifs or borders work best. If you prefer not to draw, use patterned wrapping paper or scrapbook sheets for an instant finished look.
STEP 1
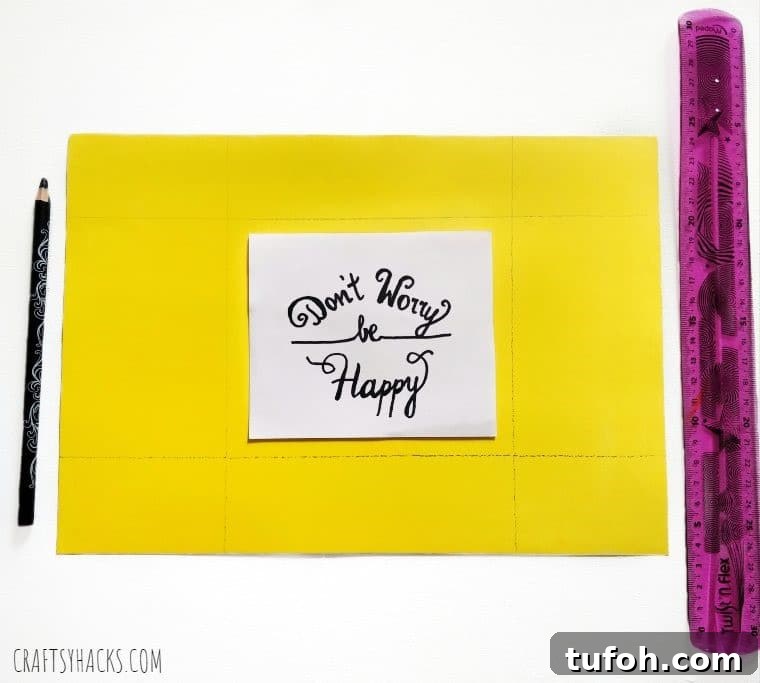
Choose a sheet of colored or patterned paper. Place the photo or artwork you want to frame in the center of the sheet and trace a rectangle around it with a pencil. Leave a margin of at least one to two centimeters from the photo edges so the picture sits comfortably inside the frame rather than feeling squeezed.
STEP 2
Cut the paper at the four outer corners outside the rectangle you traced. These cuts create four flaps that will form the frame. Now decorate the visible areas around the central rectangle, leaving the interior where the photo will sit plain. Use markers, crayons, glitter, stickers, or other embellishments to add color and texture.
Quick option: If you want to skip drawing and decorating, glue a sheet of decorative paper on top of your base sheet and proceed to cut and roll the flaps.
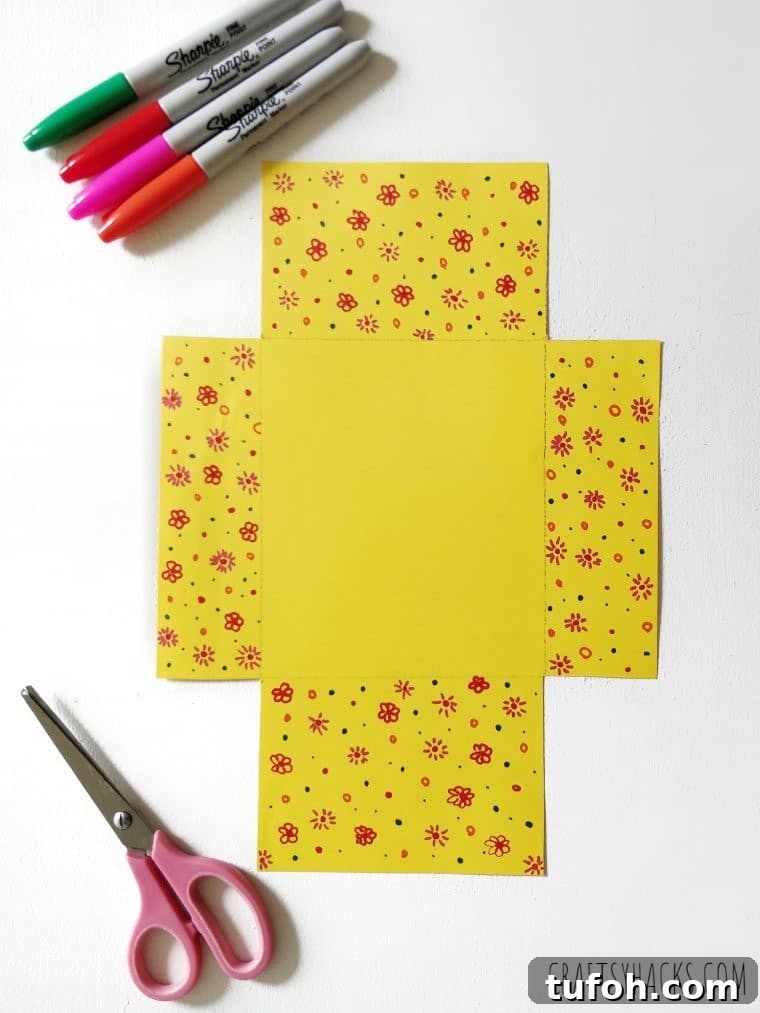
STEP 3
Use a pencil to roll each flap inward. Rolling gives the frame a soft, rounded 3D edge and reveals the decorated side. Apply a small dab of glue where the rolled paper meets to secure it in place. Choose paper that is sturdy enough to hold its shape but flexible enough to roll easily—lightweight cardstock or thicker printer paper both work well.
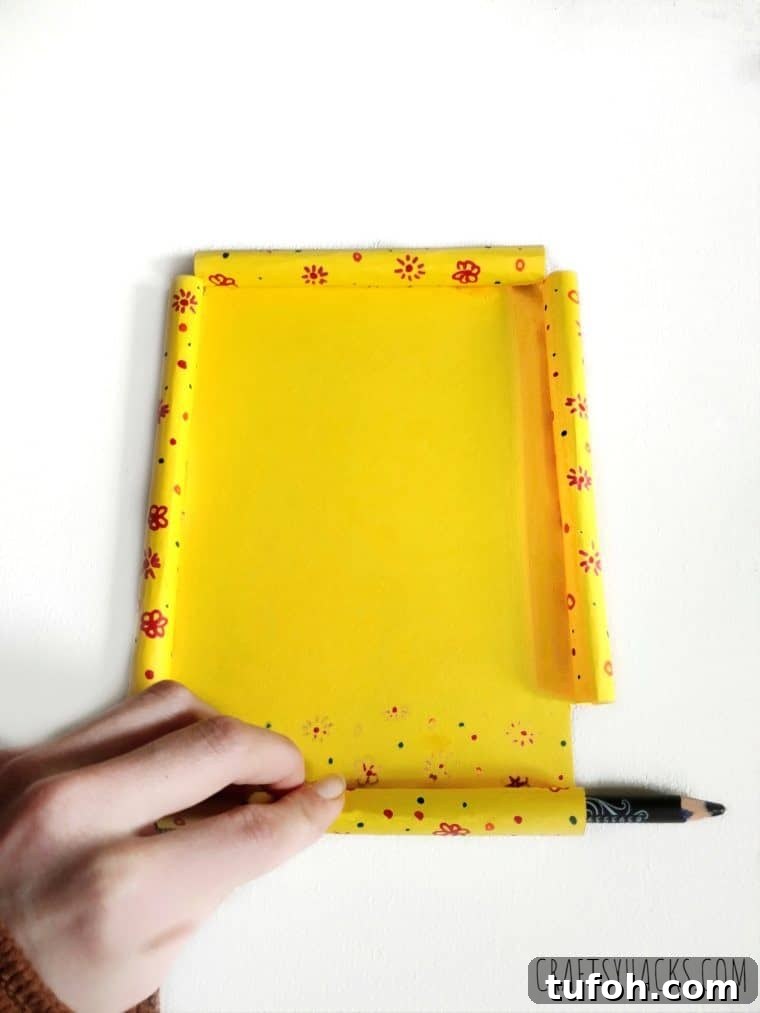
STEP 4
Once the rolled edges are glued and dry, place and glue your photo, drawing, or note into the central rectangle. Press gently to ensure it adheres smoothly. These frames aren’t limited to photos—use them to showcase children’s drawings, inspirational quotes, gift tags, place cards, or small signs.
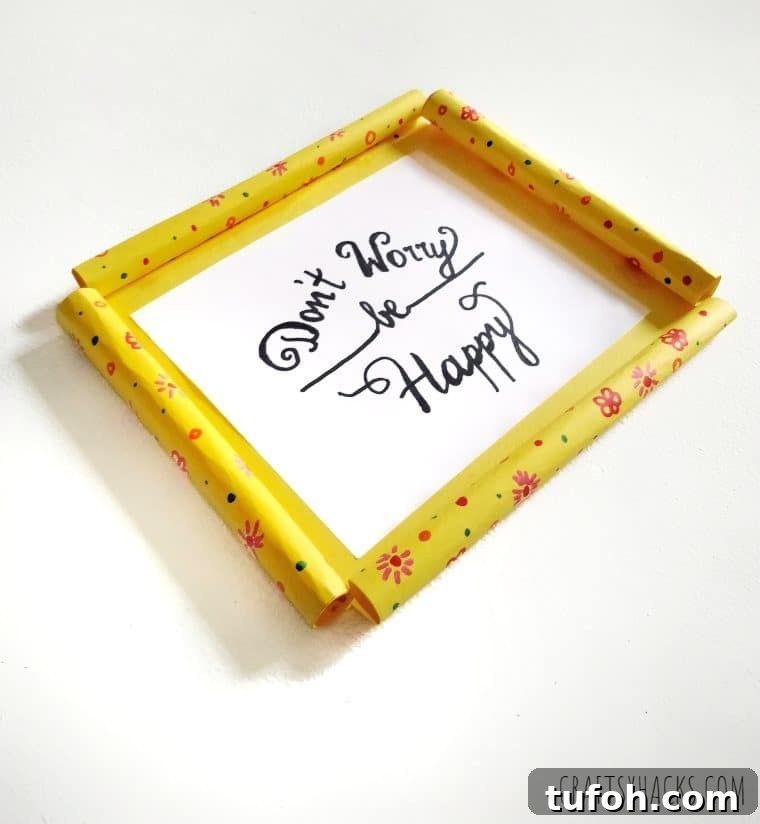
To display, add a small loop of ribbon or thread to the back for hanging, attach a magnet for the fridge, or tuck the frame into a small stand. These frames are lightweight and versatile, making them ideal for seasonal decorations and rotating displays around the home.
Conclusion
Handmade paper frames are a simple, joyful way to showcase memories and kid-created art. The project combines creativity with practical display options, and the satisfaction kids feel when their work becomes part of your home décor is priceless.
This DIY frame is inexpensive, quick to make, and adaptable for any age. Keep a box of decorated frames ready for last-minute gifts, classroom projects, or craft afternoons—these little creations brighten spaces and celebrate family moments.
Save or print these instructions for the next crafting session, and enjoy the process of making something personal and decorative with the people you love.