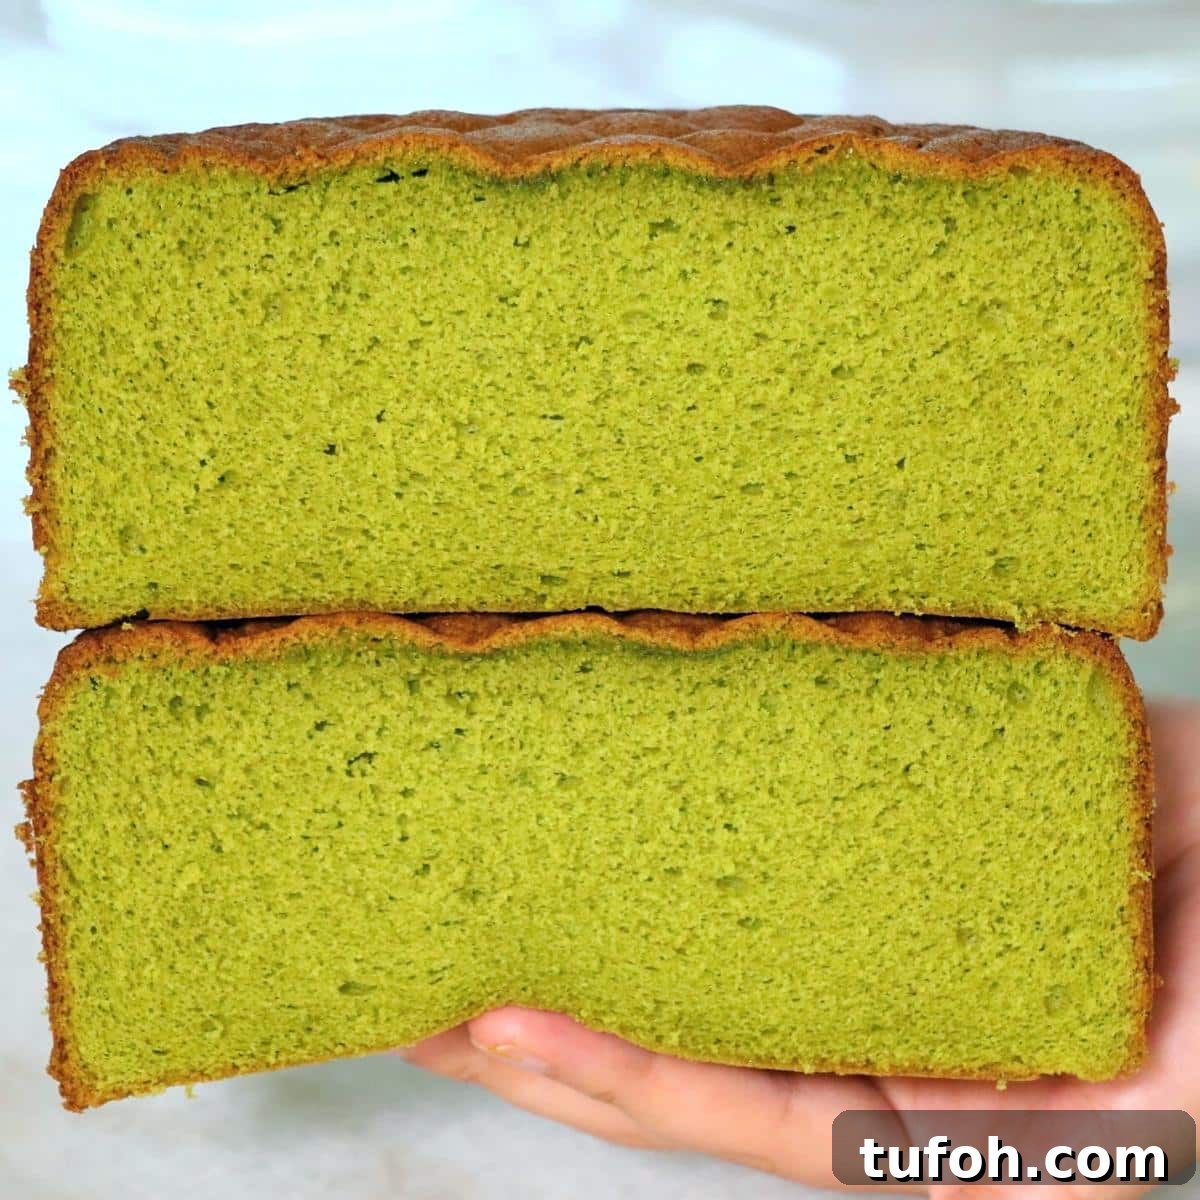
I’m sharing a reliable method to make a cloud-like matcha sponge cake in just seven clear steps using six simple ingredients. If you’ve ever wanted to recreate the light, cotton-soft sponge cakes found in Japanese bakeries, this recipe is for you.
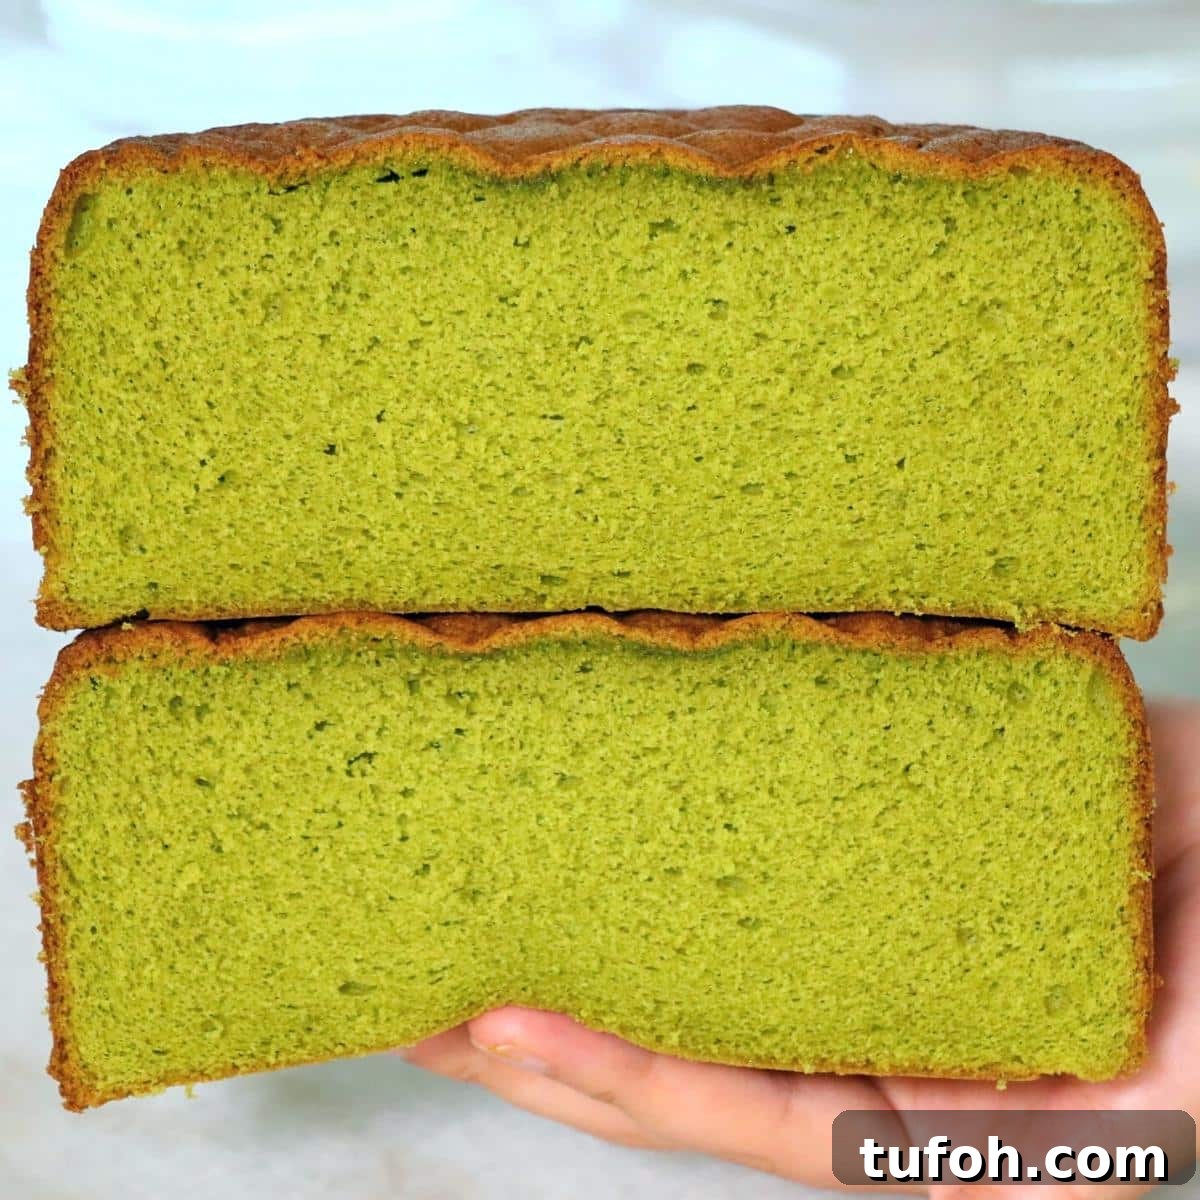
What makes this recipe special
This matcha sponge uses a streamlined Genoise-style technique to produce a professional, airy crumb with fewer steps than many traditional approaches. Two key adjustments make the difference:
- Use oil instead of butter: Melted butter can firm up as the cake cools and may make the crumb slightly drier or heavier. A neutral cooking oil keeps the sponge soft, moist, and tender for days.
- Whip whole eggs warm: Instead of separating yolks and whites, this method whips whole eggs over a warm water bath. It’s efficient, stable, and beginner-friendly while giving an excellent rise and delicate texture typical of Japanese sponges.
From Japan to your kitchen
Matcha is an everyday flavor across Japan, appearing in everything from ice cream to delicate cheesecakes. Although the pure bitterness of high-grade matcha can be intense, a balanced sponge cake highlights the tea’s grassy, sweet, and slightly astringent notes without overwhelming the palate. This sponge is versatile: use it as a base for layered cakes, roll cakes, parfaits, or mousse cups, and finish it with matcha whipped cream or simple syrup for extra moisture.
How to choose matcha powder
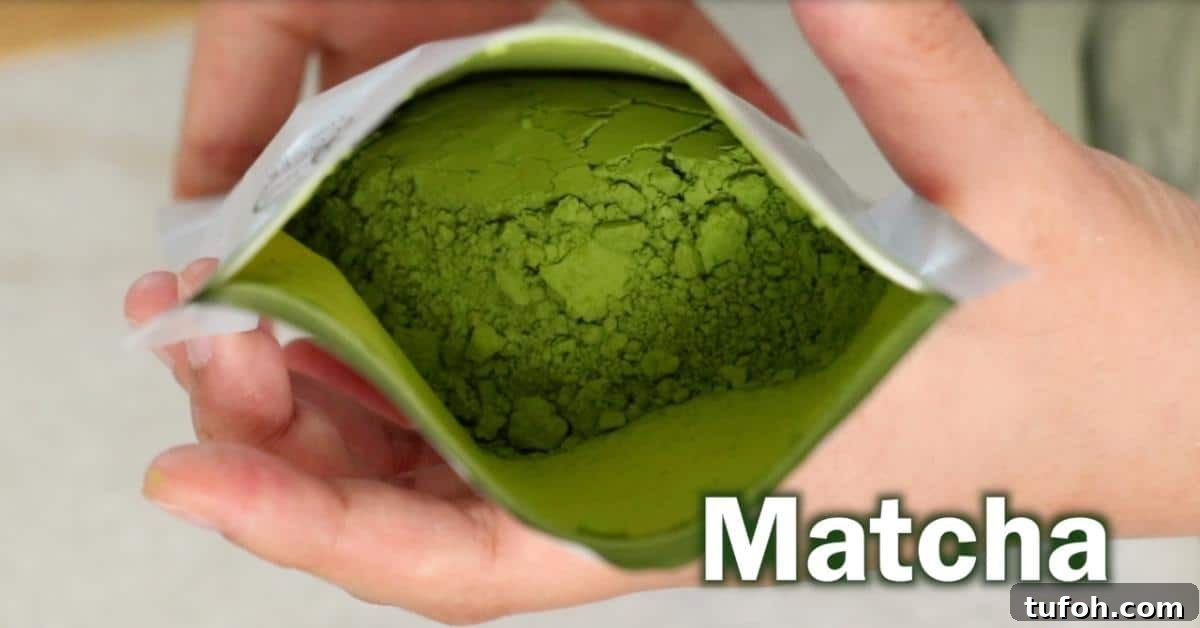
Your choice of matcha greatly affects the flavor and color of the cake. Choose according to the result you want:
- Culinary/baking grade: Milder flavor and an olive-green hue. A good option if you prefer subtler matcha notes or when color is less important.
- High-quality/ceremonial grade: Brighter, vivid green and a richer, more authentic matcha taste. This delivers the most striking color and depth of flavor in the finished sponge.
For the best color and aroma, a pure premium powder is recommended.
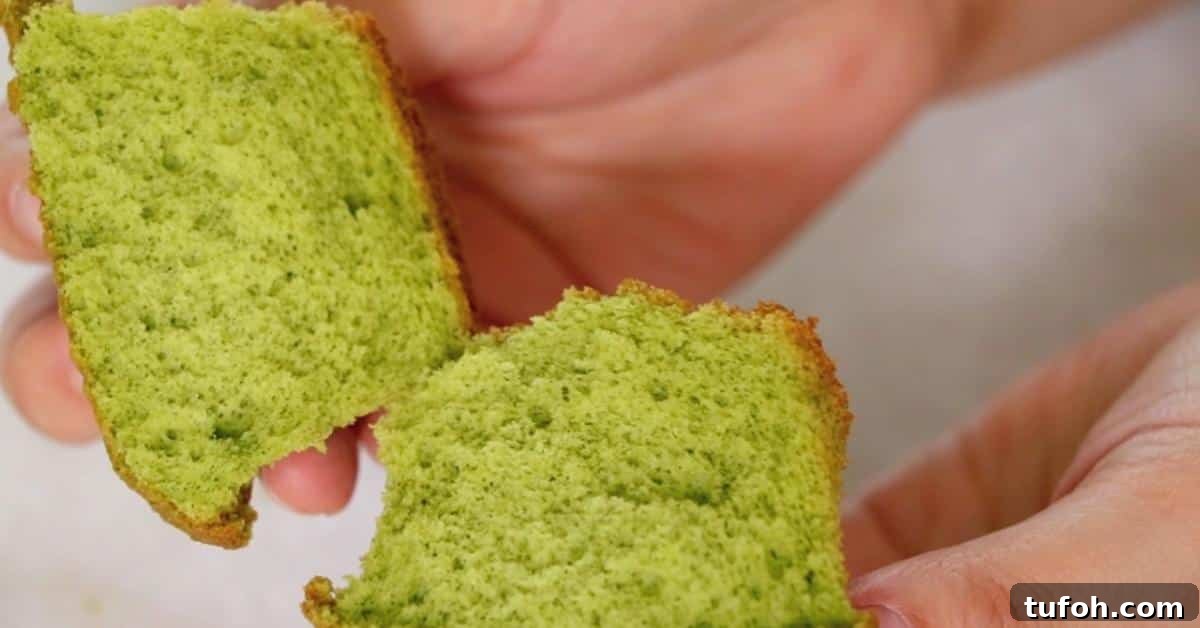
Key ingredients for the fluffiest result
- Granulated sugar: White granulated sugar dissolves cleanly into the eggs, creating a stable, fine foam. Avoid brown sugar—the extra moisture and weight can prevent proper whipping.
- Cake flour: Use cake flour rather than all-purpose flour. Lower protein minimizes gluten development, leading to a lighter, taller sponge.
- Milk: Whole milk adds fat and tenderness; it helps keep the crumb moist.
- Oil: Any neutral cooking oil works (canola, vegetable, light olive oil). Oil keeps the sponge soft at room temperature and contributes to a tender mouthfeel.
6 tips for success
Tip 1 — Warm the eggs
Warm eggs whip faster and produce a more voluminous foam. Use a warm water bath and be careful not to let the bowl touch the water to avoid cooking the eggs.
Tip 2 — Whip at high speed first
Whipping vigorously at the start incorporates air and gives the most lift. Under-whipping is the most common cause of a dense cake.
Tip 3 — Finish at low speed
Switch to low speed near the end to stabilize the foam and produce smaller, more even bubbles for a silky crumb.
Tip 4 — Fold quickly and gently
Matcha powder can deflate foam easily. Fold the dry ingredients in gently but efficiently to preserve air.
Tip 5 — Bake immediately
Transfer the batter to the pan and bake right away—delays let air escape and reduce rise.
Tip 6 — Avoid overbaking
The cake is done when the sides pull away slightly, the top springs back to the touch, and a toothpick comes out clean or with a few dry crumbs. Overbaking dries the cake.
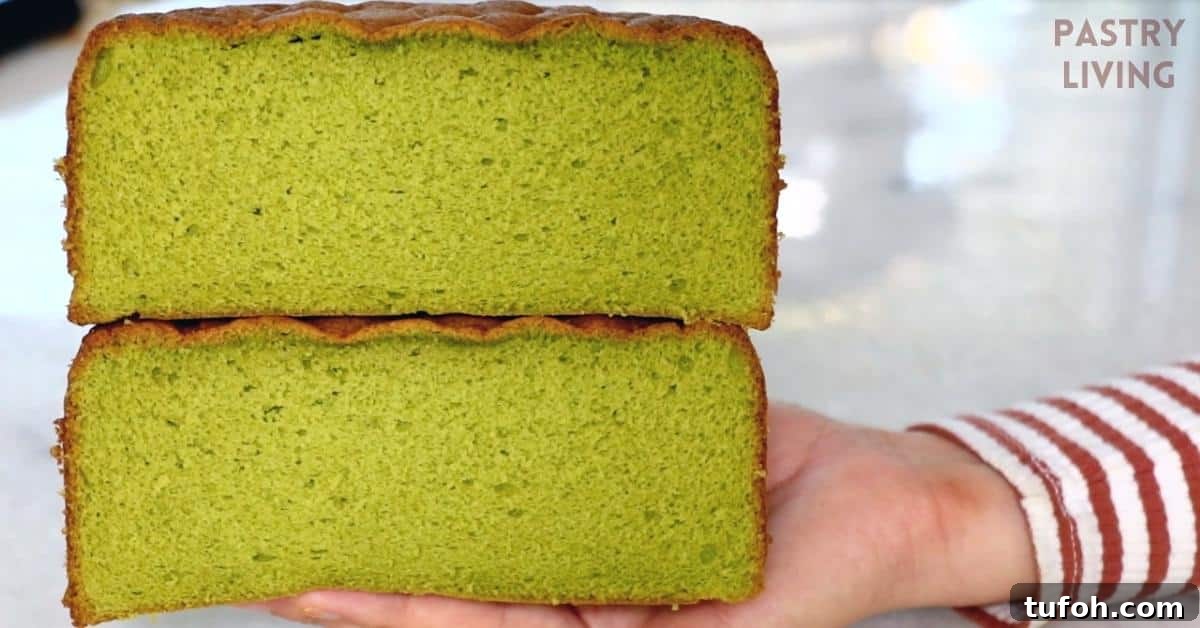
7 steps to make matcha sponge cake
Prepare before you start:
- Preheat the oven to 355°F (180°C).
- Set up a warm water bath (gently simmering water).
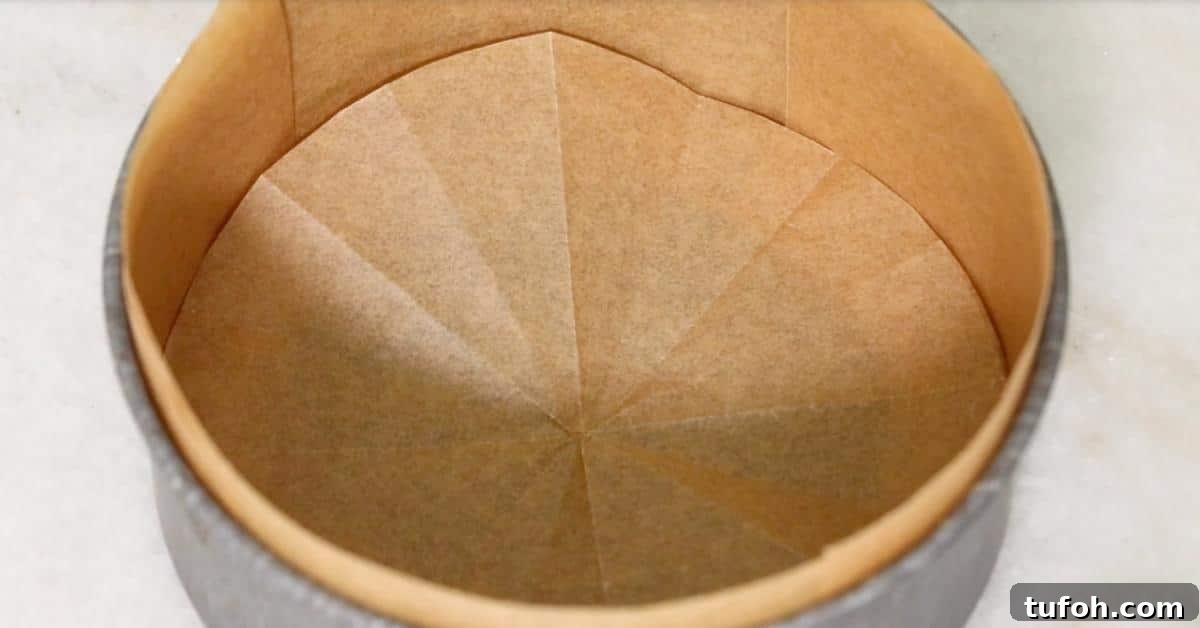
- Line your cake pan with parchment or grease and flour it.
- Sift the cake flour and matcha powder together to remove clumps.
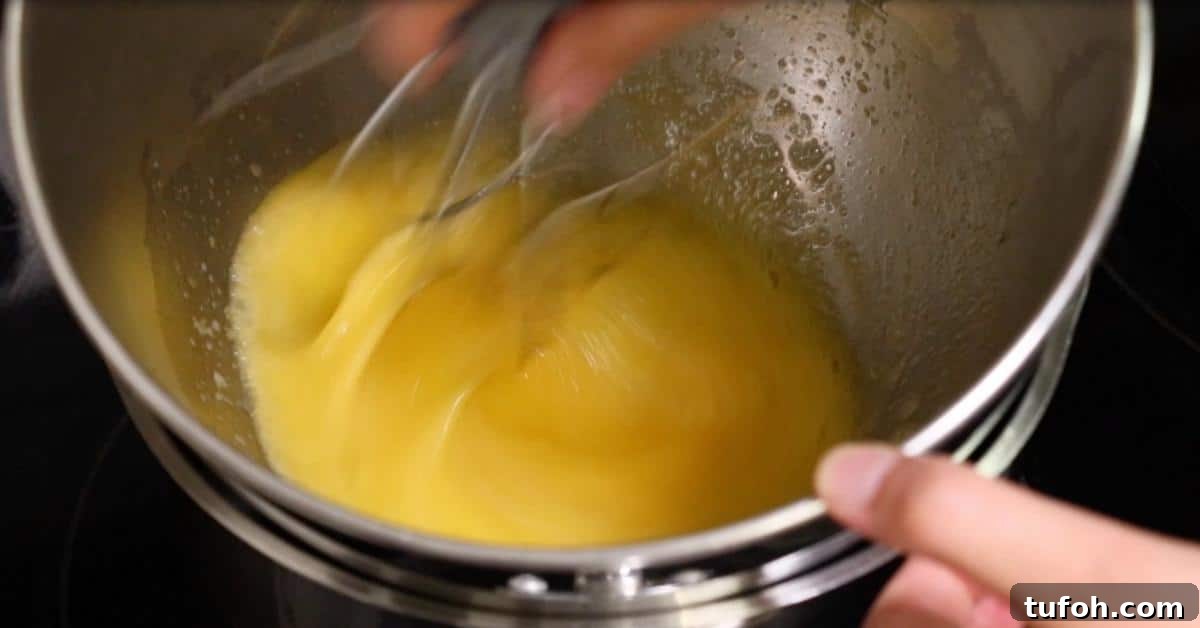
Step 1: In a heatproof bowl whisk the whole eggs and granulated sugar. Place the bowl over the warm water bath and stir constantly so the eggs don’t scramble. Heat until the mixture feels like warm bath water (about 104–113°F / 40–45°C).
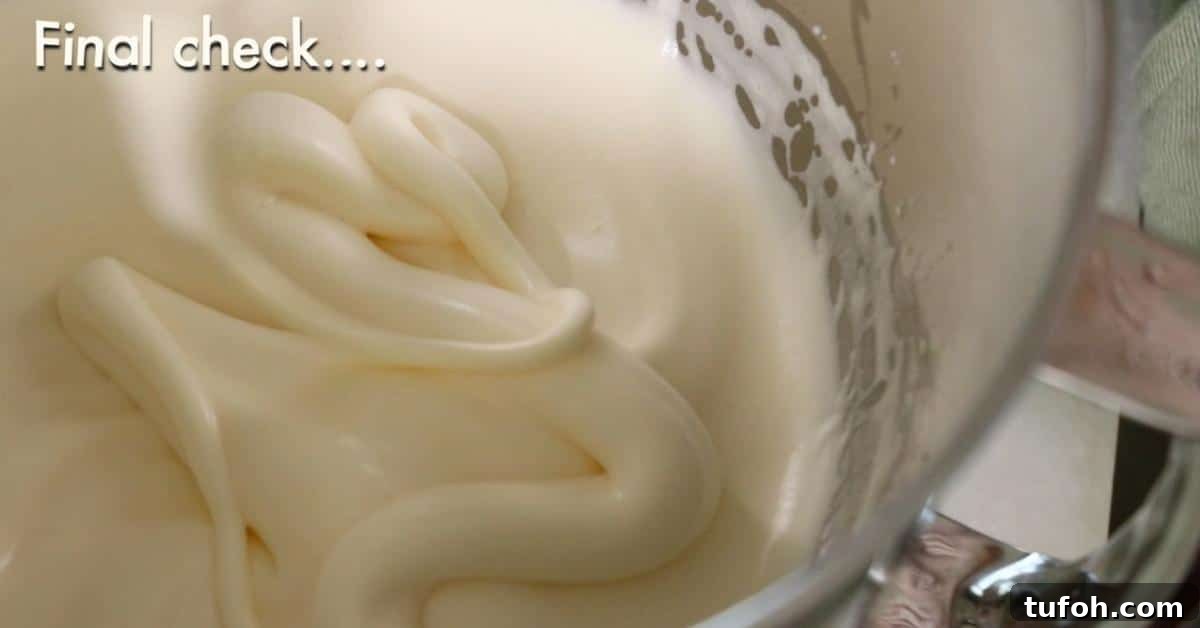
Step 2: Immediately whip the warm egg-and-sugar mixture on high speed. Continue until the batter cools to room temperature and becomes very fluffy—when dropped from a whisk it should form a ribbon that holds its shape briefly on the surface.
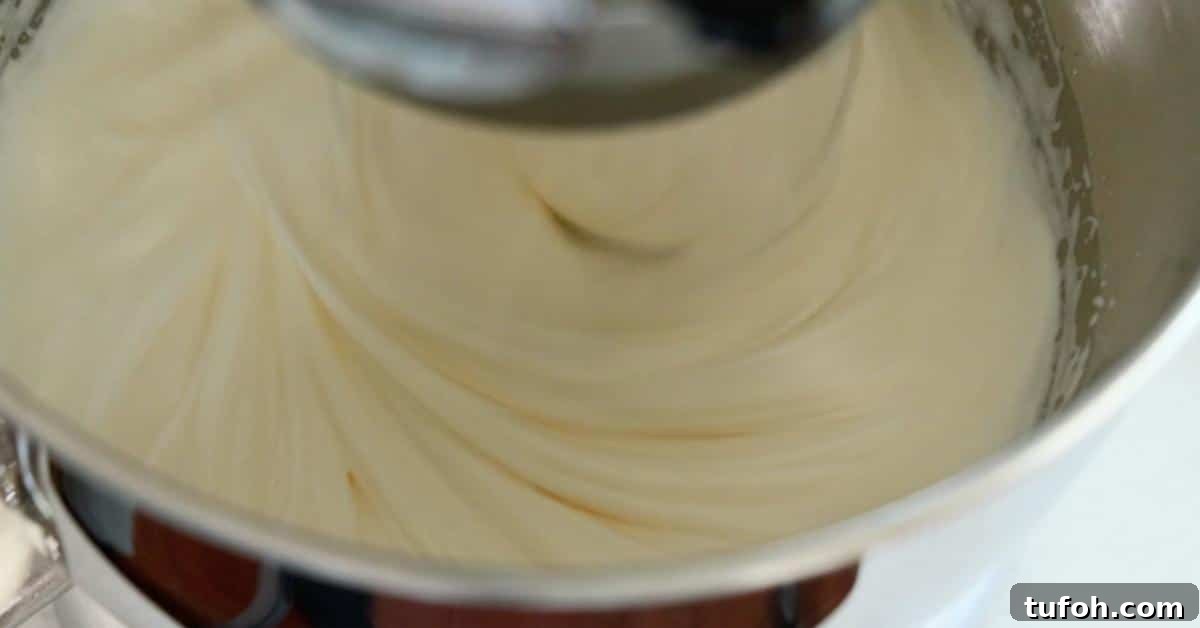
Step 3: Lower the mixer speed and beat for another 5–10 minutes to stabilize the foam and create a glossy, fine-textured batter.
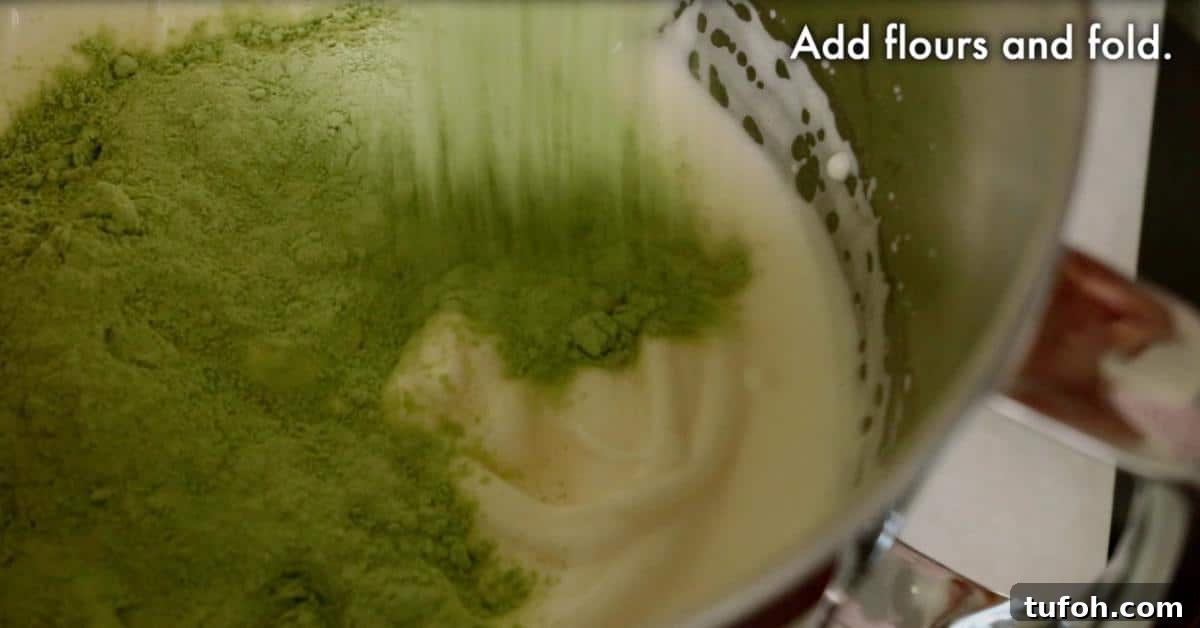
Step 4: Add the sifted cake flour and matcha. Fold gently with a rubber spatula until no streaks of flour remain. Scrape the sides and bottom frequently—matcha tends to cling and clump.
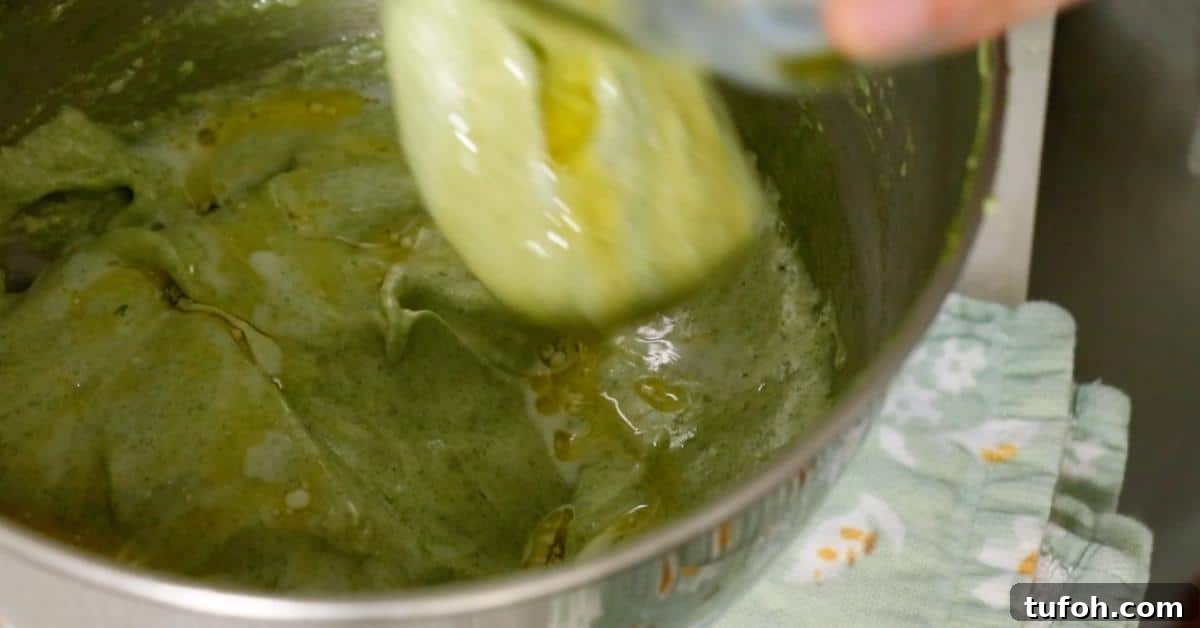
Step 5: Stop folding as soon as the batter flows smoothly and is evenly combined. Overmixing will deflate the foam and make the sponge dense.
Step 6: Add the milk and oil, fold just to combine, then pour the batter into the prepared pan. Firmly tap the pan on the counter a few times and run a toothpick through the batter in a swirl to release large bubbles. Bake in the preheated oven until a toothpick inserted in the center comes out clean.
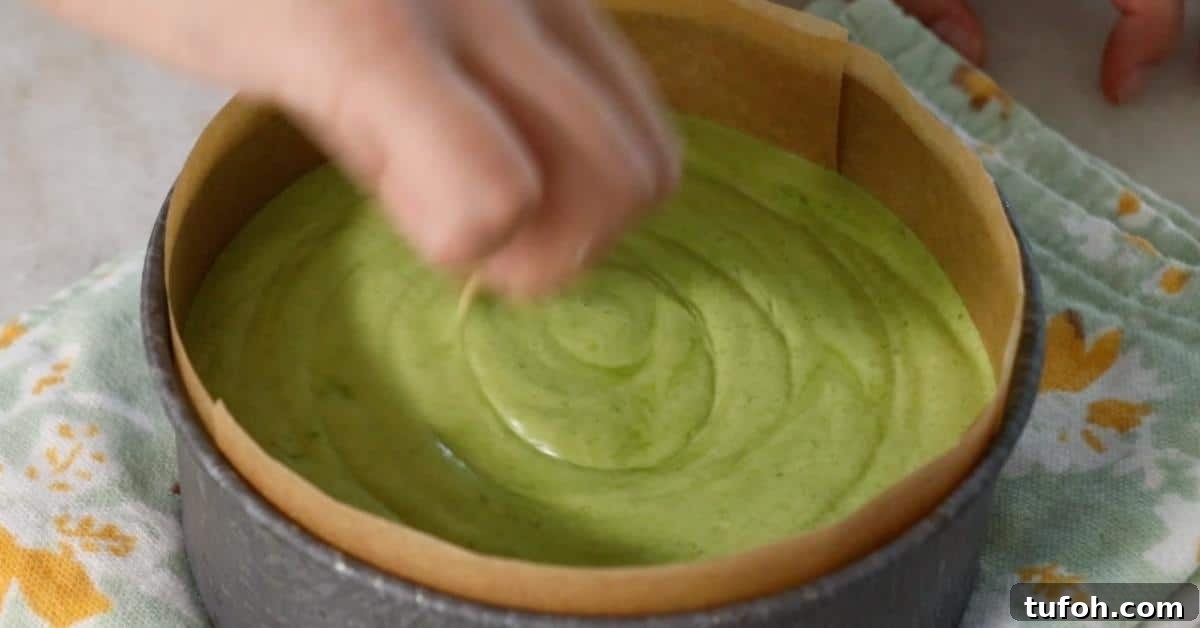
Size and baking time guidelines:
- Two 6-inch pans (split batch): about 25 minutes.
- One 6-inch pan (smaller, taller cake): 30–35 minutes—use a taller pan or line it higher to prevent overflow.
- One 8-inch pan (full batch): about 35 minutes.
Always adjust times to your oven and check doneness with a toothpick.
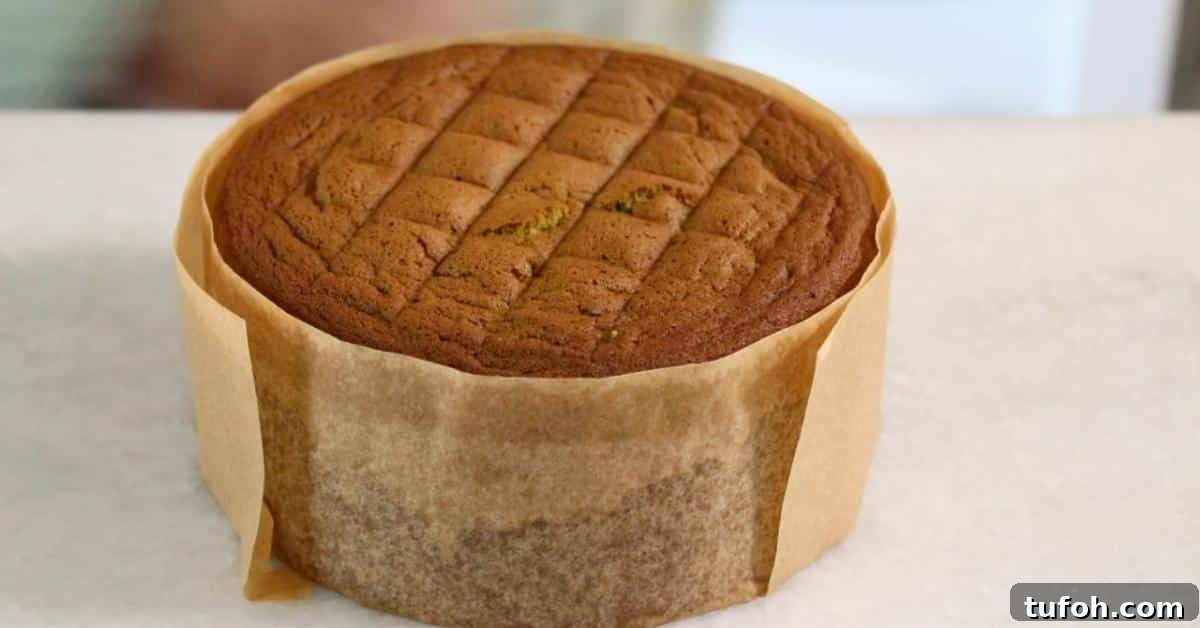
📸 After a slight shrink:
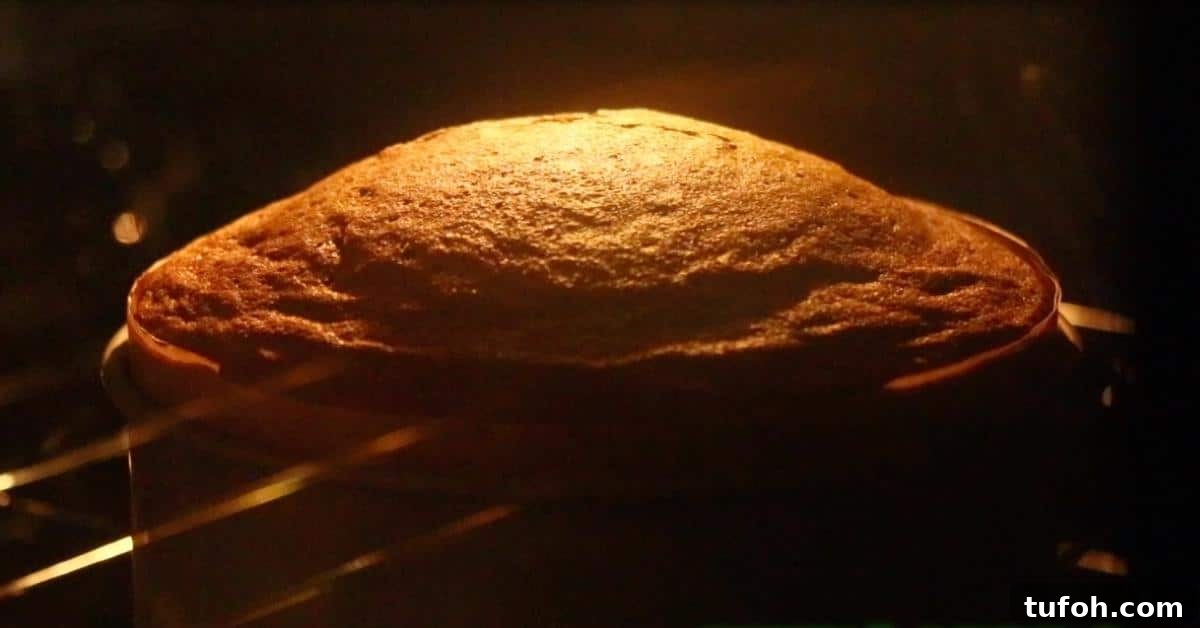
Step 7: Remove the cake and give the pan a few firm taps on the counter to release trapped steam, then invert the cake onto a cooling rack. If you used parchment liners, remove the pan immediately. Cool completely before slicing to preserve structure and texture.
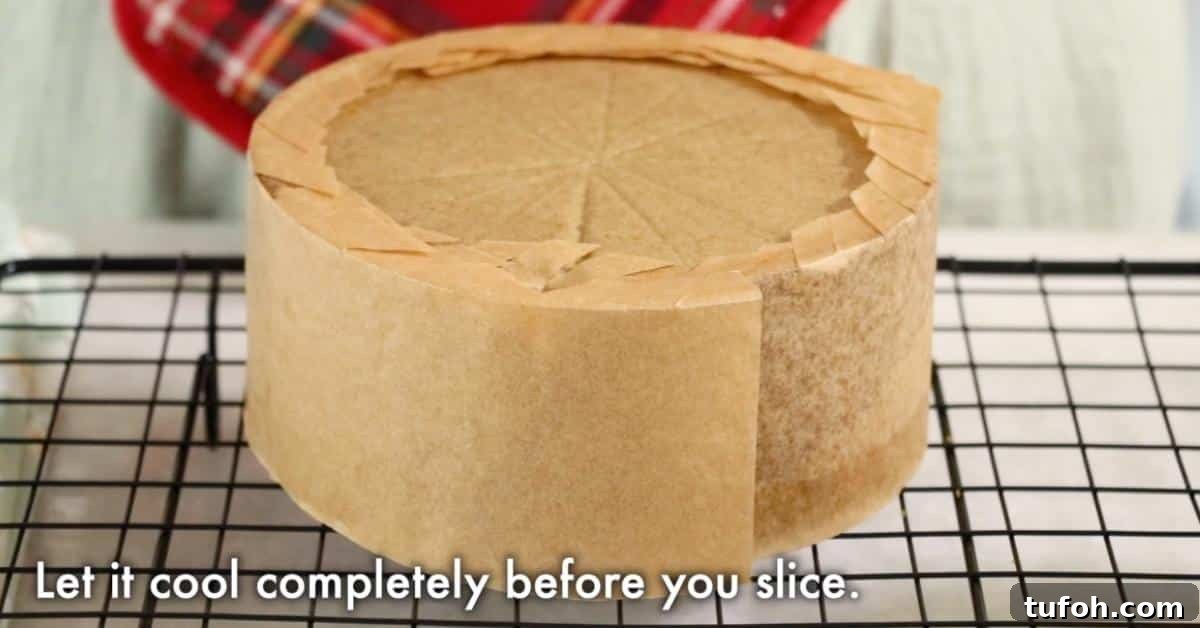
How to store the sponge base
Genoise-style sponges have relatively low fat and can dry faster than butter-rich cakes. Store them properly to keep the texture.
- Room temperature: 1–2 days in a covered container.
- Refrigerator: 3–4 days—wrap tightly in plastic wrap and place inside a sealed bag.
- Freezer: Up to 2 months—wrap tightly in two layers of plastic and use a freezer-safe bag.
Simple syrup for sponge cakes
Light simple syrup keeps layers moist and enhances flavor. Dissolve equal parts sugar and hot water (1:1 ratio), cool, and brush onto sponge layers before frosting.
Frequently asked questions
It’s best to use cake flour. All-purpose flour contains more protein and develops more gluten, which can make the sponge heavier and less tender.
Yes. A hand mixer works well; it just takes a bit more time and effort than a stand mixer.
Oil remains liquid at room temperature, helping the sponge stay soft and light. Butter can solidify and weigh down delicate cake batters.
More sponge cake ideas
If you enjoy this matcha sponge, try other sponge-based treats such as roll cakes, chocolate roll cakes, Joconde biscuit sponges for layered desserts, or classic ladyfingers. These variations use the same core techniques and are excellent for learning different finishing methods.
Did you try the recipe?
Please leave honest feedback in the comment section below—I’d love to hear how you served it for special occasions and what variations you enjoyed.
Thank you! — Aya
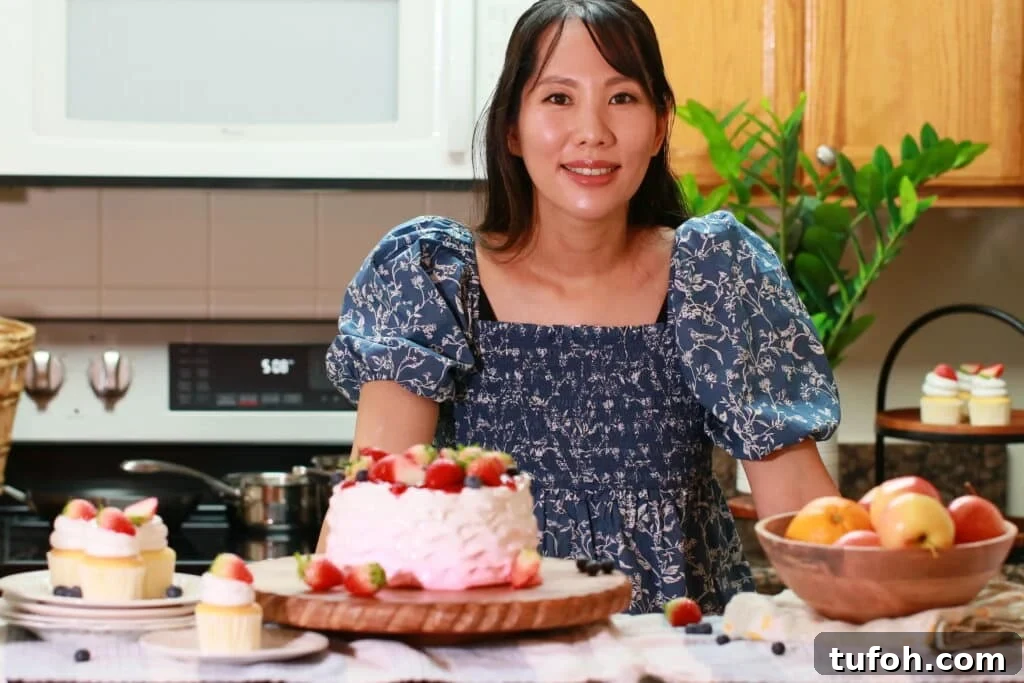
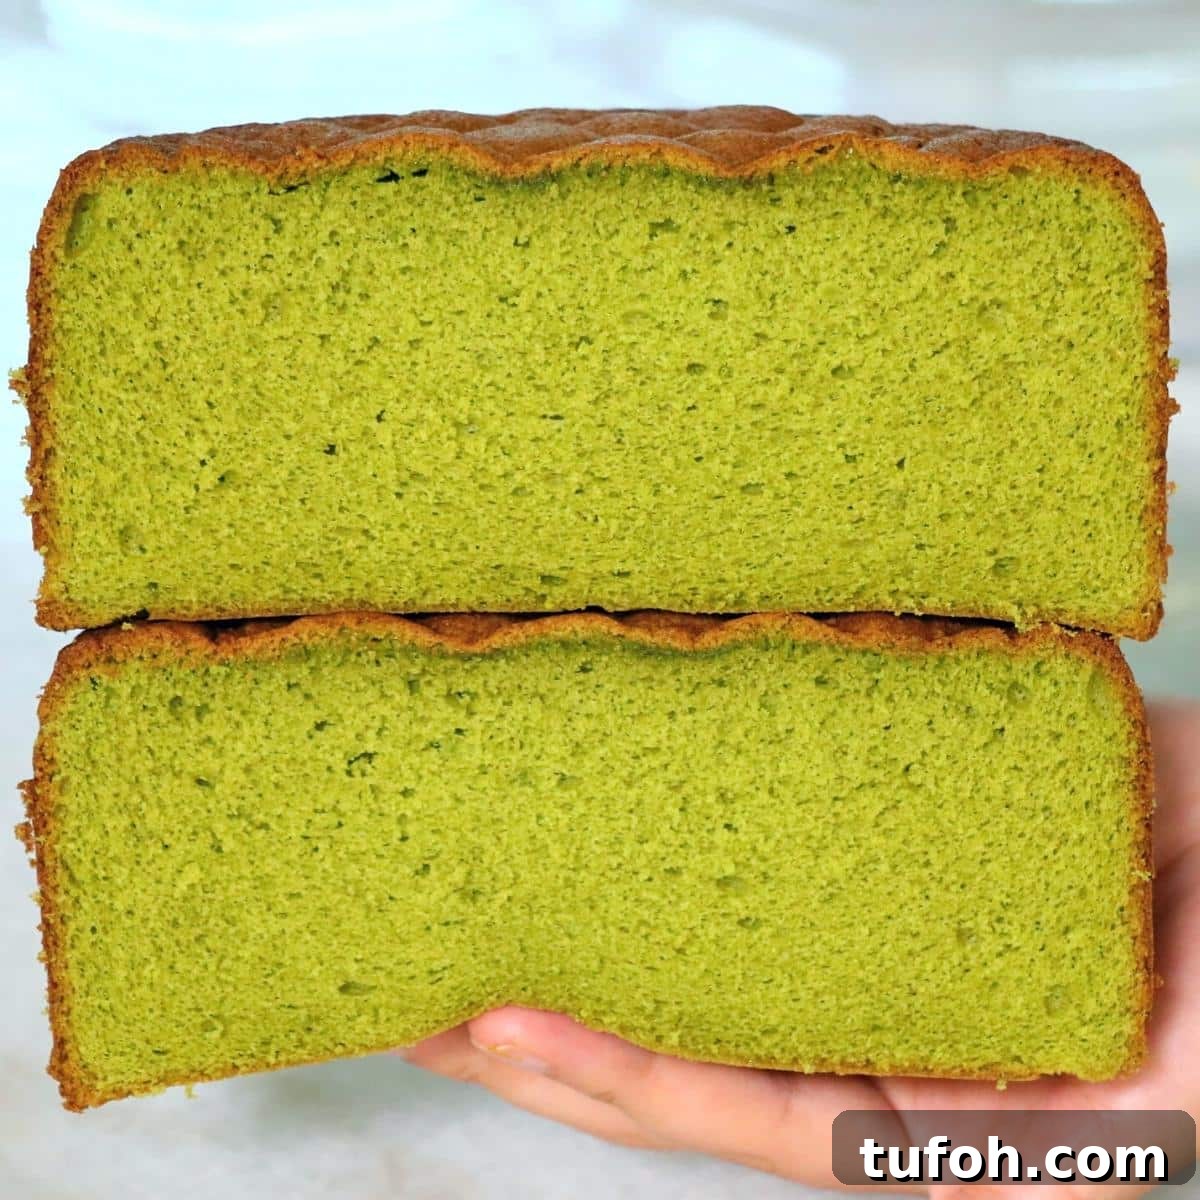
Fluffy Matcha Sponge Cake
Ingredients
- 200 g whole eggs (about 4 eggs)
- 140 g granulated sugar (⅔ cup)
- 110 g cake flour (1 cup)
- 10 g matcha powder (about 4 teaspoons)
- 30 g whole milk (2 tablespoons)
- 30 g oil (2 tablespoons)
NOTE: For best results, weigh ingredients. Cup measurements are provided for convenience.
Equipment
- Cake pan (8-inch or two 6-inch pans)
- Parchment paper
- Sieve
- Stand mixer or hand mixer
- Rubber spatula
Method
- Prepare: Preheat oven to 355°F (180°C). Prepare a warm water bath. Line pans with parchment and sift cake flour with matcha.
- Warm eggs and sugar: Whisk eggs and sugar in a heatproof bowl over the warm water bath until the mixture reaches about 104–113°F (40–45°C).
- Whip at high speed: Immediately whip on high speed until the mixture cools to room temperature and forms a thick ribbon that holds briefly on the surface.
- Stabilize at low speed: Reduce speed and beat for 5–10 minutes until the batter looks glossy and fine-textured.
- Add dry ingredients: Fold in the sifted cake flour and matcha gently until no streaks remain, scraping sides and bottom as needed.
- Add milk and oil: Fold in milk and oil just until combined. Pour into prepared pan, tap to remove large bubbles, and swirl a toothpick through the batter if desired.
- Bake and cool: Bake in the preheated oven (about 35 minutes for one 8-inch pan, or 25 minutes for two 6-inch pans). Tap the pan a few times after removing from the oven, invert onto a cooling rack, and cool completely before slicing.
Notes
The video demonstration used a half batch for a 6-inch pan; steps and tips are the same. To store, wrap the sponge tightly in plastic wrap (double-wrap recommended) and keep it in a sealed bag. Best eaten within a few days for optimal texture.
- Room temperature: 1–2 days
- Refrigerator: 3–4 days (well wrapped)
- Freezer: Up to 2 months (double-wrapped)