This post may contain affiliate links, please visit our privacy policy for details.
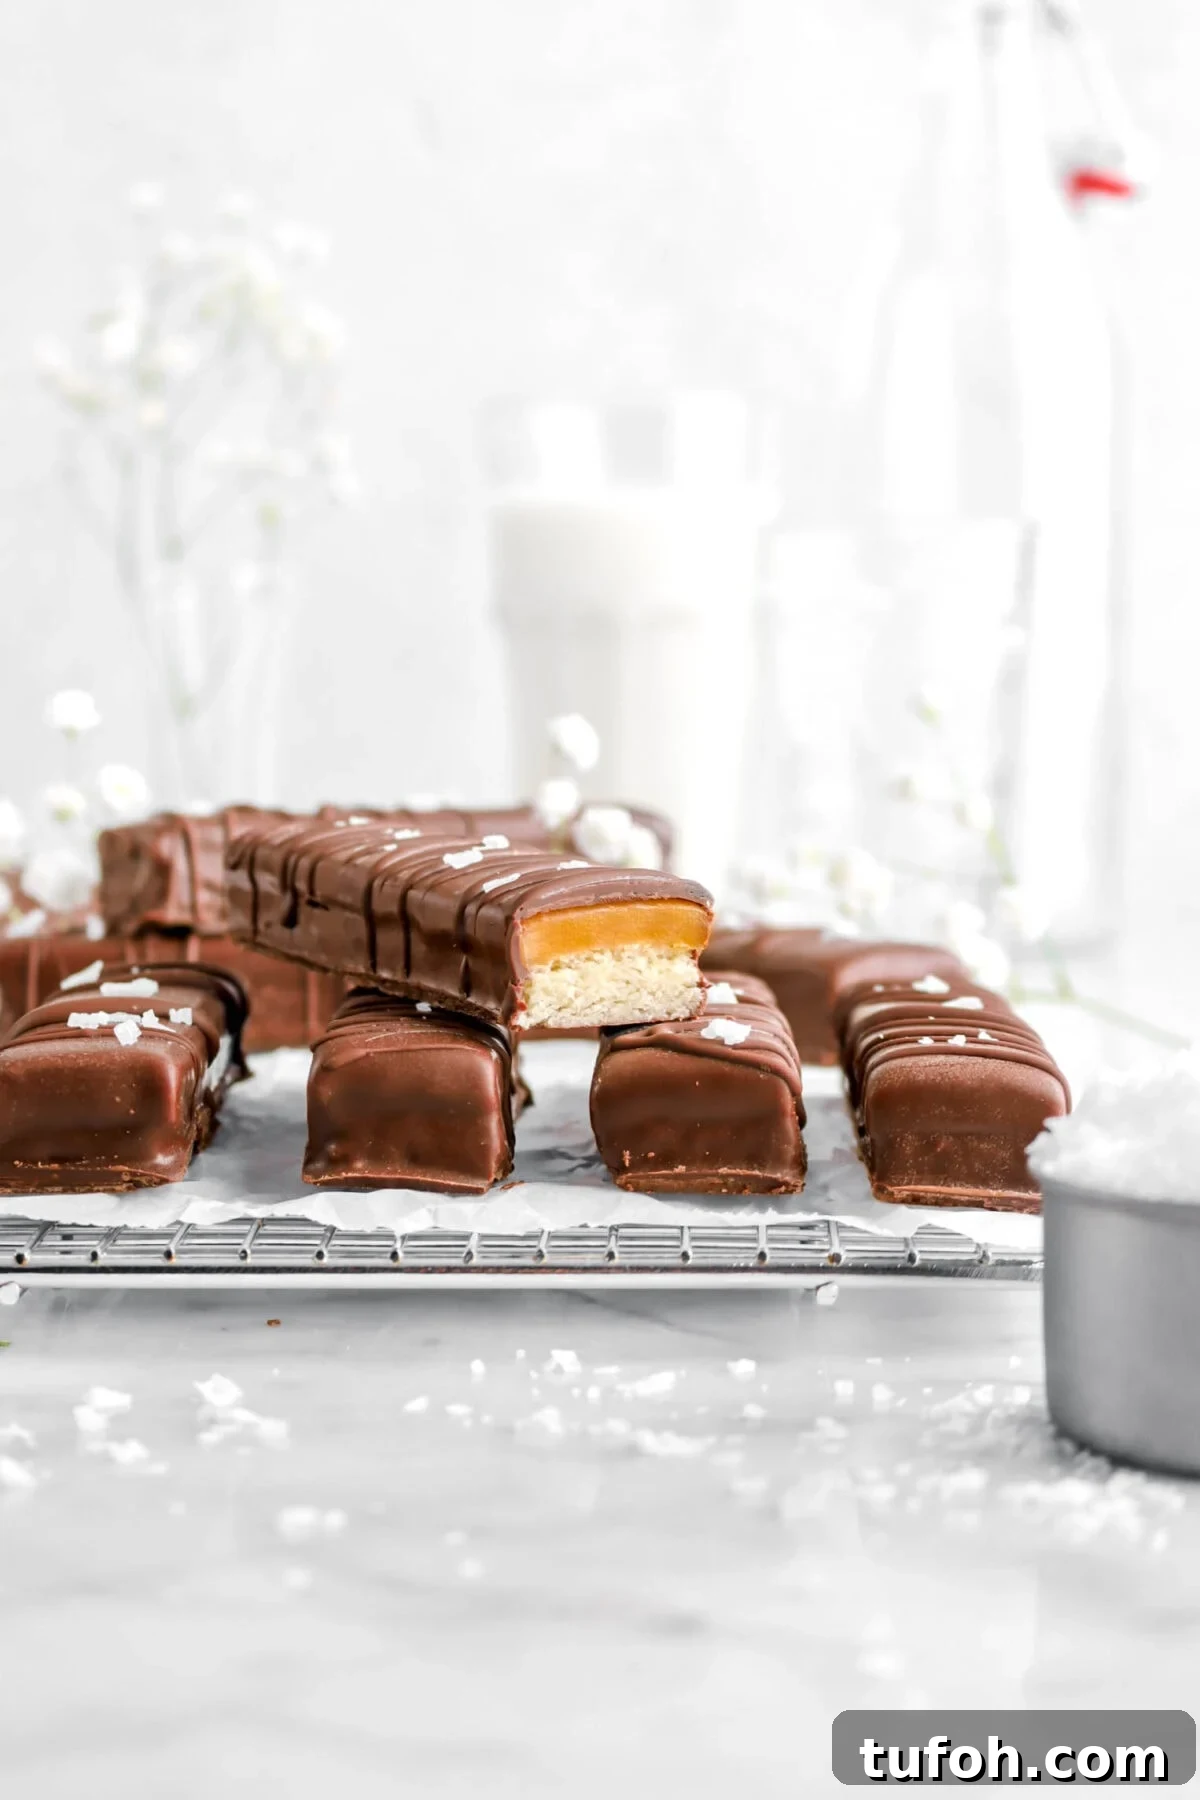
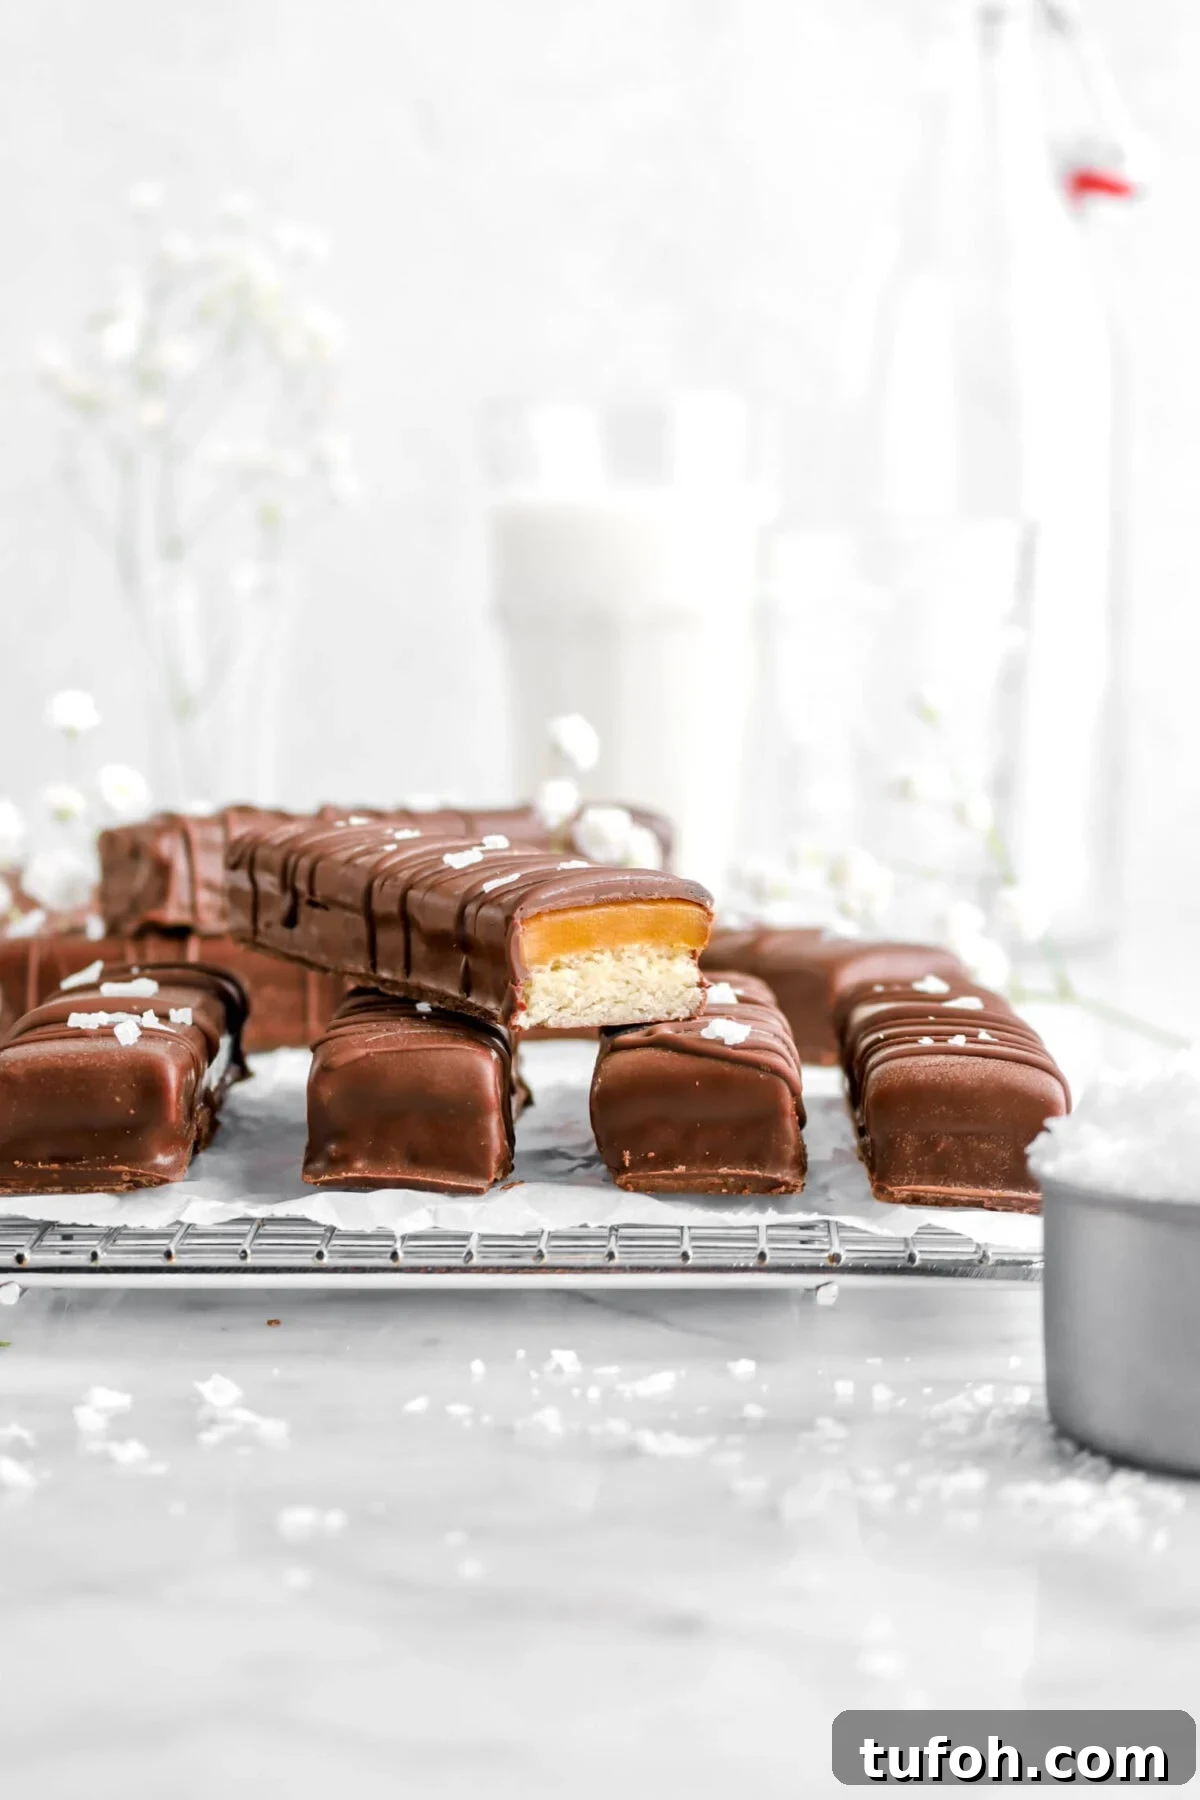
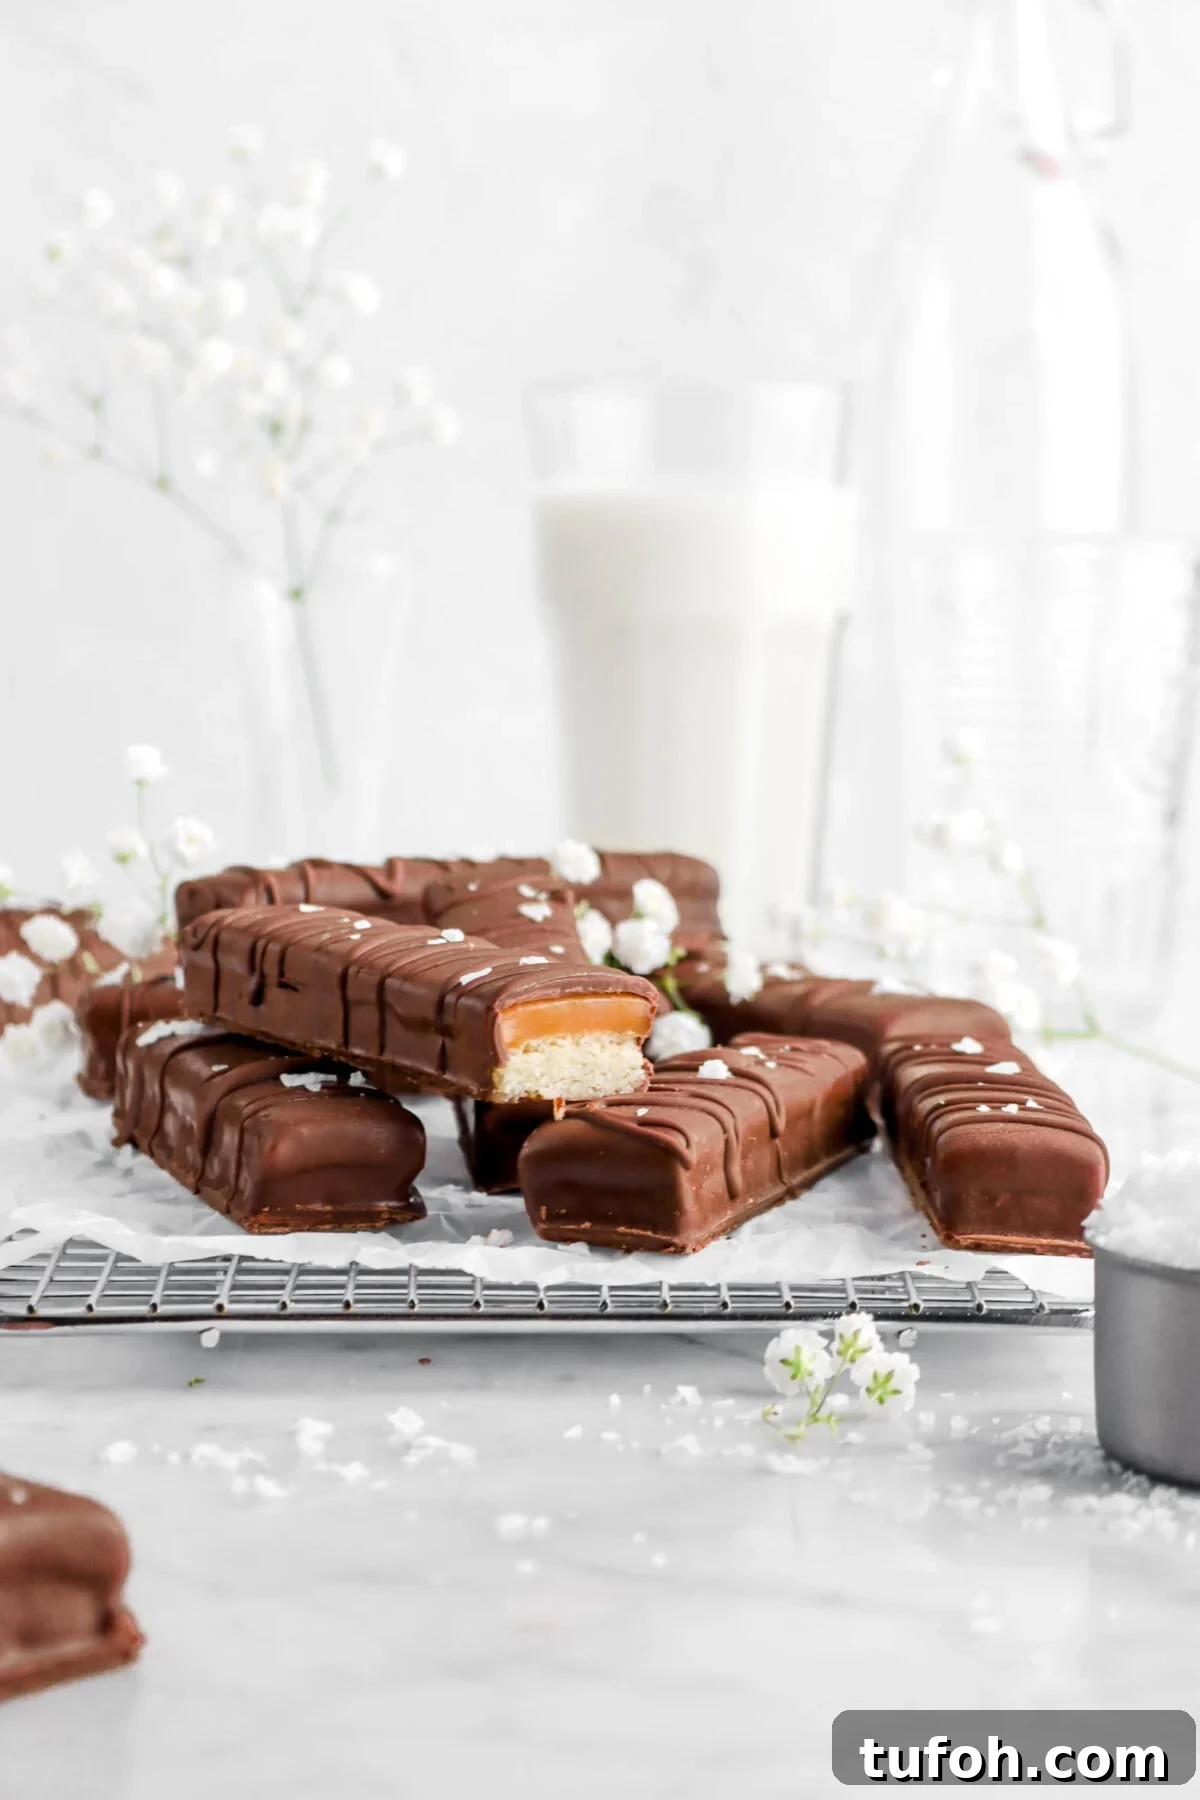
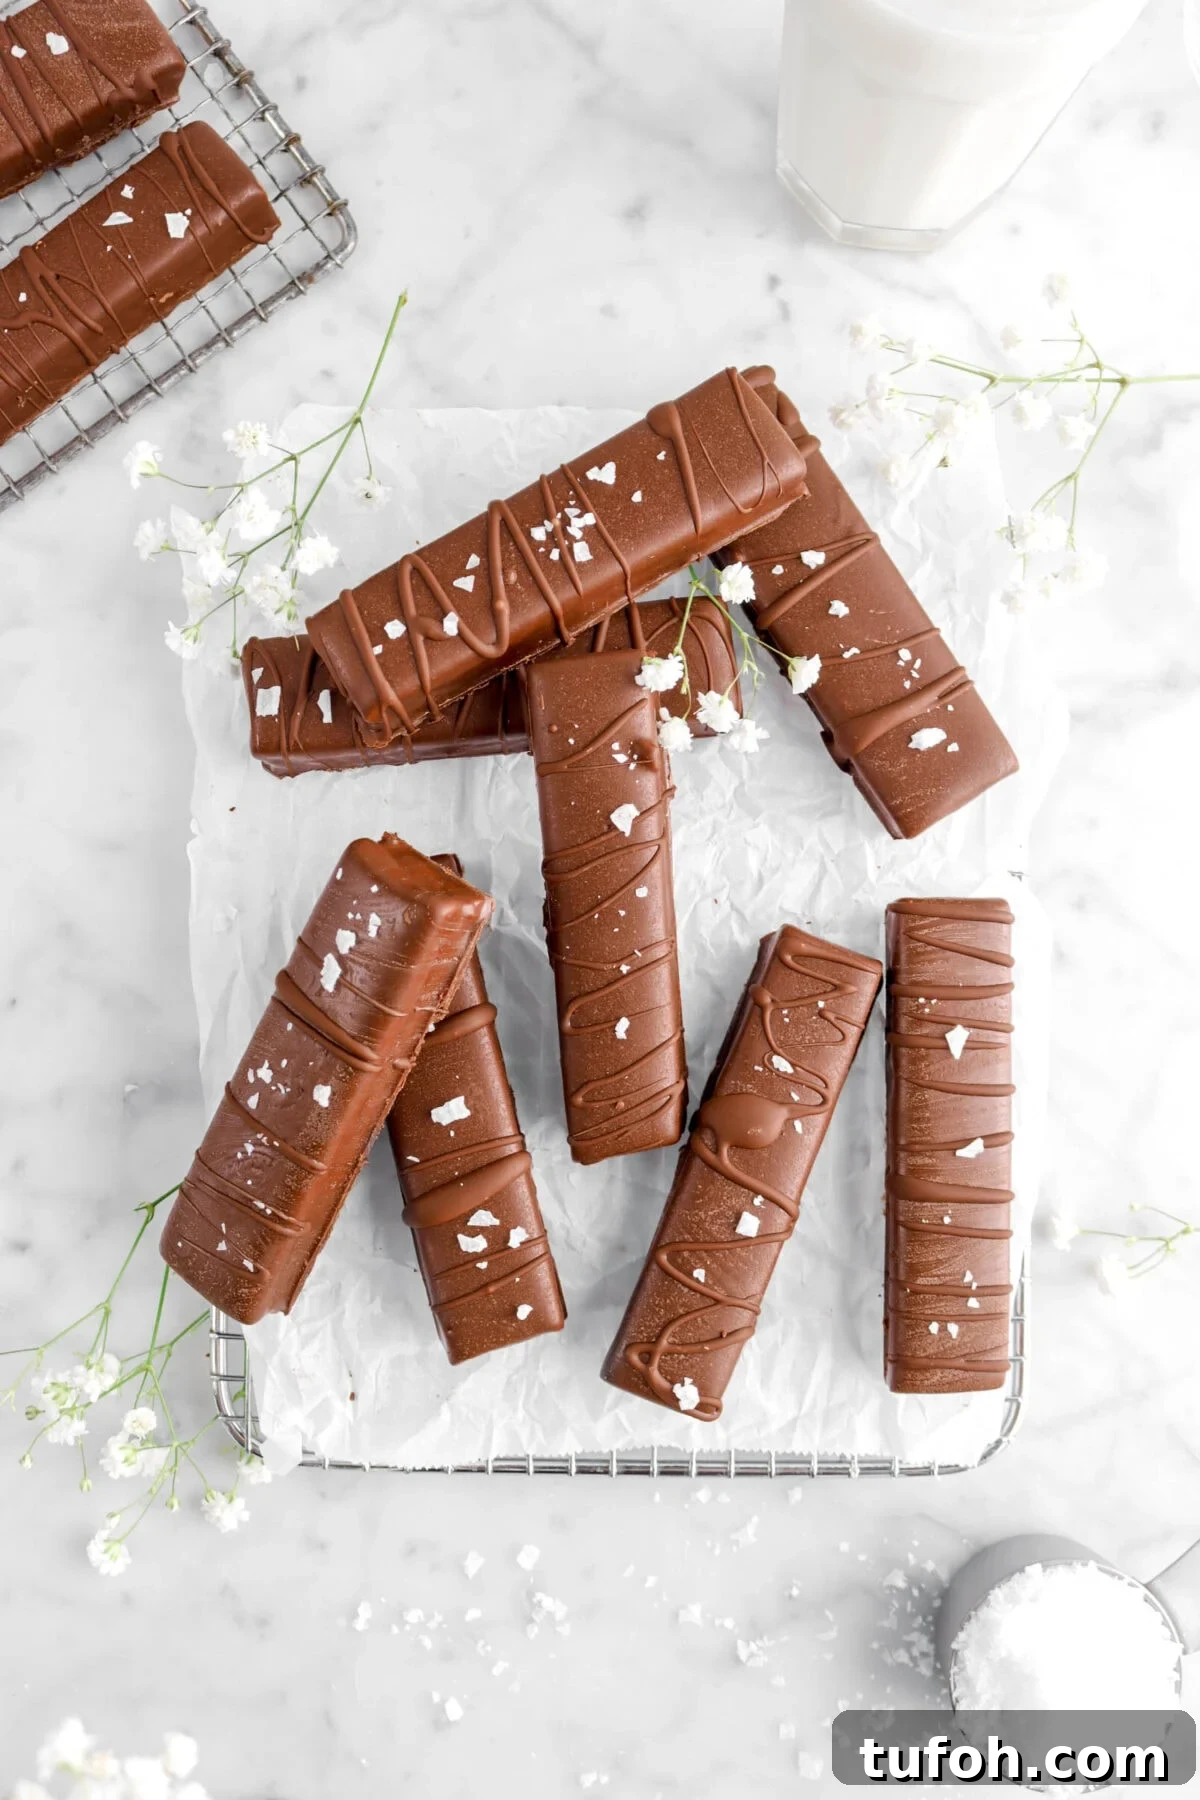
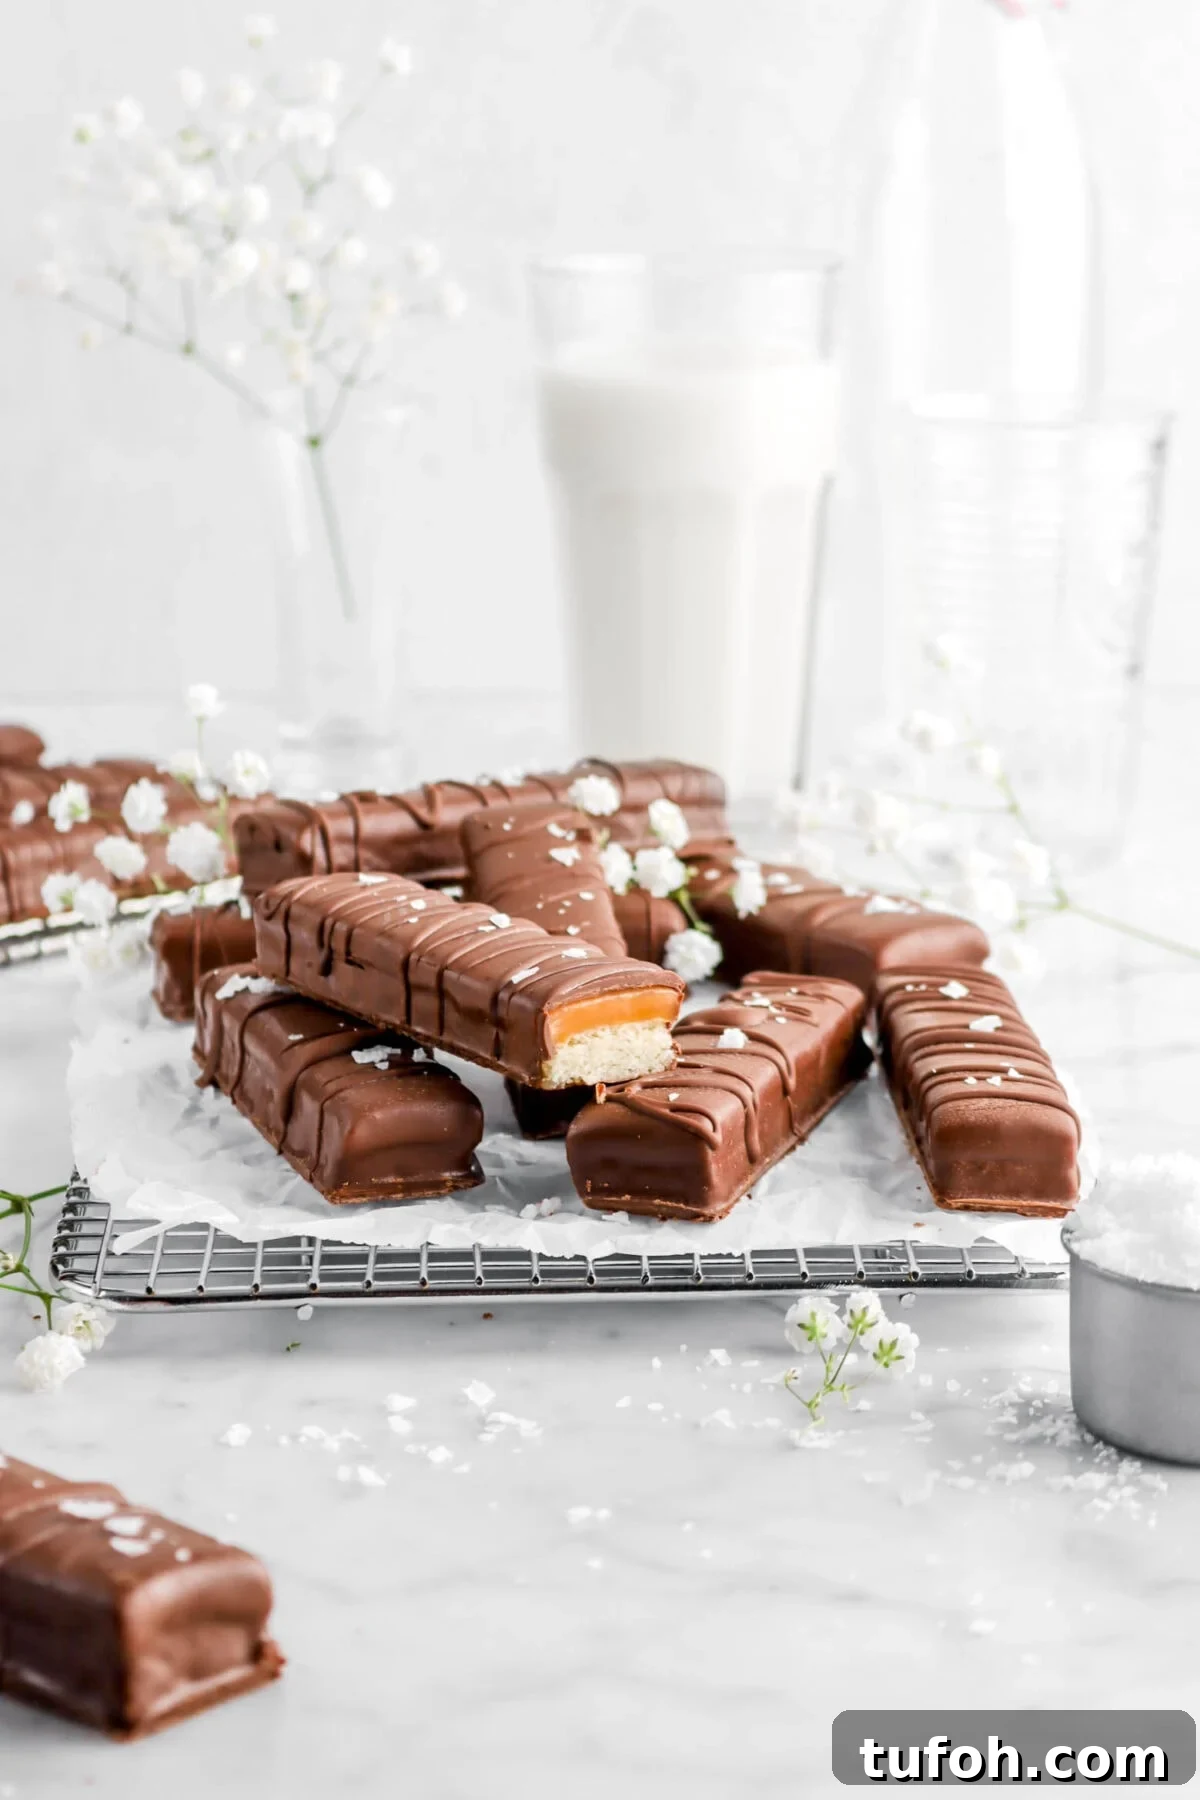
Homemade Twix Bars are far superior to the store-bought version: a tender shortbread base, a layer of soft homemade caramel, and a glossy chocolate coating finished with flaky sea salt. The shortbread is crumbly and buttery, while the caramel stays luxuriously gooey instead of turning rock-hard. Each bite blends chewy caramel, crisp shortbread, and rich chocolate for a nostalgic treat that’s sweet but not cloying. These bars are easier to make than you might expect, taste far better than the packaged kind, and make a wonderful gift or an indulgent snack any time of year.
About The Recipe
There’s something irresistible about Twix: a simple buttery shortbread, soft caramel, and a chocolate coating. Making them at home intensifies the flavor and texture, and the process is straightforward. The key to success is working efficiently when you make the caramel and using a reliable candy thermometer. Once you taste the homemade caramel and fresh shortbread together, you’ll see why these bars are so special.
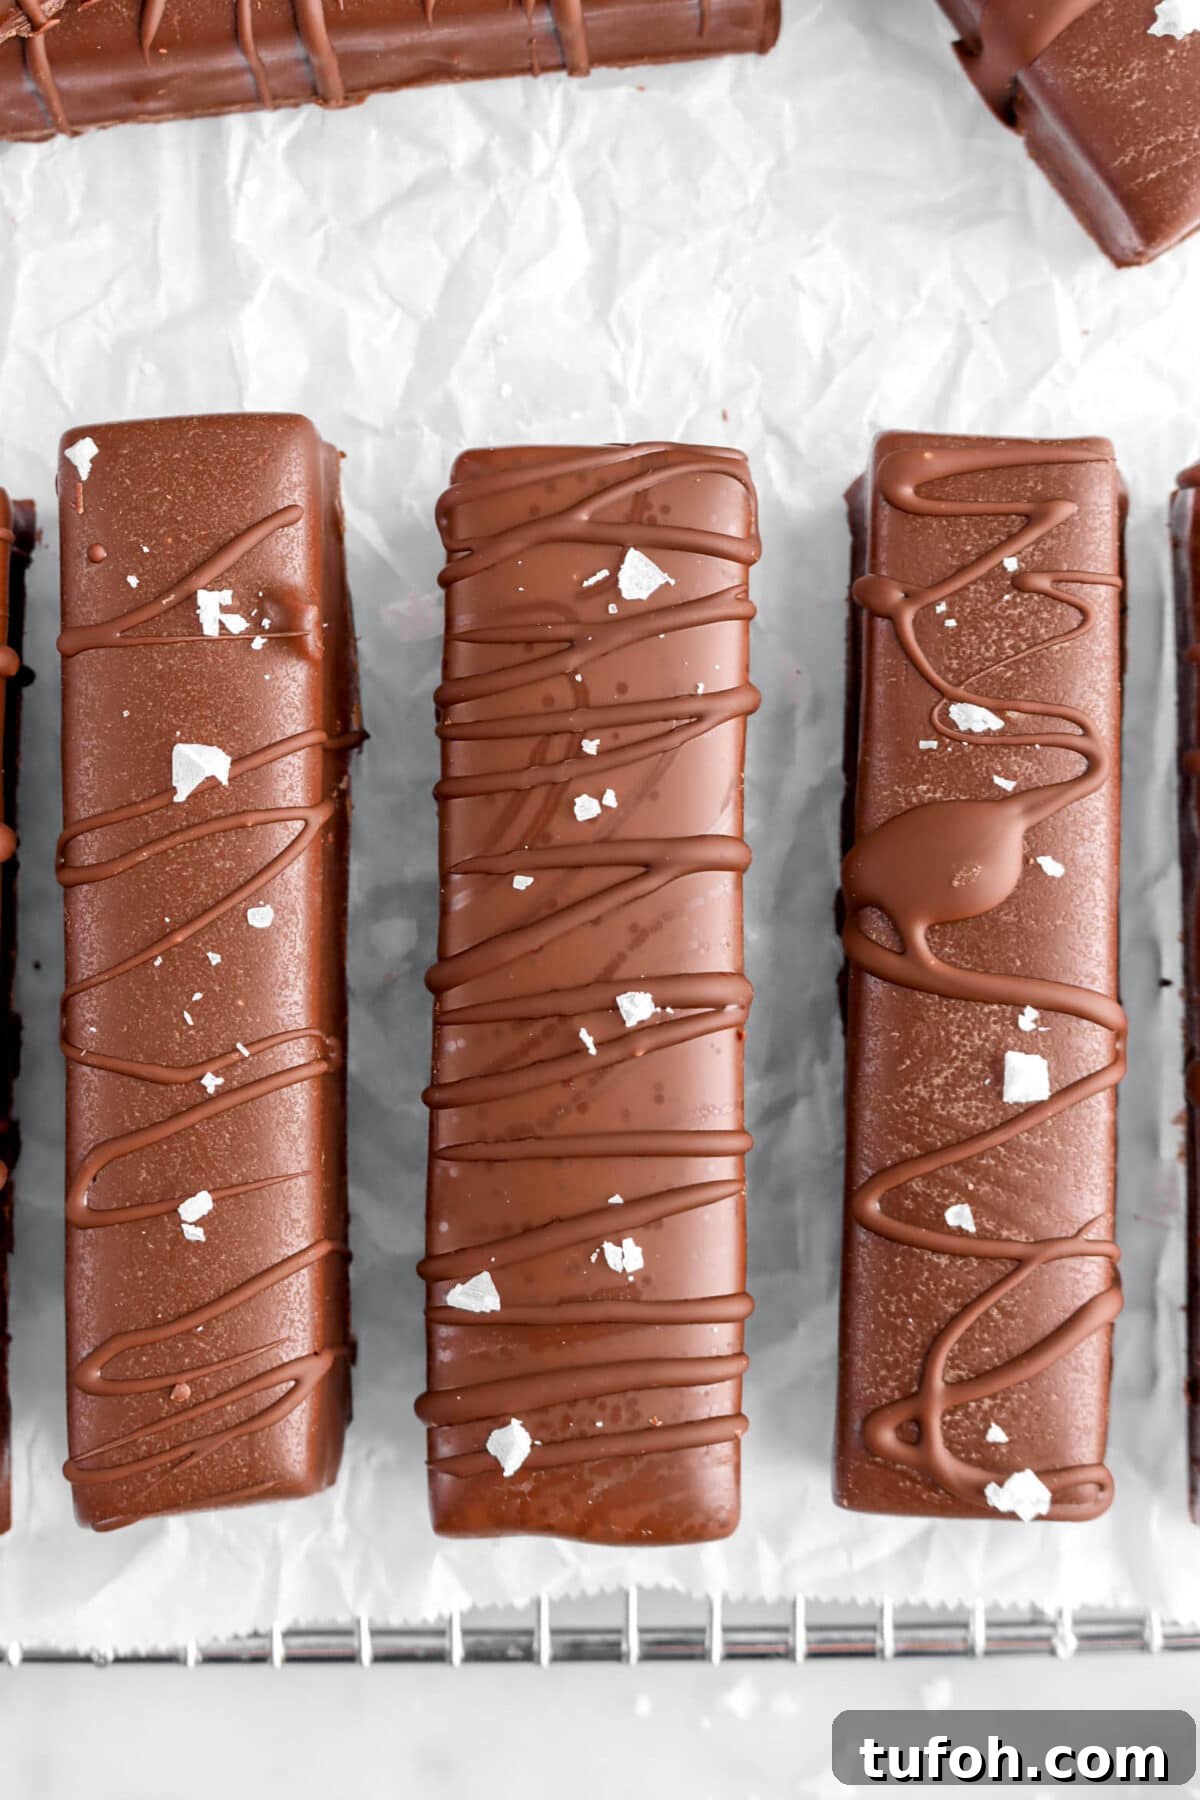
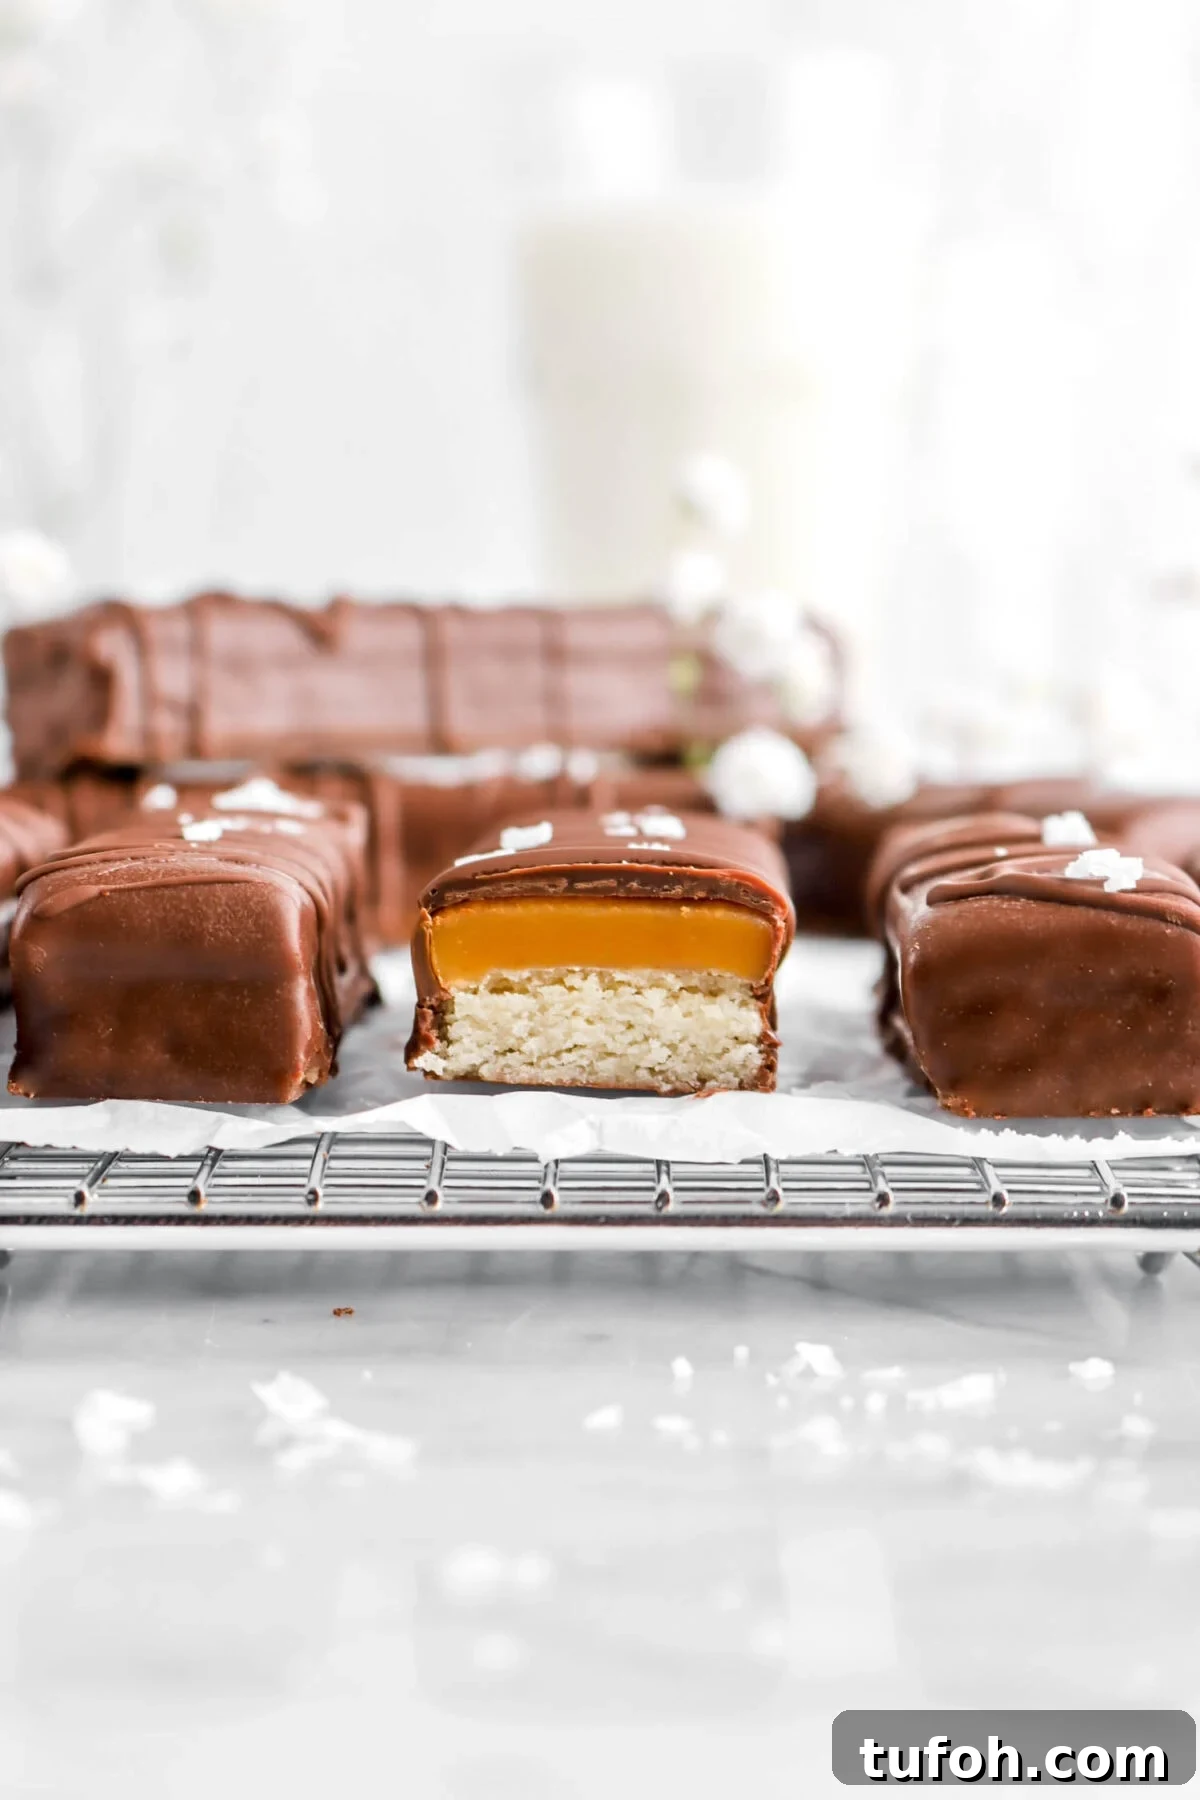
After sharing homemade Snickers, we wanted to recreate another childhood favorite. These Twix Bars keep the classic components and focus on straightforward steps: a simple shortbread, a soft salted caramel, and a semi-sweet chocolate coating for a balanced finish. They’re comforting to make and even more satisfying to eat.
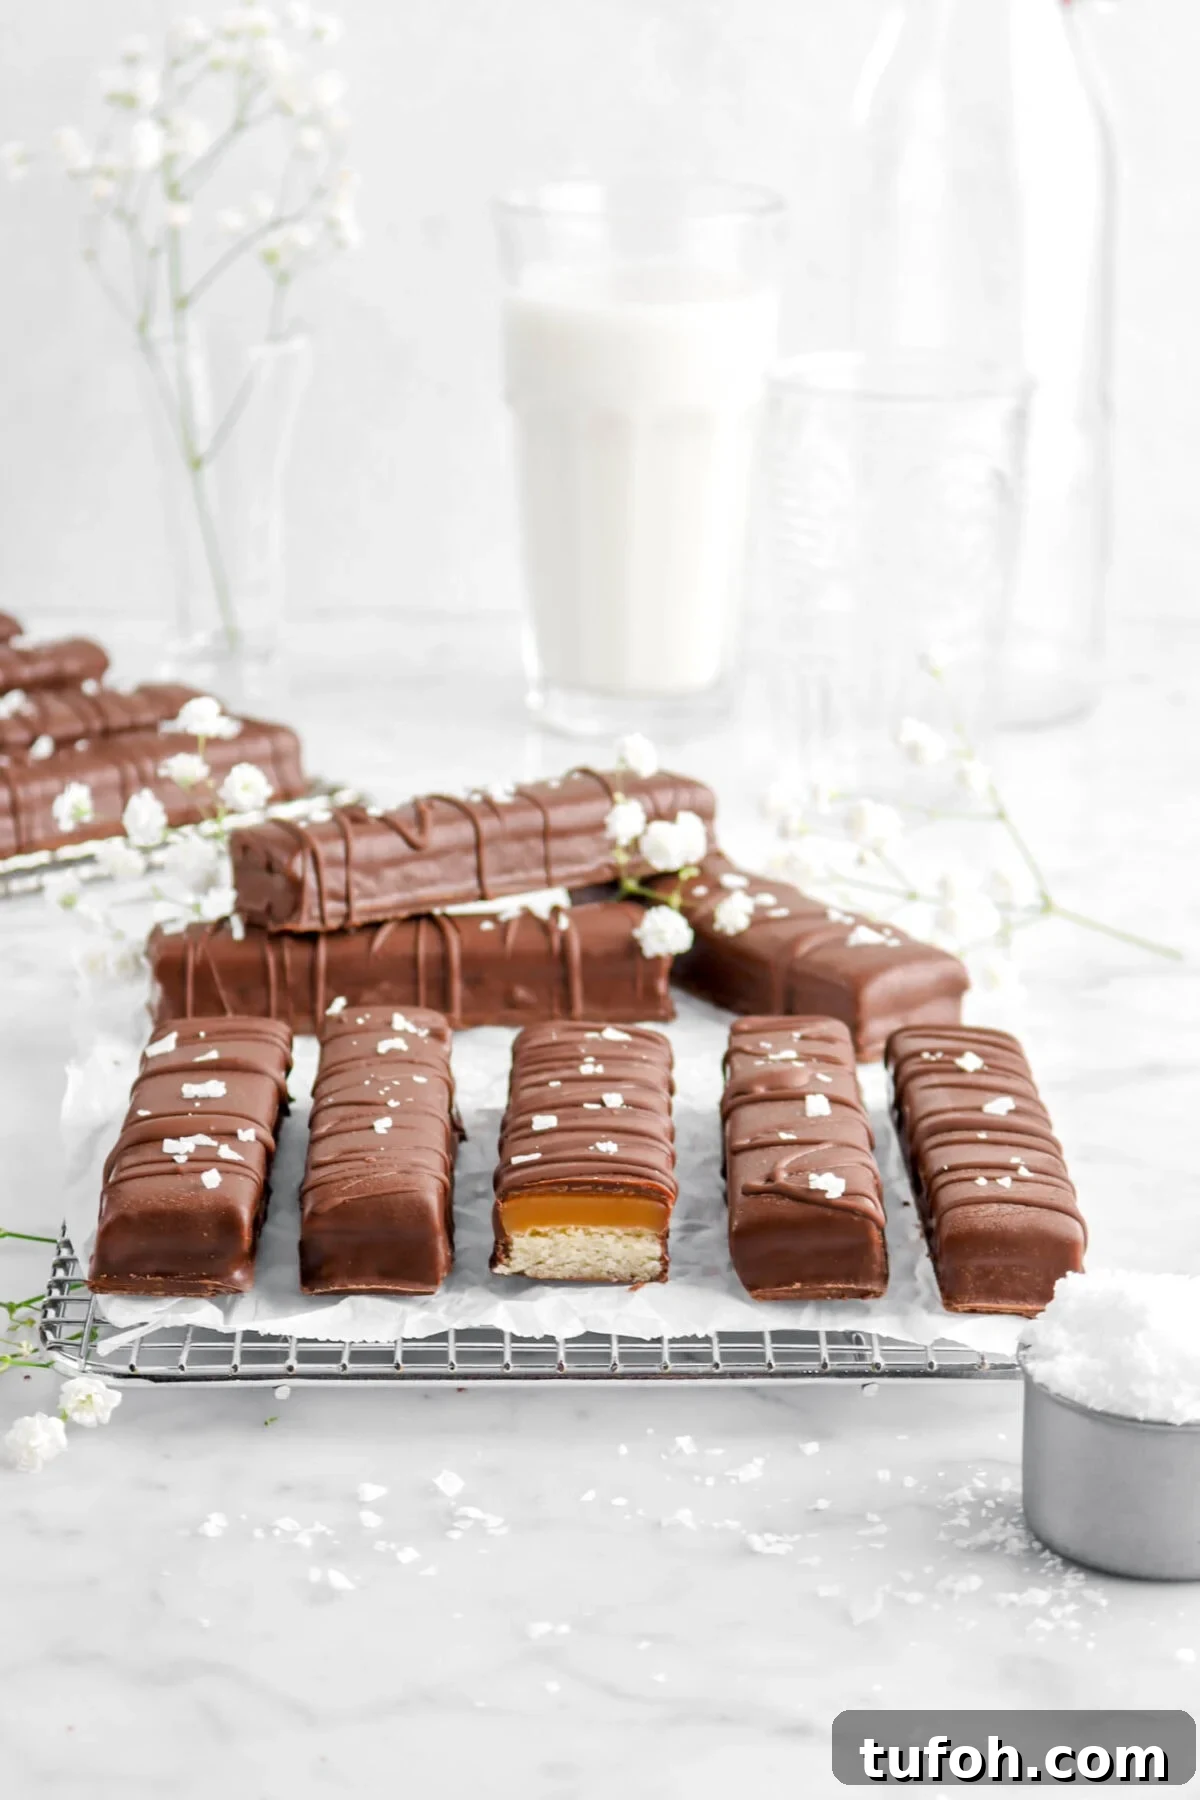
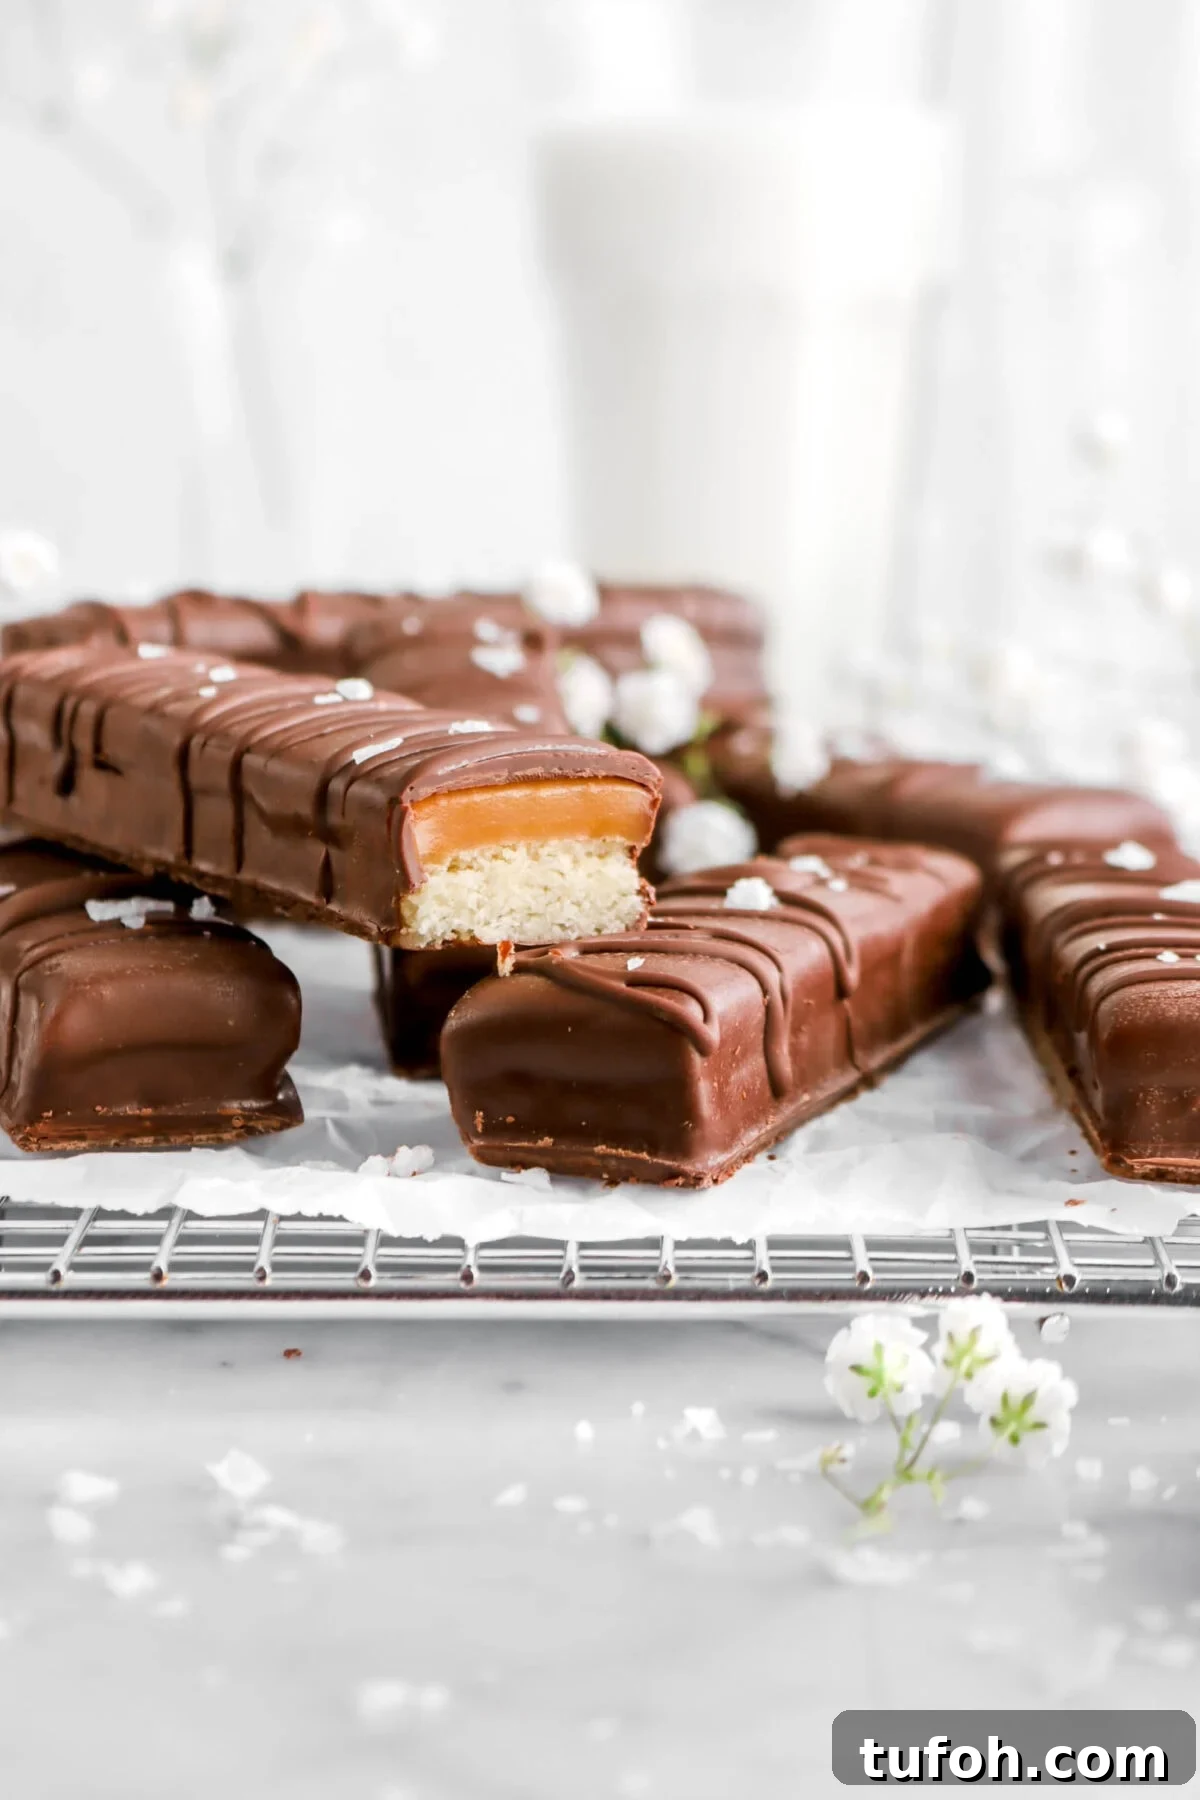
Though homemade caramel can seem intimidating, it’s manageable with the right tools and a little patience. The reward is a caramel that stays soft in the center of each bar, providing that ideal chewy texture. These bars are excellent for gifting or enjoying at home whenever you want a nostalgic sweet.
Reasons You Will Love These Twix Bars
- Choose dark, semi-sweet, or milk chocolate for the coating.
- The shortbread is quick and simple to make.
- No specialized equipment required beyond common kitchen tools and a thermometer for the caramel.
- The caramel remains soft and gooey inside the bars.
- Perfect for gifts or homemade treats.
- Far superior flavor and texture compared to store-bought bars.
Ingredients
(Full ingredient amounts and step-by-step instructions appear in the recipe card below.)
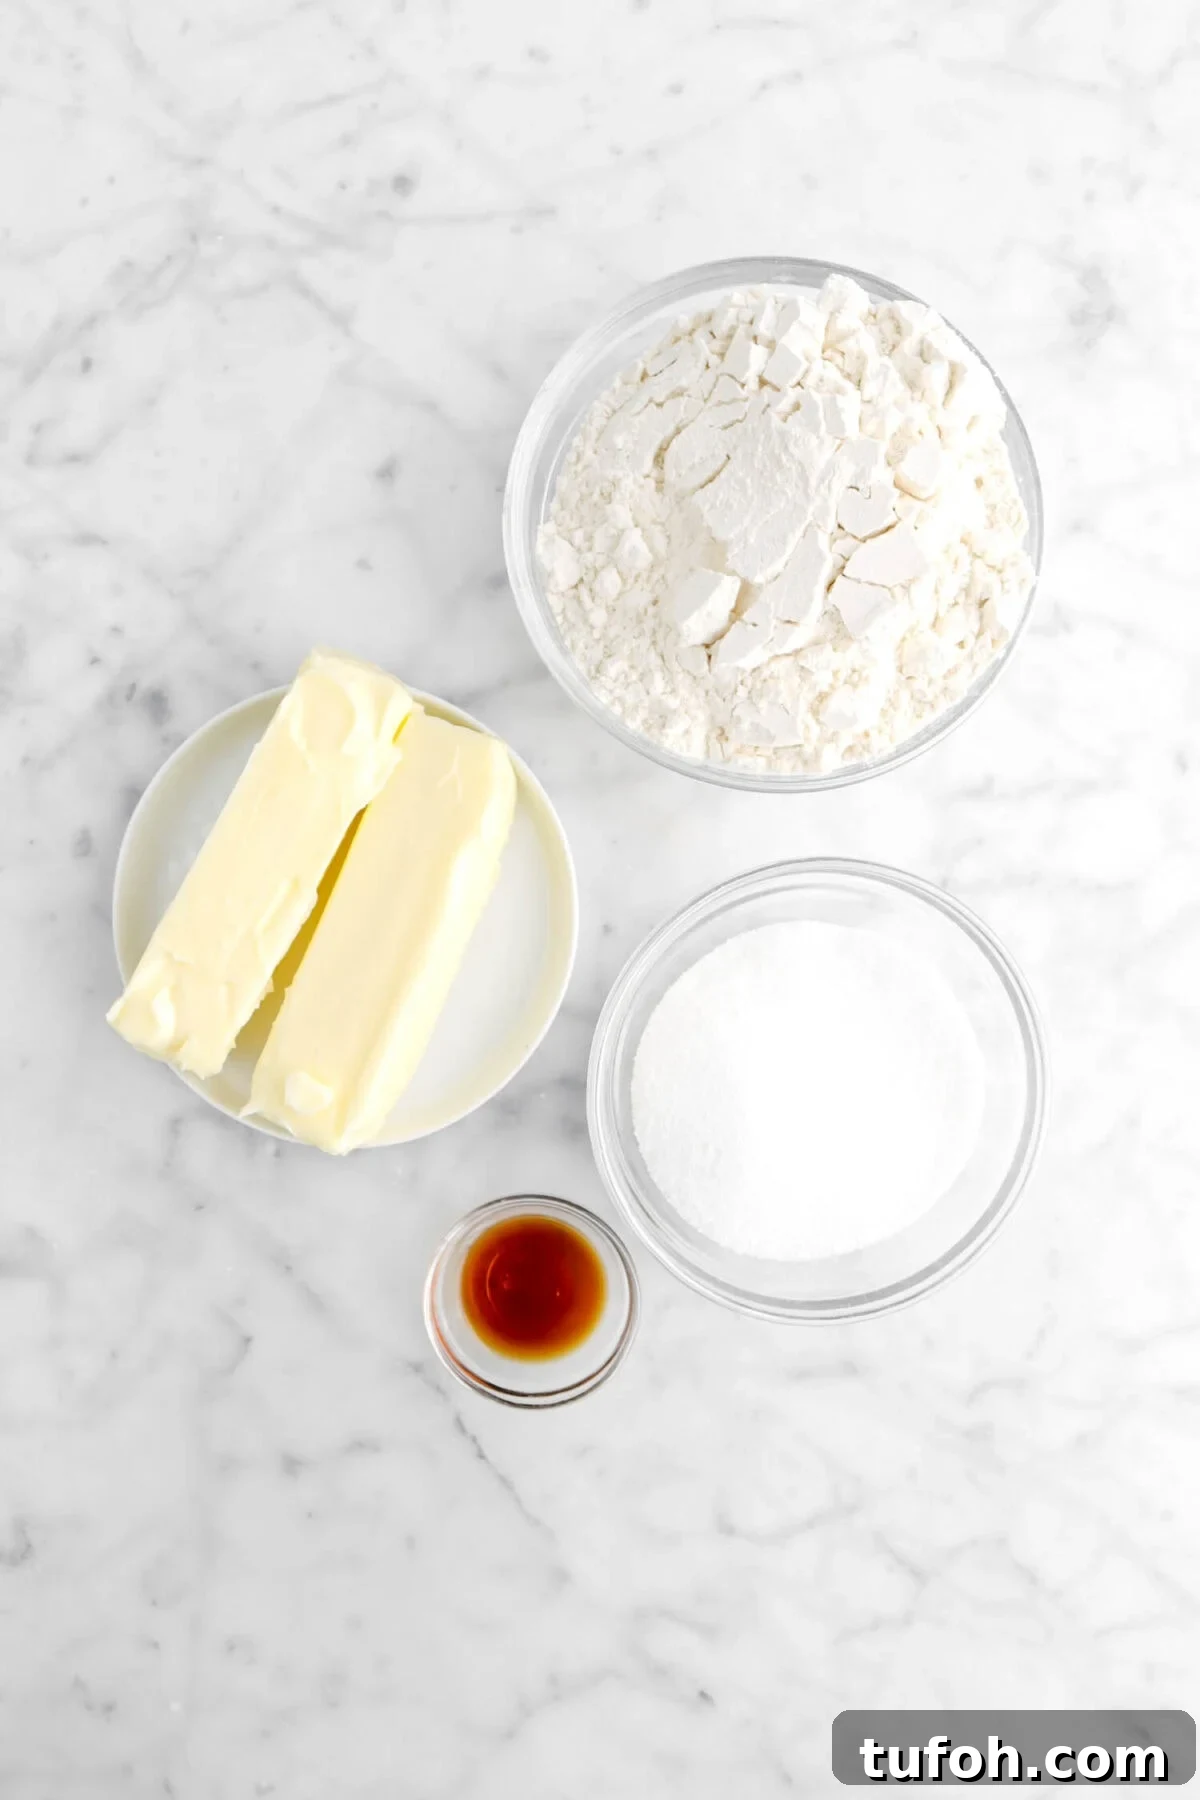
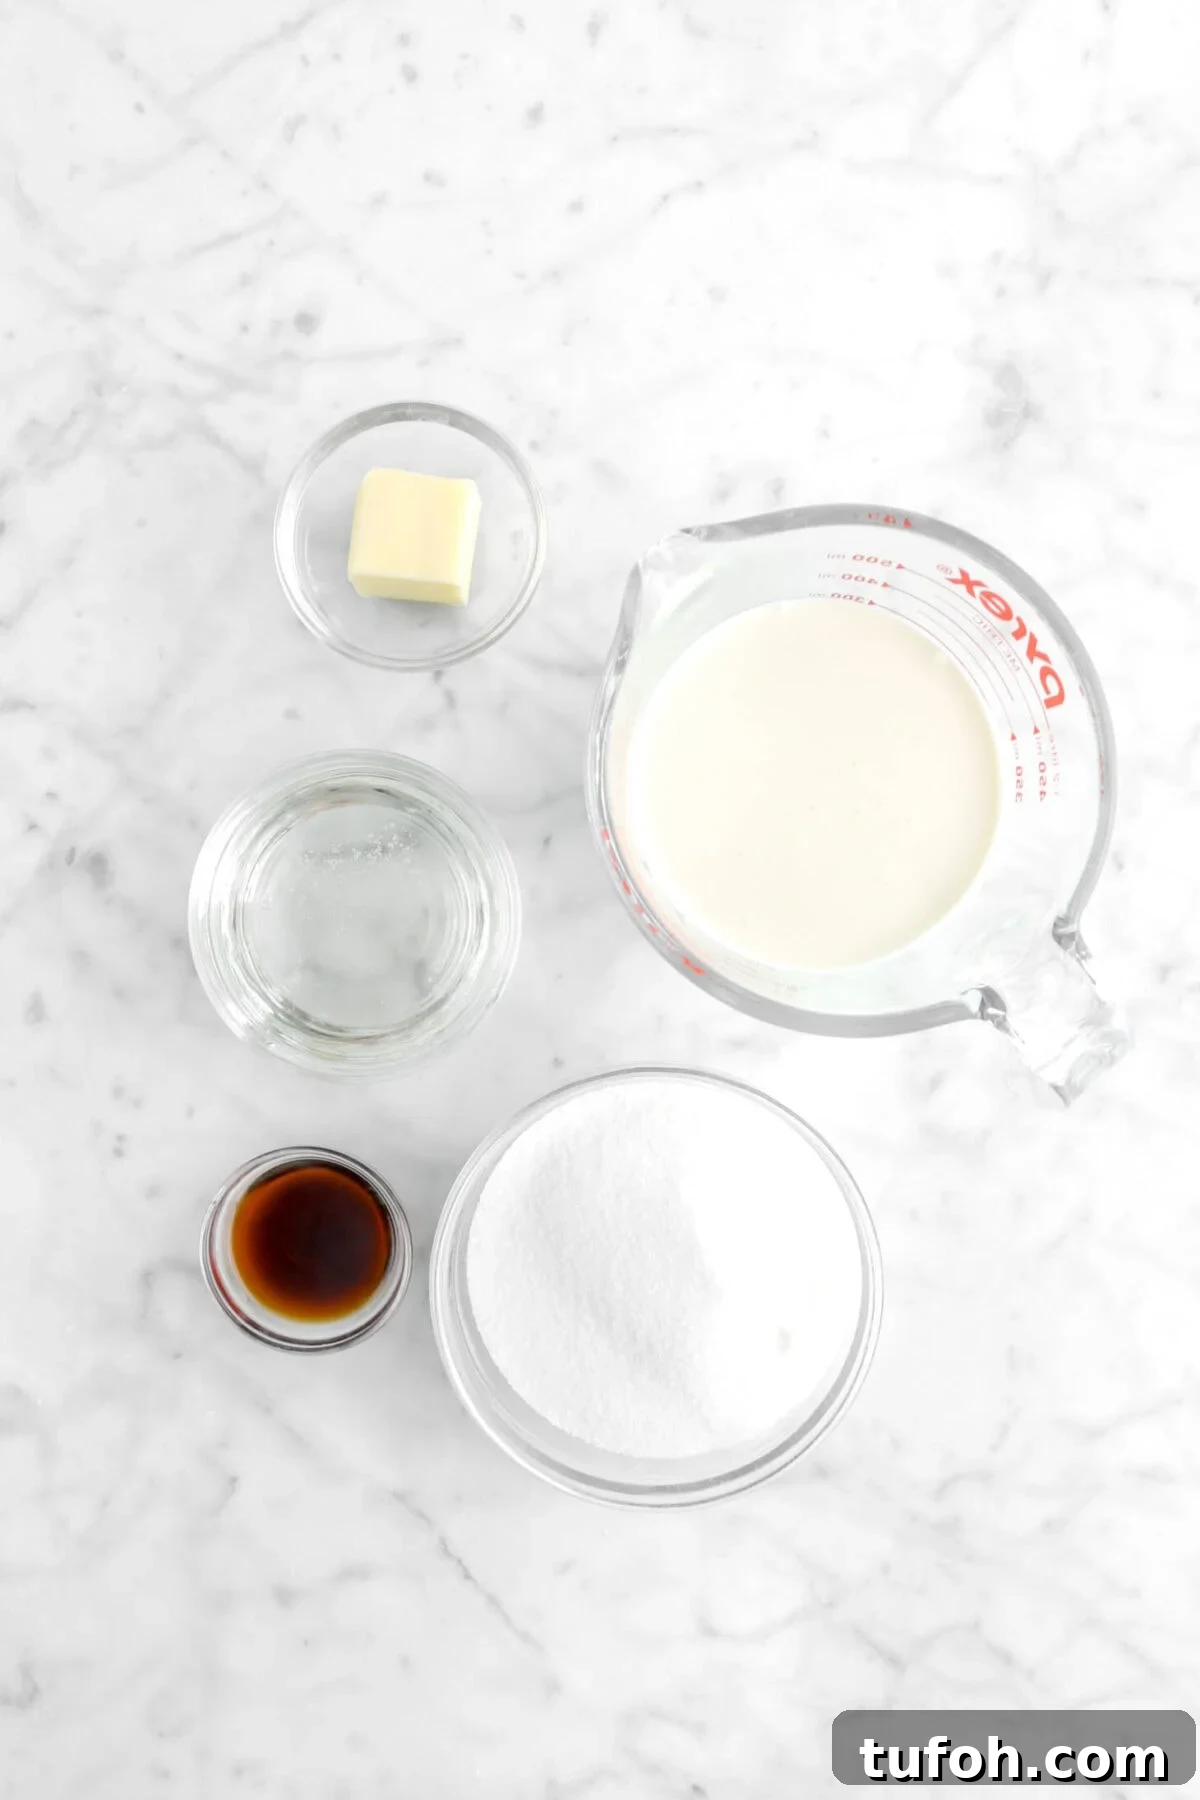
For the Cookie
- Salted butter, room temperature
- Granulated sugar
- Vanilla extract
- All-purpose flour
For the Caramel
- Granulated sugar
- Corn syrup
- Heavy cream
- Salted butter
- Vanilla extract
For the Chocolate Coating
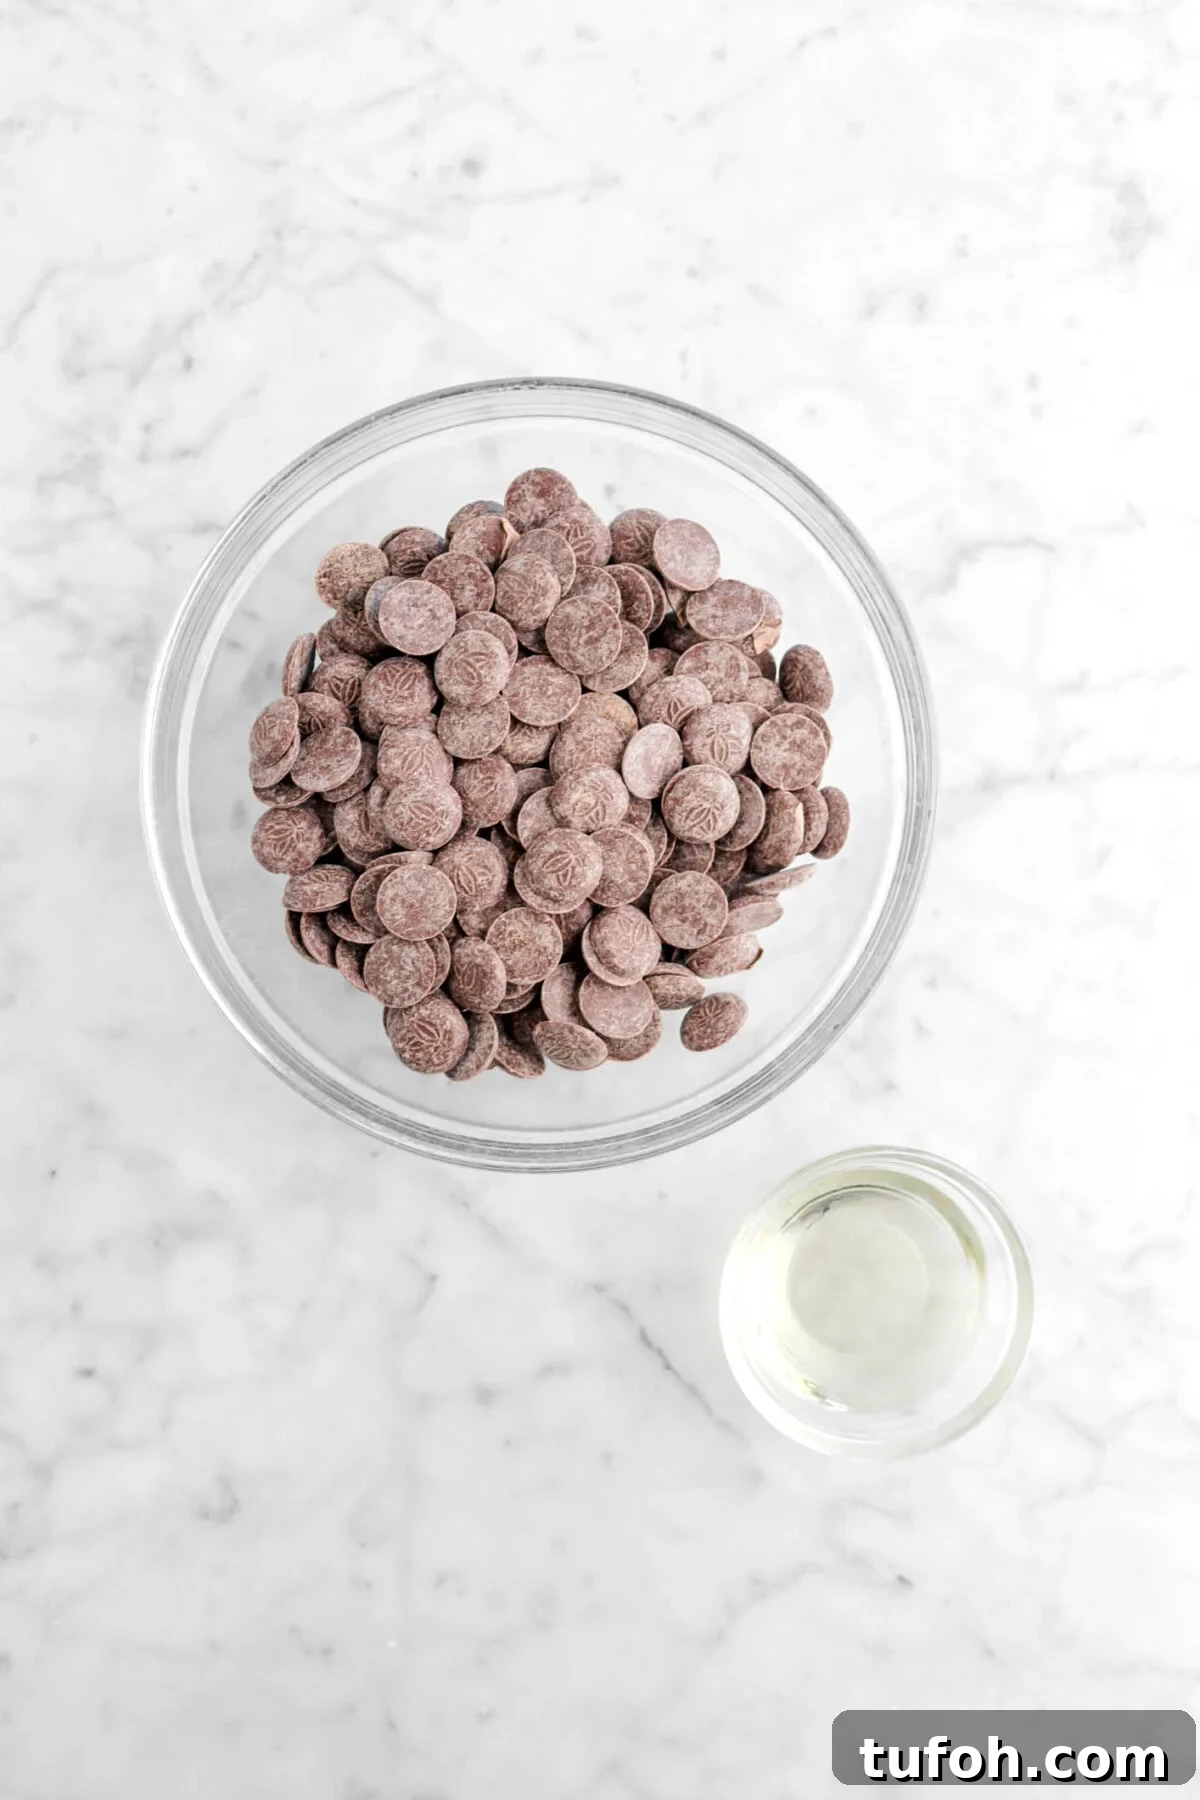
- Dark or semi-sweet chocolate (or milk chocolate if you prefer)
- Vegetable oil
How To Make Homemade Twix Bars
Step 1: Make the shortbread and bake
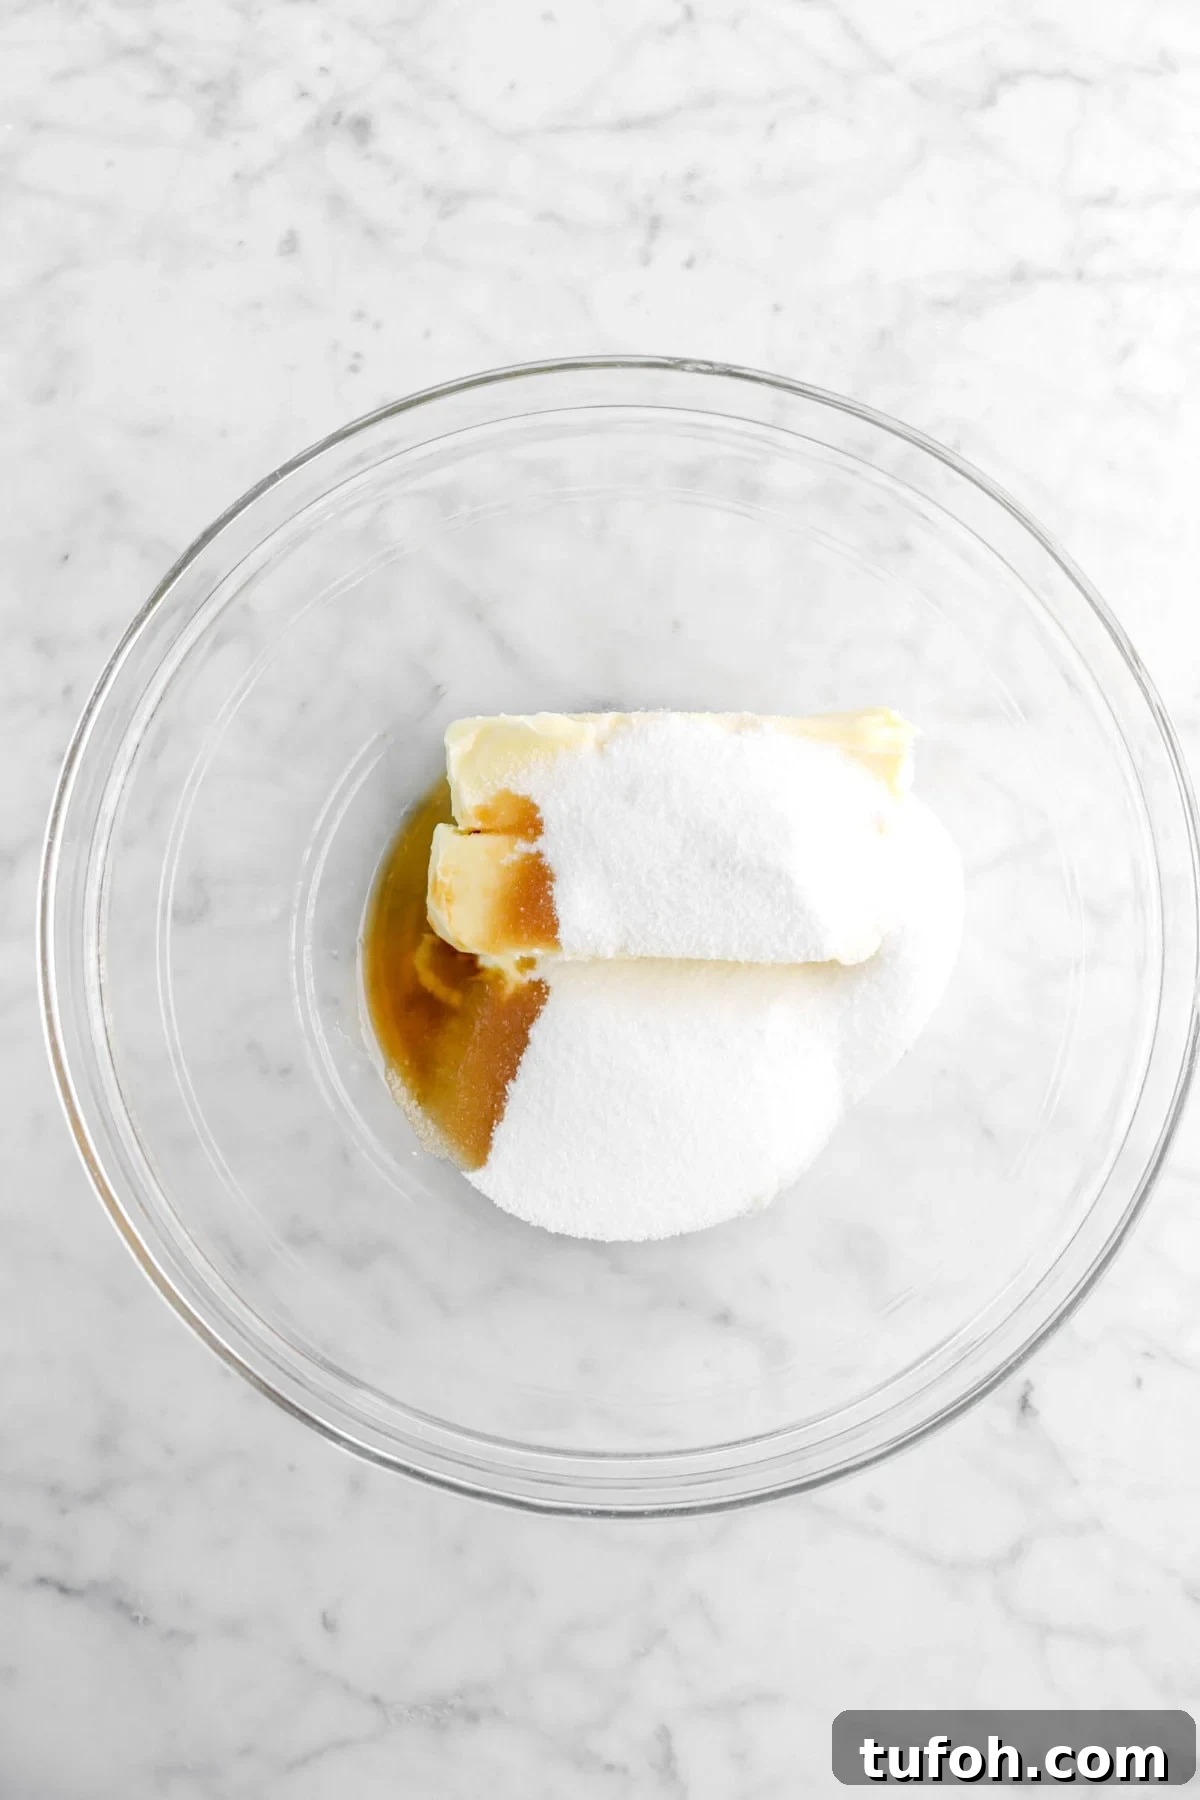
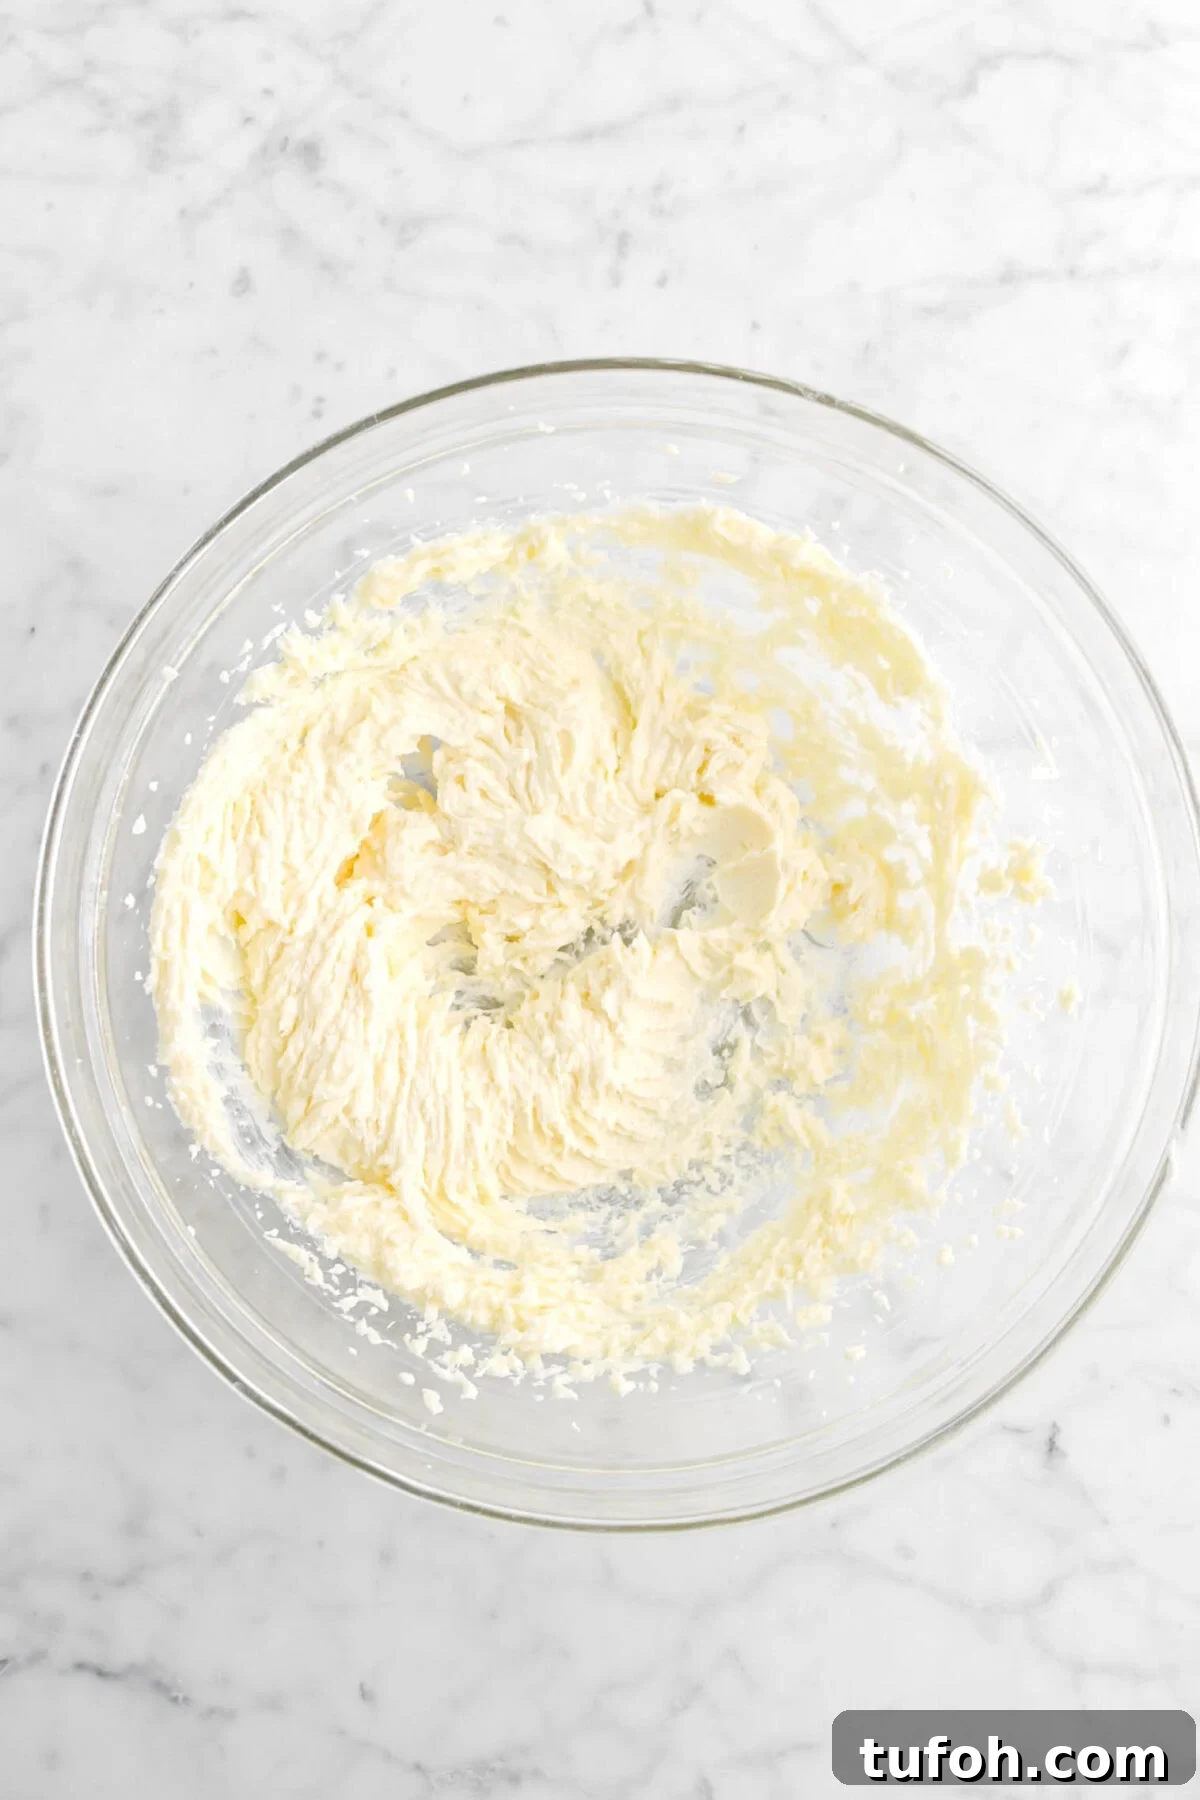
Cream the butter, sugar, and vanilla with an electric mixer until light and fluffy, about 2–3 minutes. Stir in the flour until combined. Press the dough evenly into a parchment-lined 9-inch square pan. Bake at 350°F (177°C) for about 20 minutes, until the edges just begin to color. Let cool completely before adding the caramel.
Step 2: Make the caramel
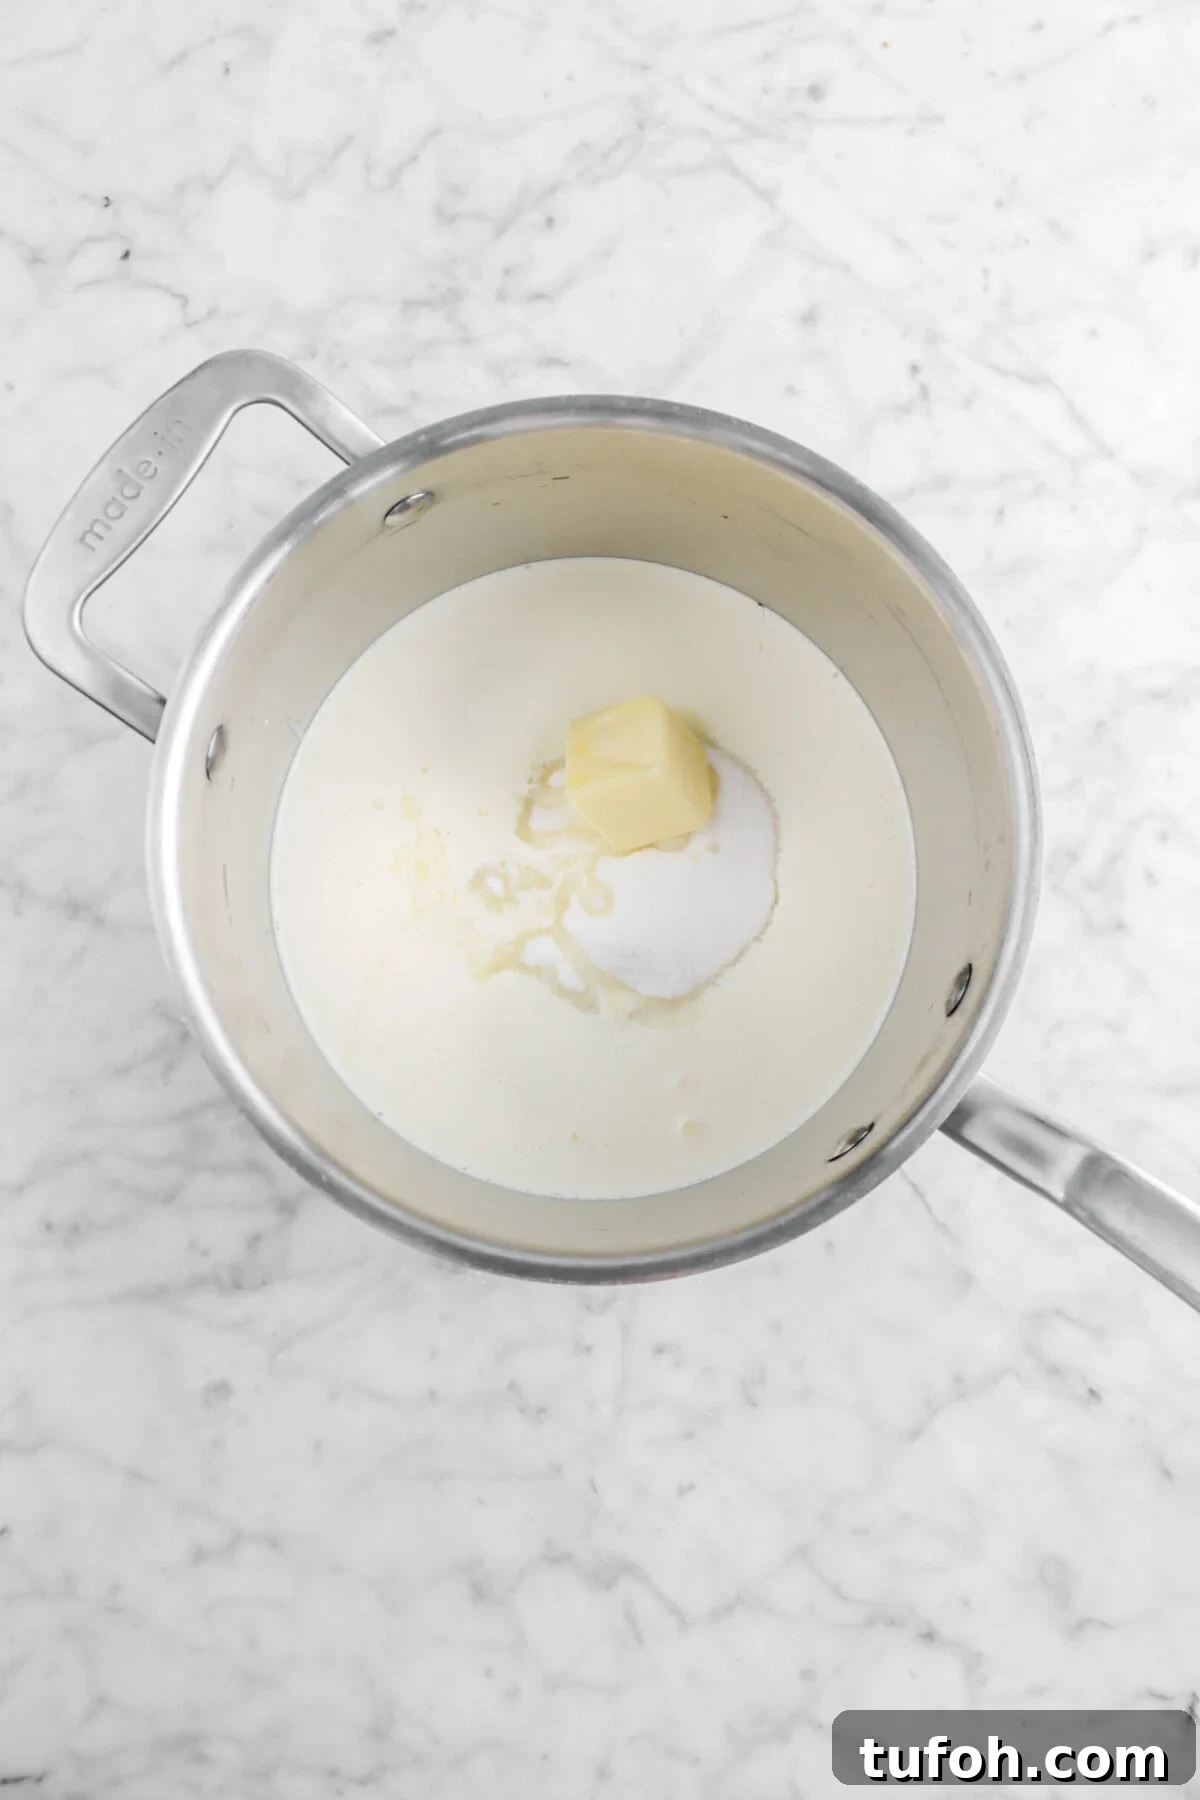
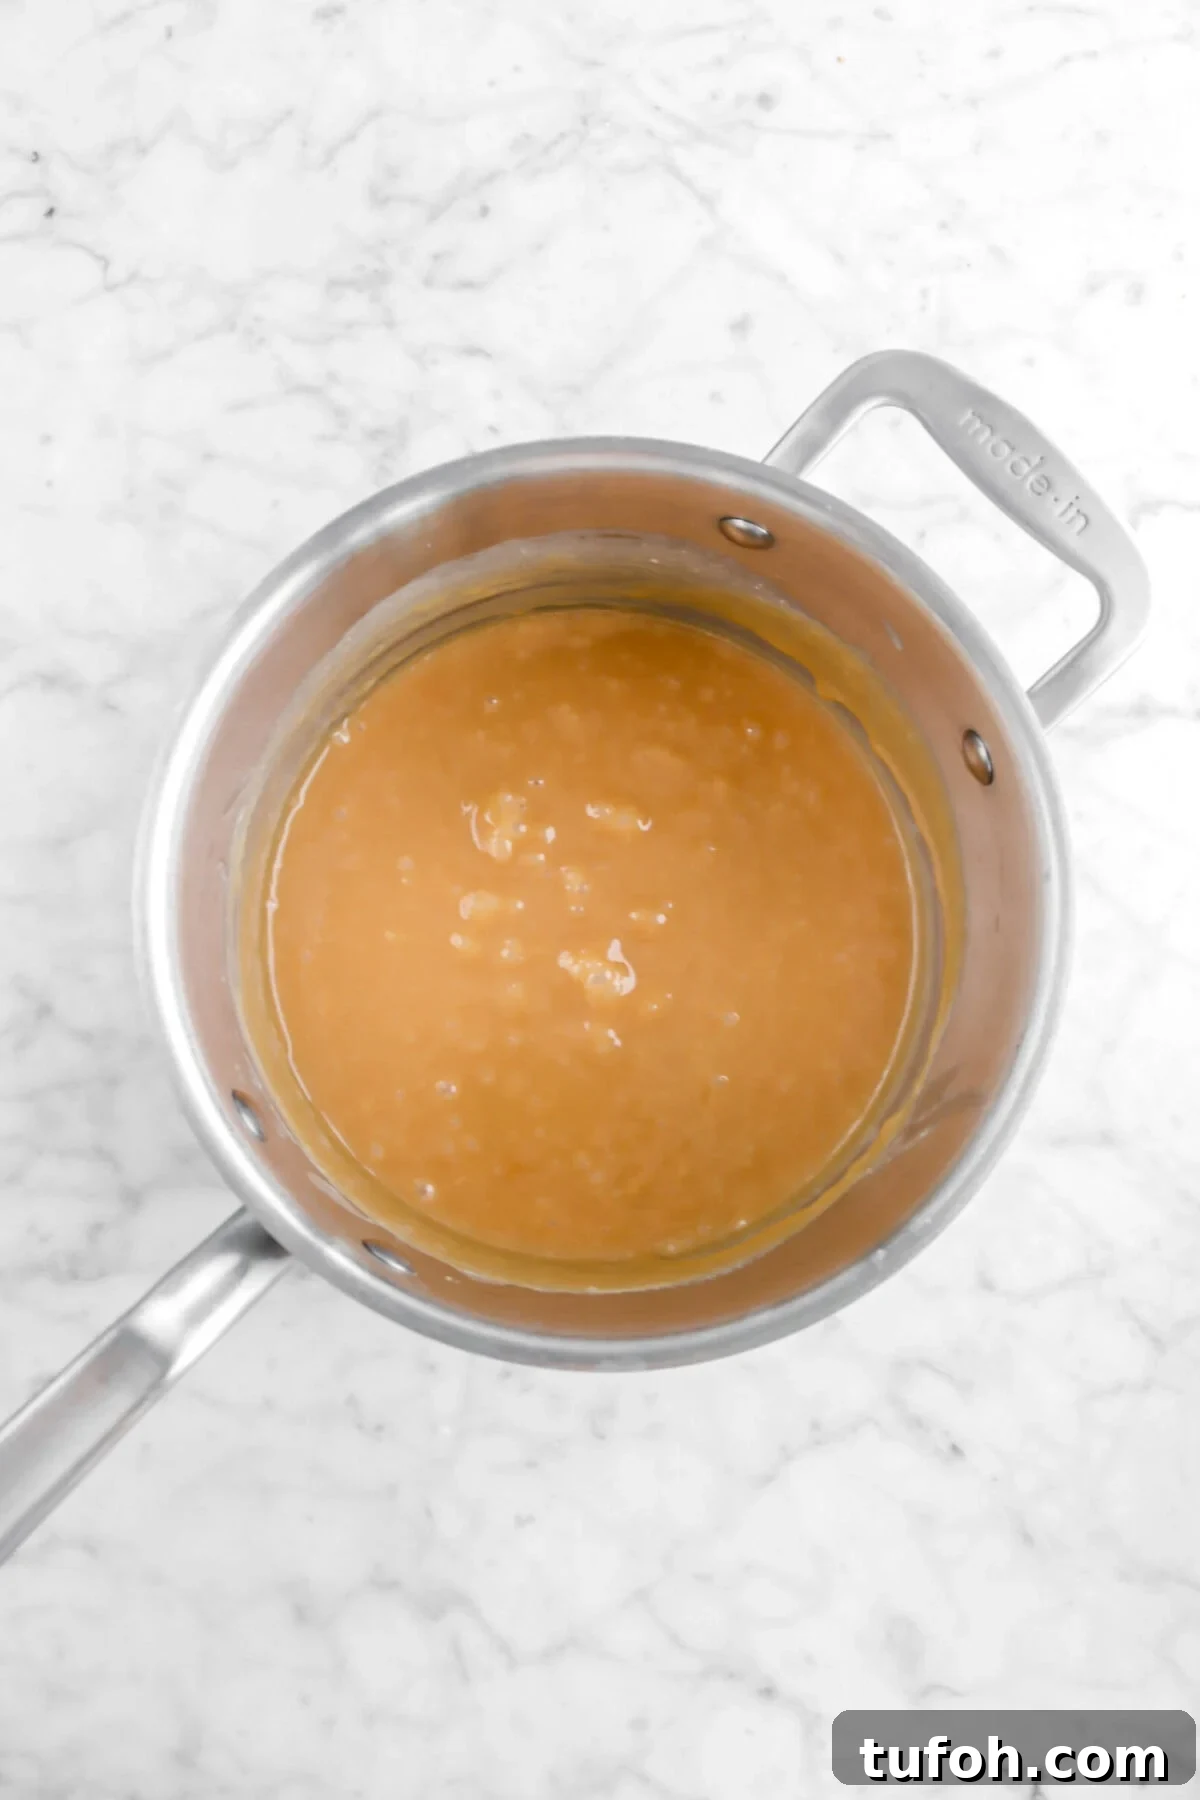
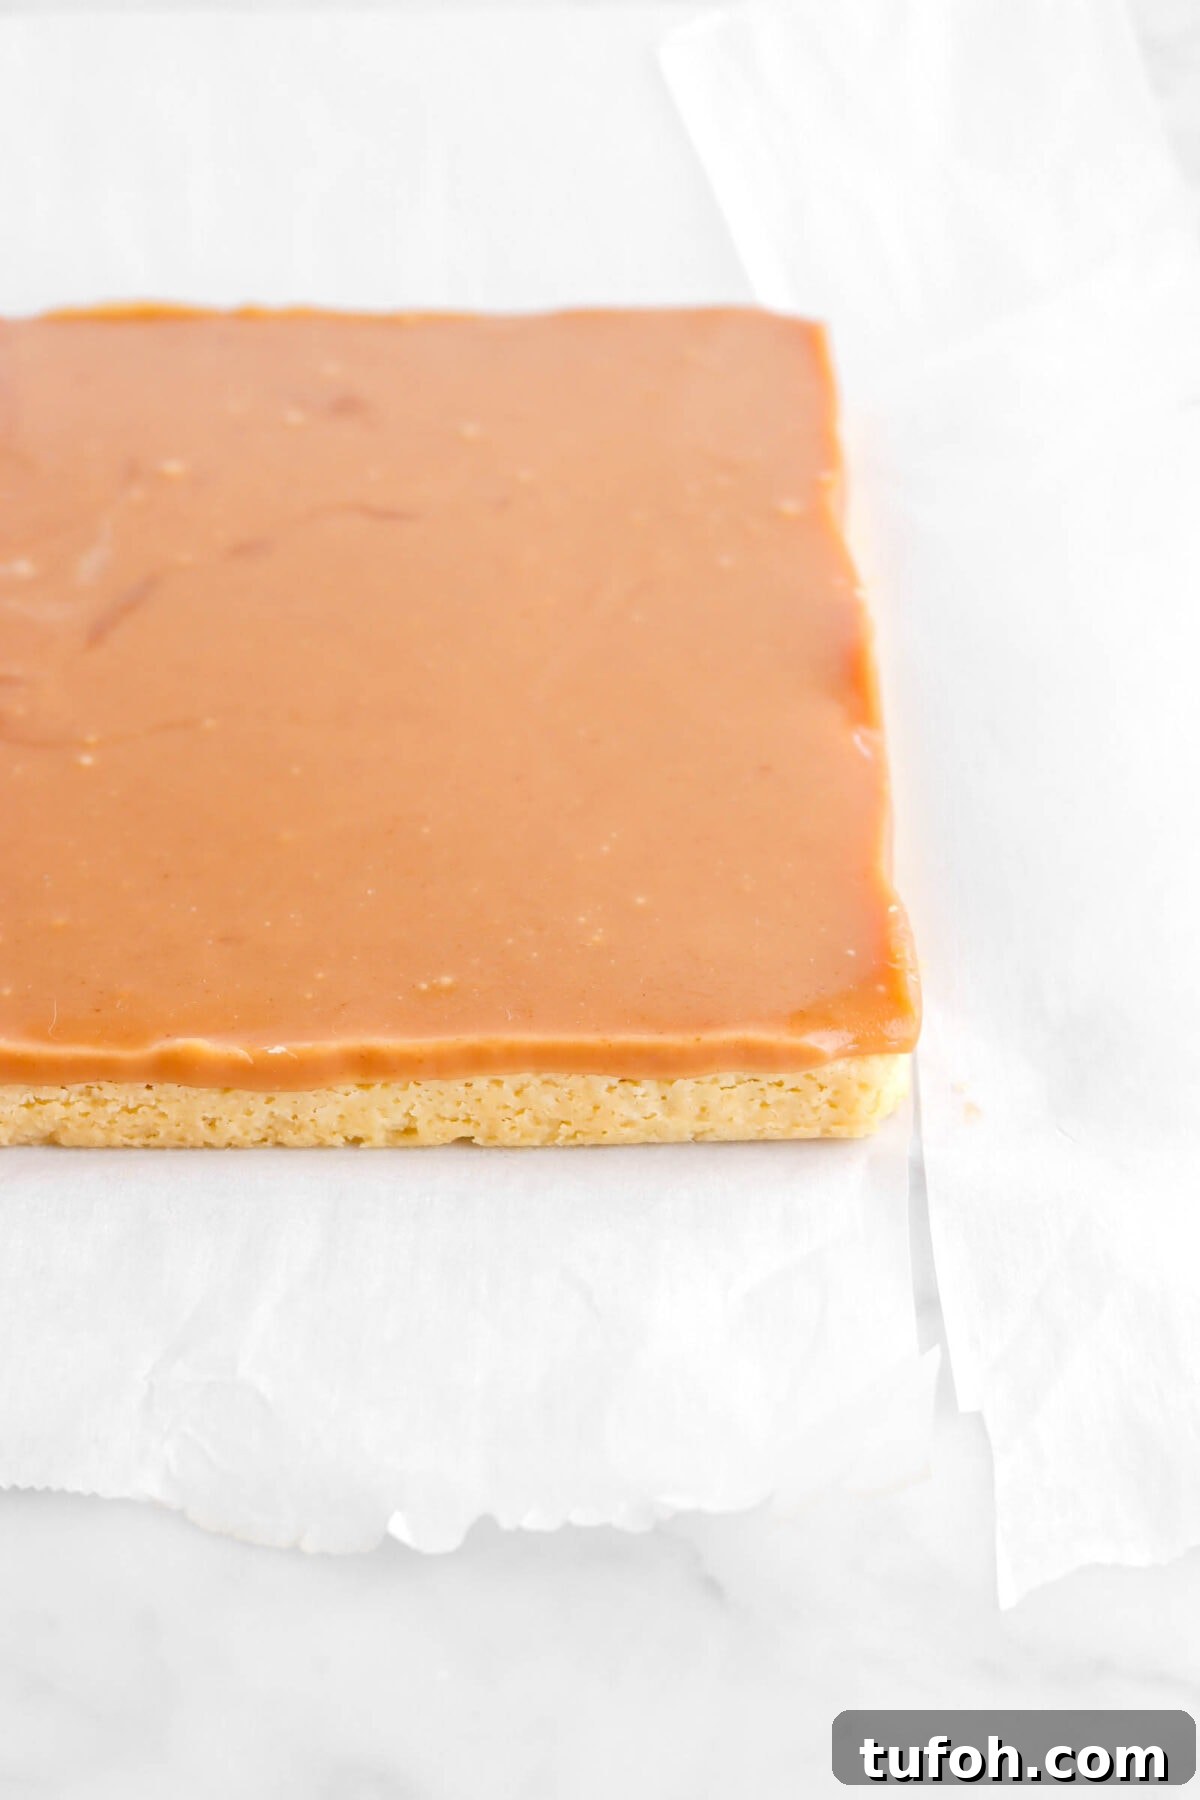
Combine sugar, corn syrup, heavy cream, and butter in a heavy-bottomed 4-quart pot. Cook over medium heat, stirring until the sugar dissolves. Raise heat to medium-high and continue cooking, occasionally brushing down the pan sides with a wet pastry brush, until the mixture reaches 245°F (118°C) on a candy thermometer — roughly 20–30 minutes depending on your stove. Remove from heat and stir in vanilla. Immediately pour the hot caramel over the cooled shortbread and spread evenly. Allow the pan to cool completely so the caramel sets but remains soft.
Step 3: Melt the chocolate
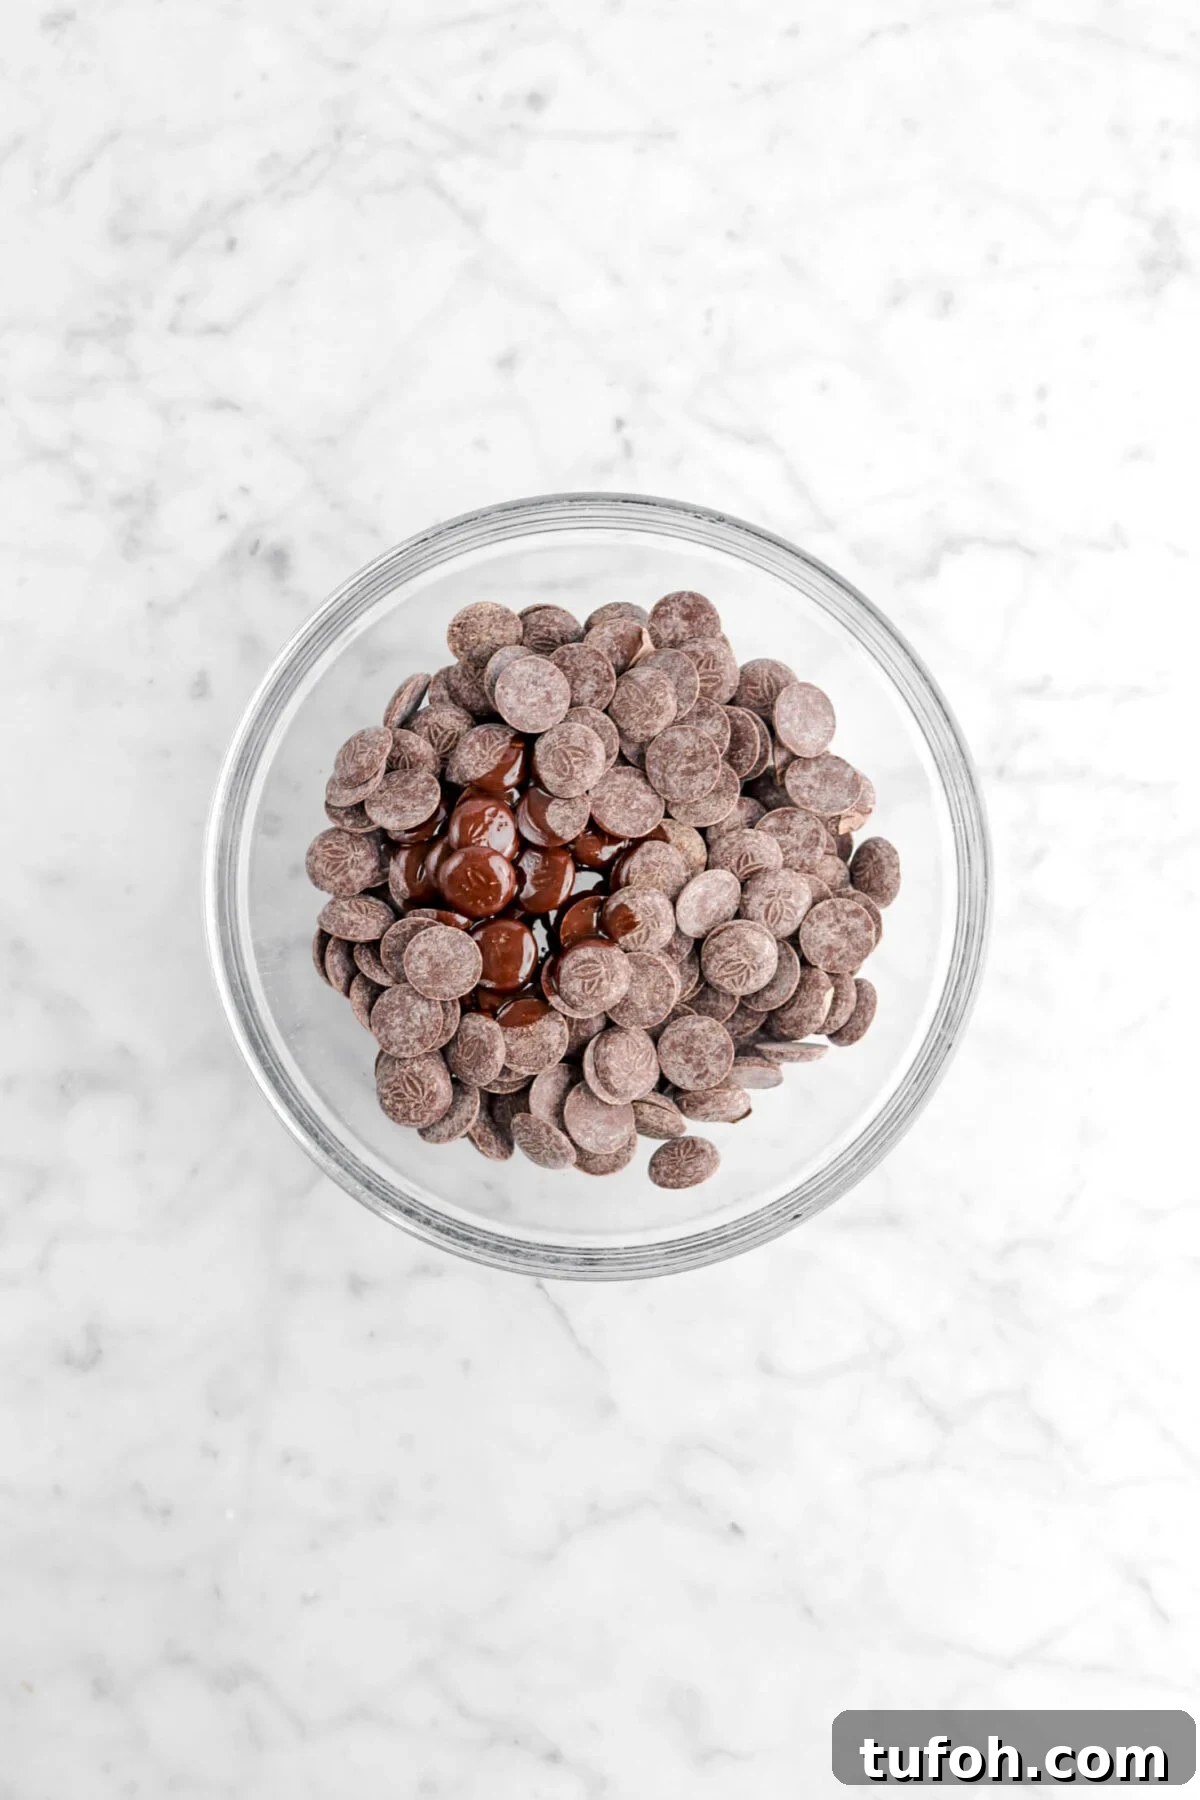
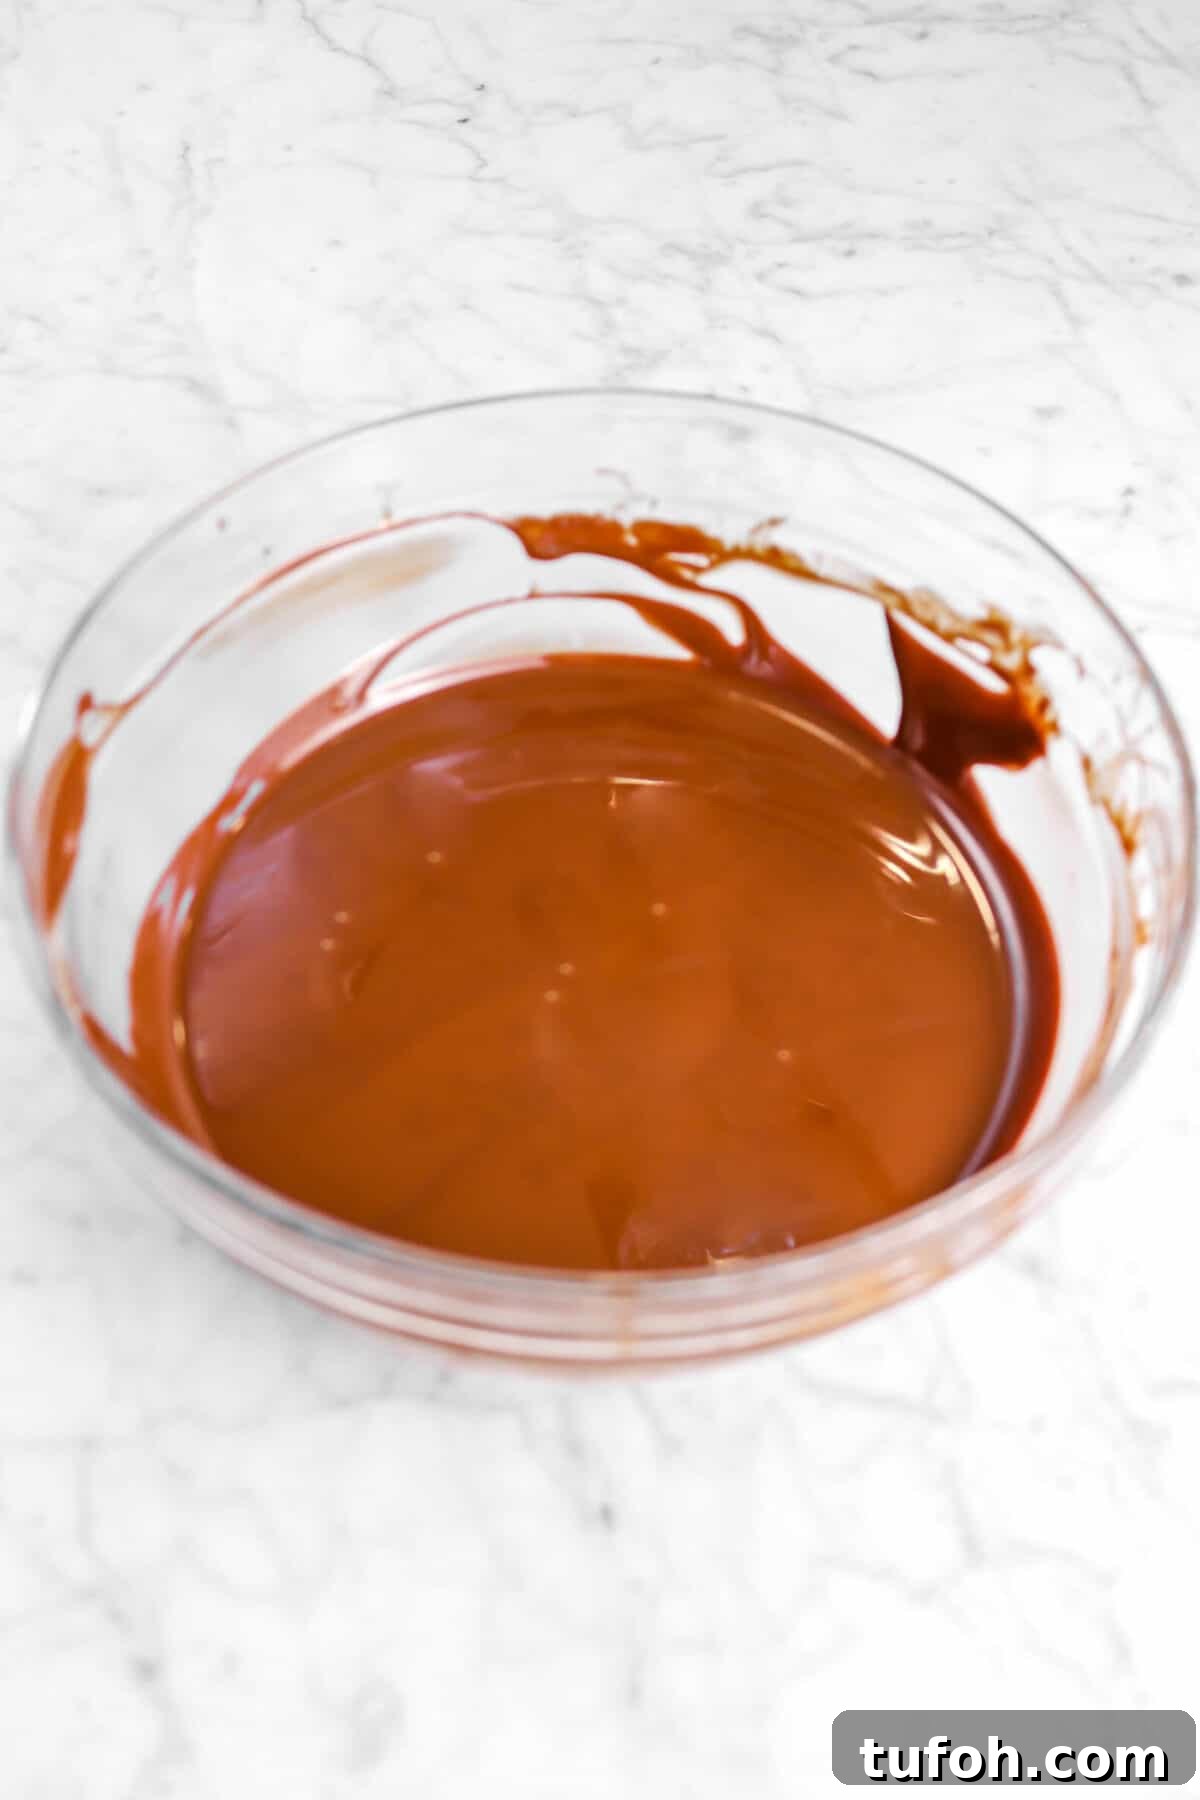
Place the chocolate and vegetable oil in a microwave-safe bowl. Heat in 15-second bursts on high, stirring between intervals, until the chocolate is completely melted and smooth. Alternatively, melt the chocolate over a bain-marie (double boiler) if you prefer more controlled heating.
Step 4: Assemble and coat
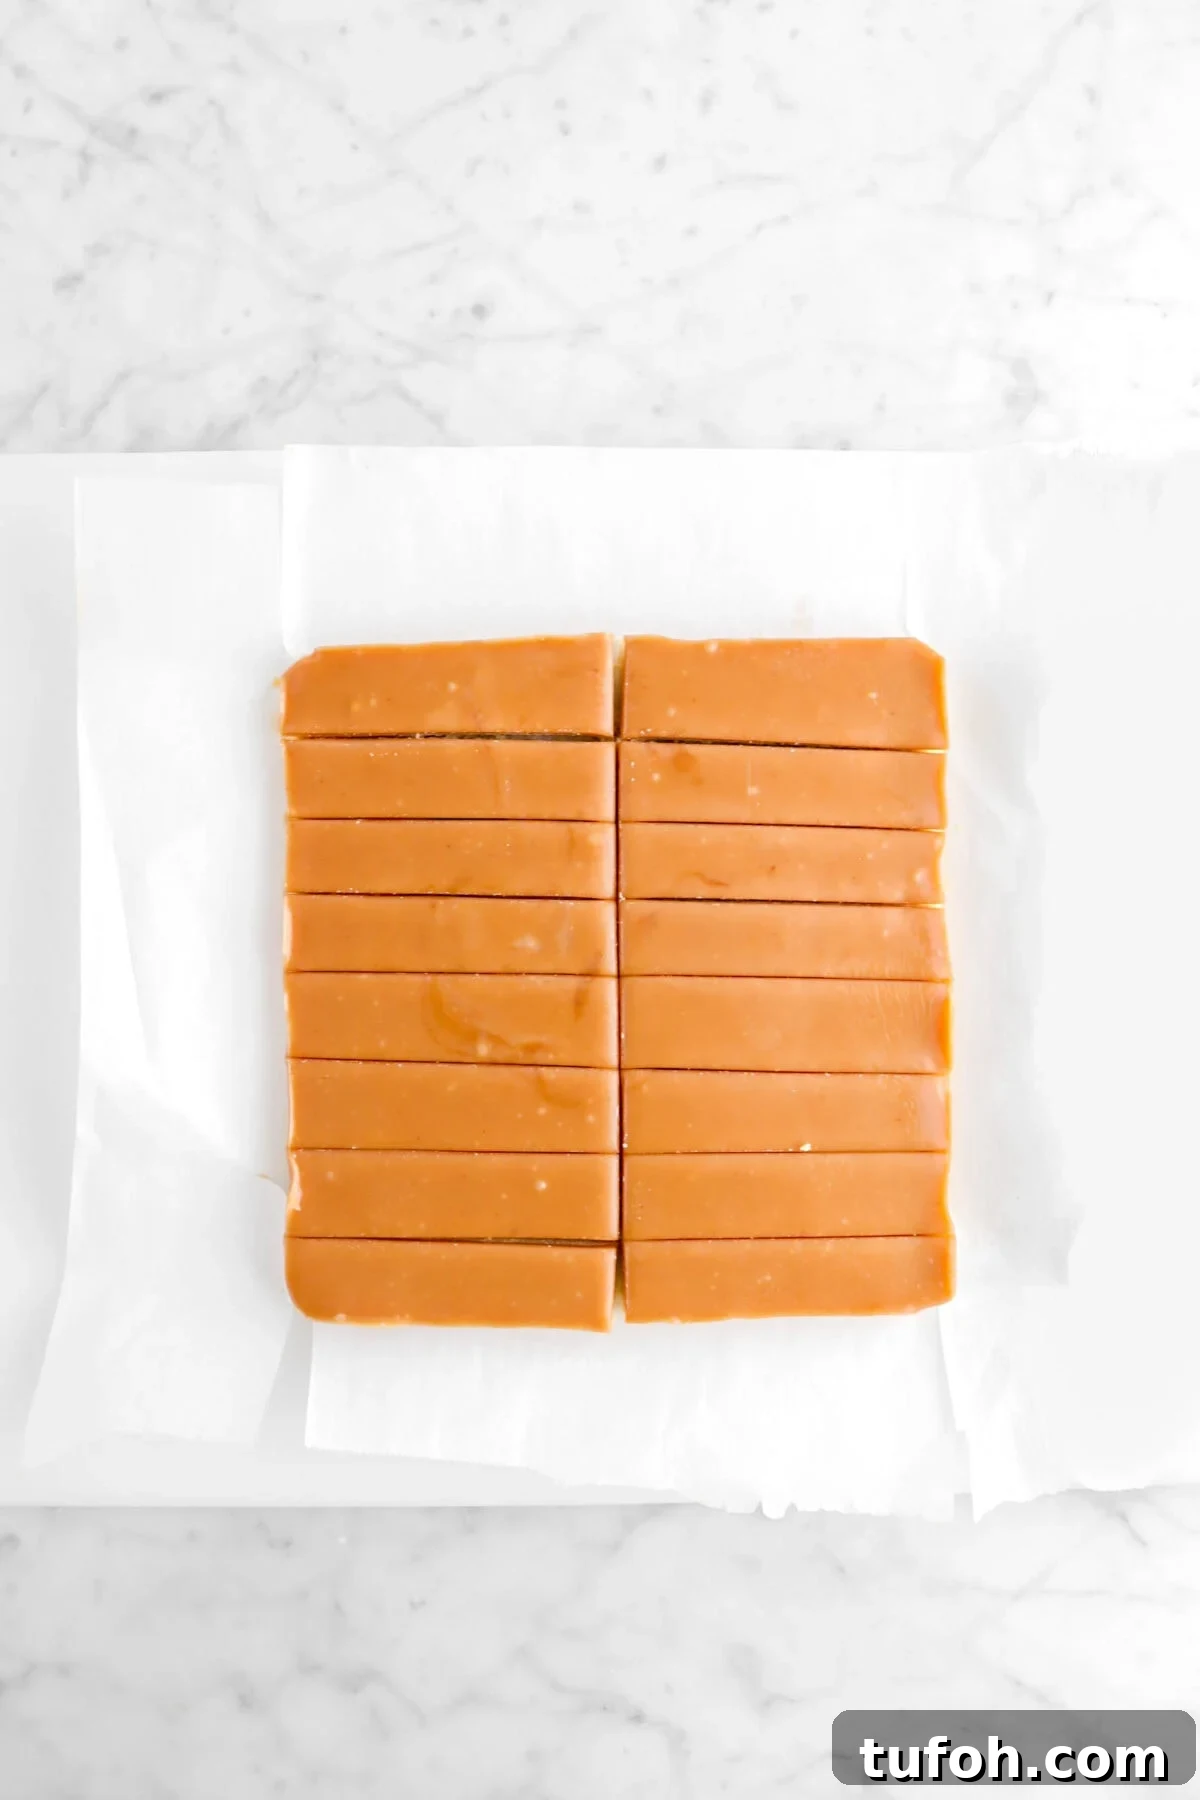
Lift the set shortbread and caramel from the pan using the parchment paper and place on a cutting board. Slice into 16 bars. Line a baking sheet with parchment. Using a fork, dip each bar into the melted chocolate, allow the excess to drain, then place on the prepared sheet. Trim any excess chocolate once the coating has set, and sprinkle with flaky sea salt if desired.
What Kind of Chocolate To Use
Semi-sweet (around 60% cacao) yields a rich, balanced coating, but milk chocolate produces a sweeter, more traditional flavor and bittersweet chocolate will be deeper and less sweet. For ease, melted chocolate mixed with a little vegetable oil works well for coating; if you prefer a crisp, shiny finish, temper the chocolate using standard tempering steps.
Ways to Use Leftover Bars
Chopped Twix Bars are fantastic stirred into vanilla ice cream, folded into brownie batter, added to cookie dough, or blended into milkshakes. They’re a versatile and delicious mix-in for many desserts.
Tempered Chocolate or Melted Chocolate?
Using melted chocolate with oil is simpler and gives a good result for these bars. Tempered chocolate produces a firmer snap and glossy finish but requires more precision. If you choose to temper, follow established tempering temperatures and steps to ensure proper crystallization.
How To Temper Chocolate
- Melt chocolate in a heatproof bowl over simmering water (bain-marie) until it reaches about 124°F (no higher than 130°F).
- Remove from heat and stir until it cools to 82–84°F.
- Return briefly to warm water to bring the temperature up to 88–90°F and maintain that temperature while dipping.
How To Store
Store the bars at room temperature in individual bags or an airtight container for up to one week. If you don’t temper the chocolate, it may soften or develop bloom over time — still safe to eat but less glossy. If bars need to set more quickly, chill briefly in the refrigerator.
We hope you enjoy making these Homemade Twix Bars. If you try the recipe, leave a comment or tag us on social media — we love hearing from readers who recreate our recipes.